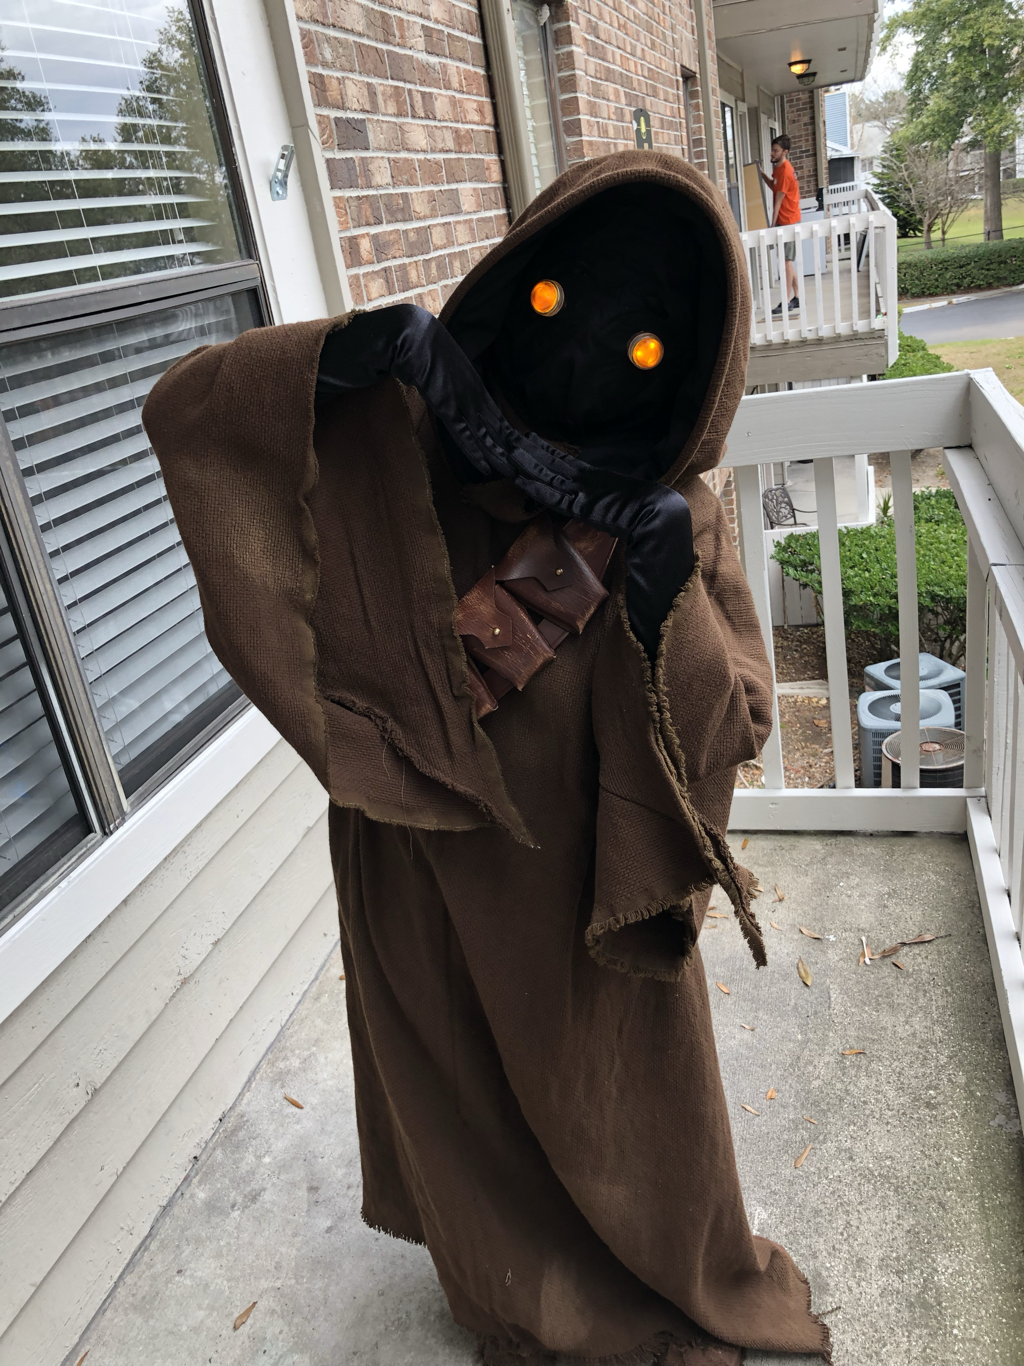
These are the instructions I took to make my Jawa, which has been approved by the 501st and I will be submitting to the Rebel Legion soon. Please be aware that following these steps doesn’t guarantee you admittance into either club, and is simply the steps I took to make mine.
RobeS
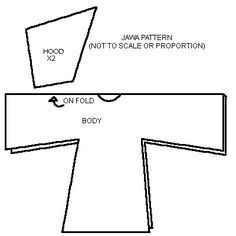
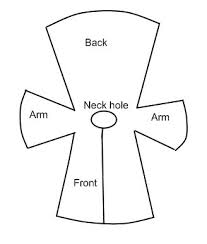
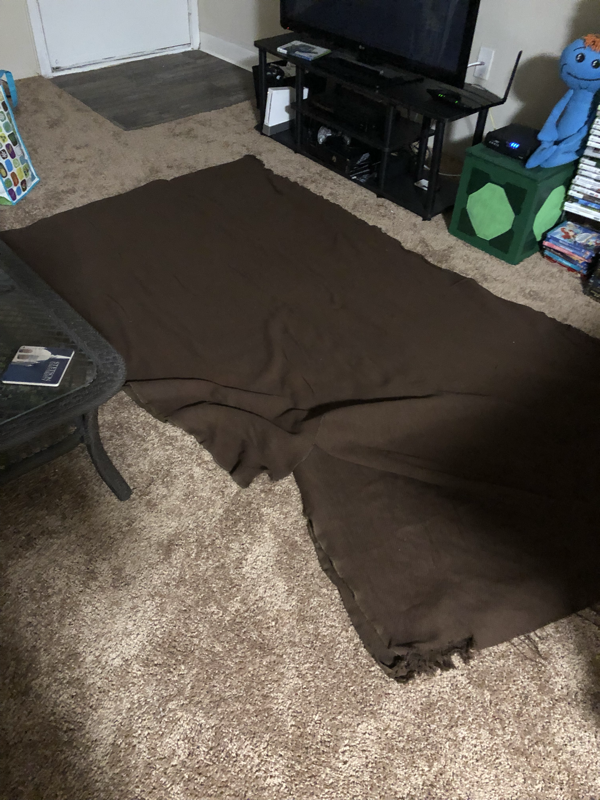
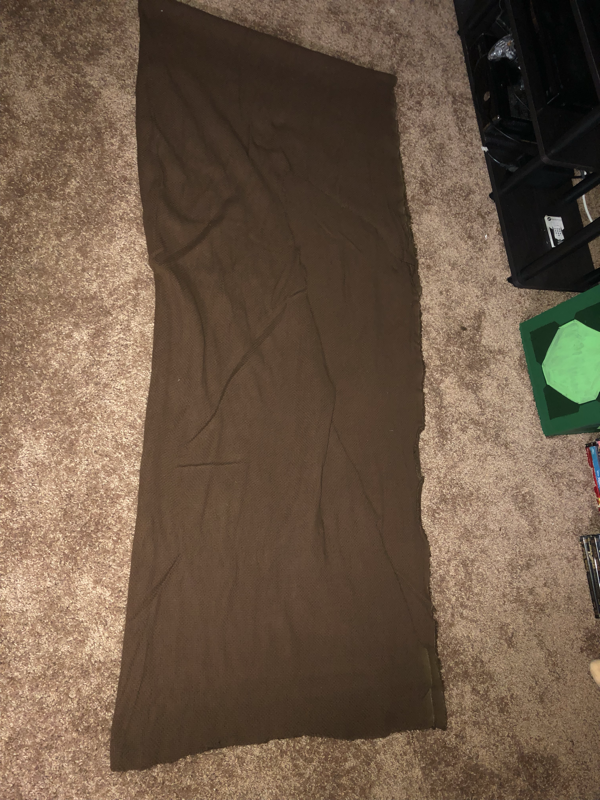
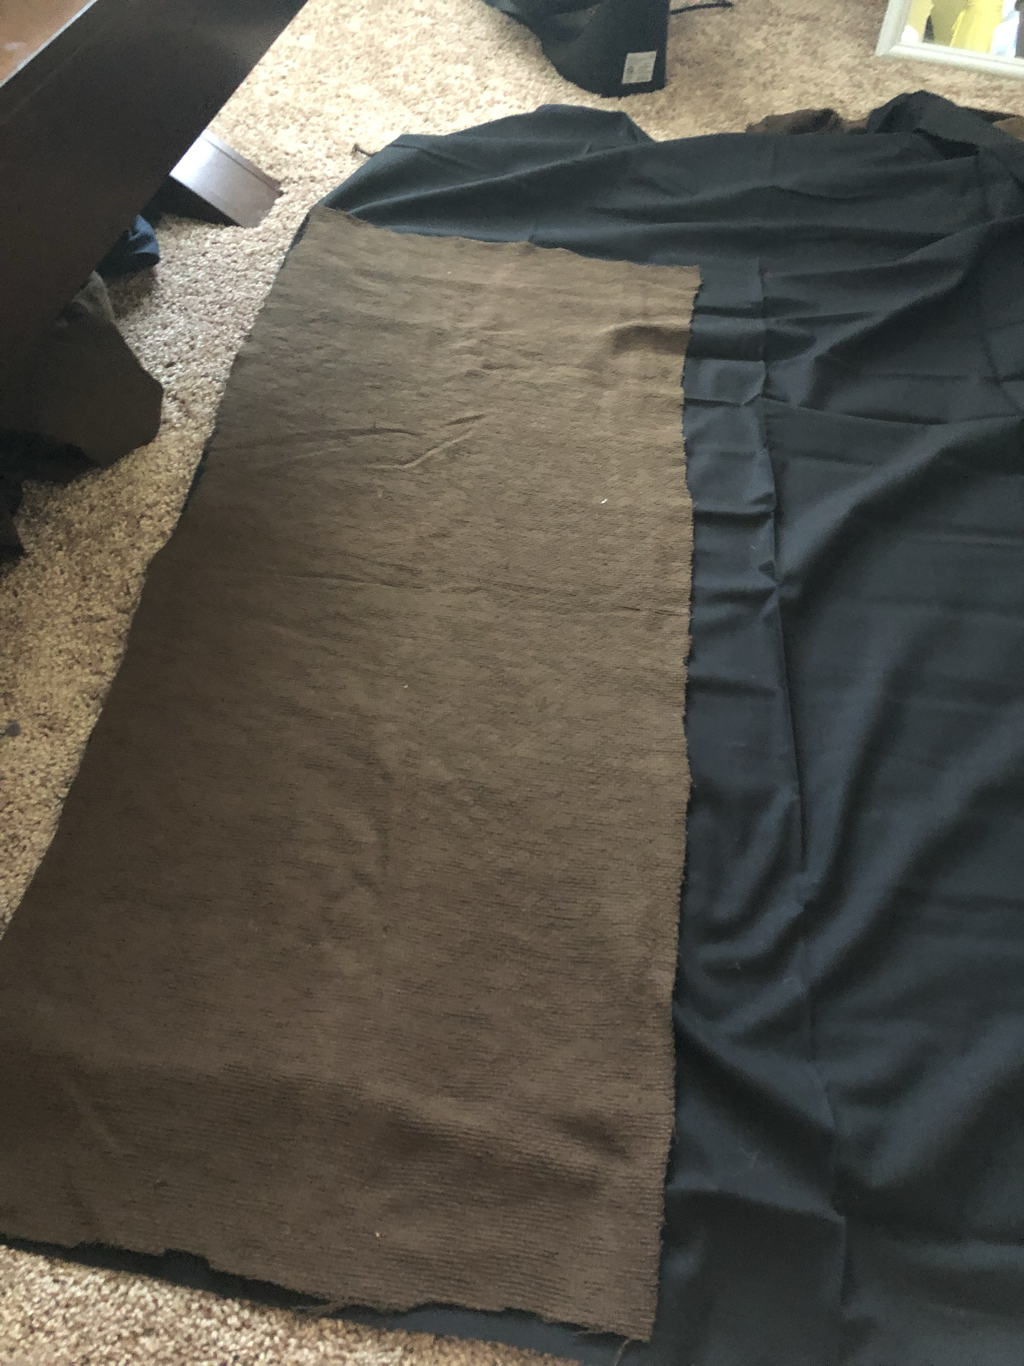
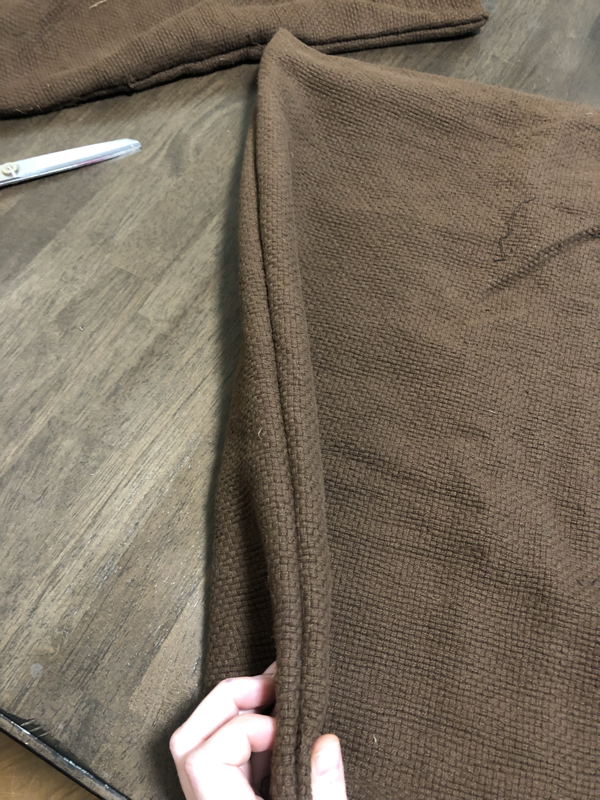
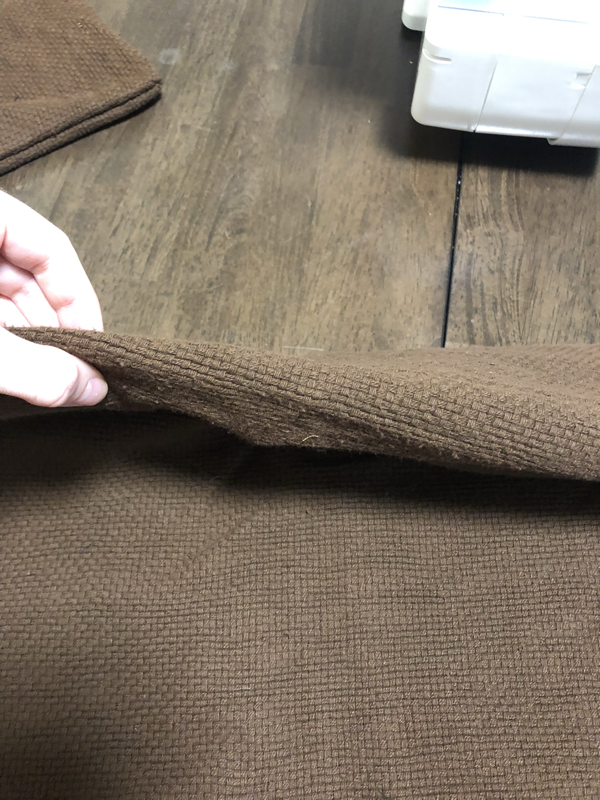
This is Monks Cloth. Lay the fabric down folded in half with the fold along the top. For approval there can be no seam on the upper arm. Luckily for me, I’m short. This means that when I layed down on the fabric I didn’t have to cut out and attach sleeves. The fabric is wide enough for me. So I simply cut the extra at the bottom off, and then cut the sides to be an A shape and cut the extra from what will be the sleeves. See the above diagrams for what I mean. Make sure that you cut both layers of fabric, remember that it’s folded in half.
hood
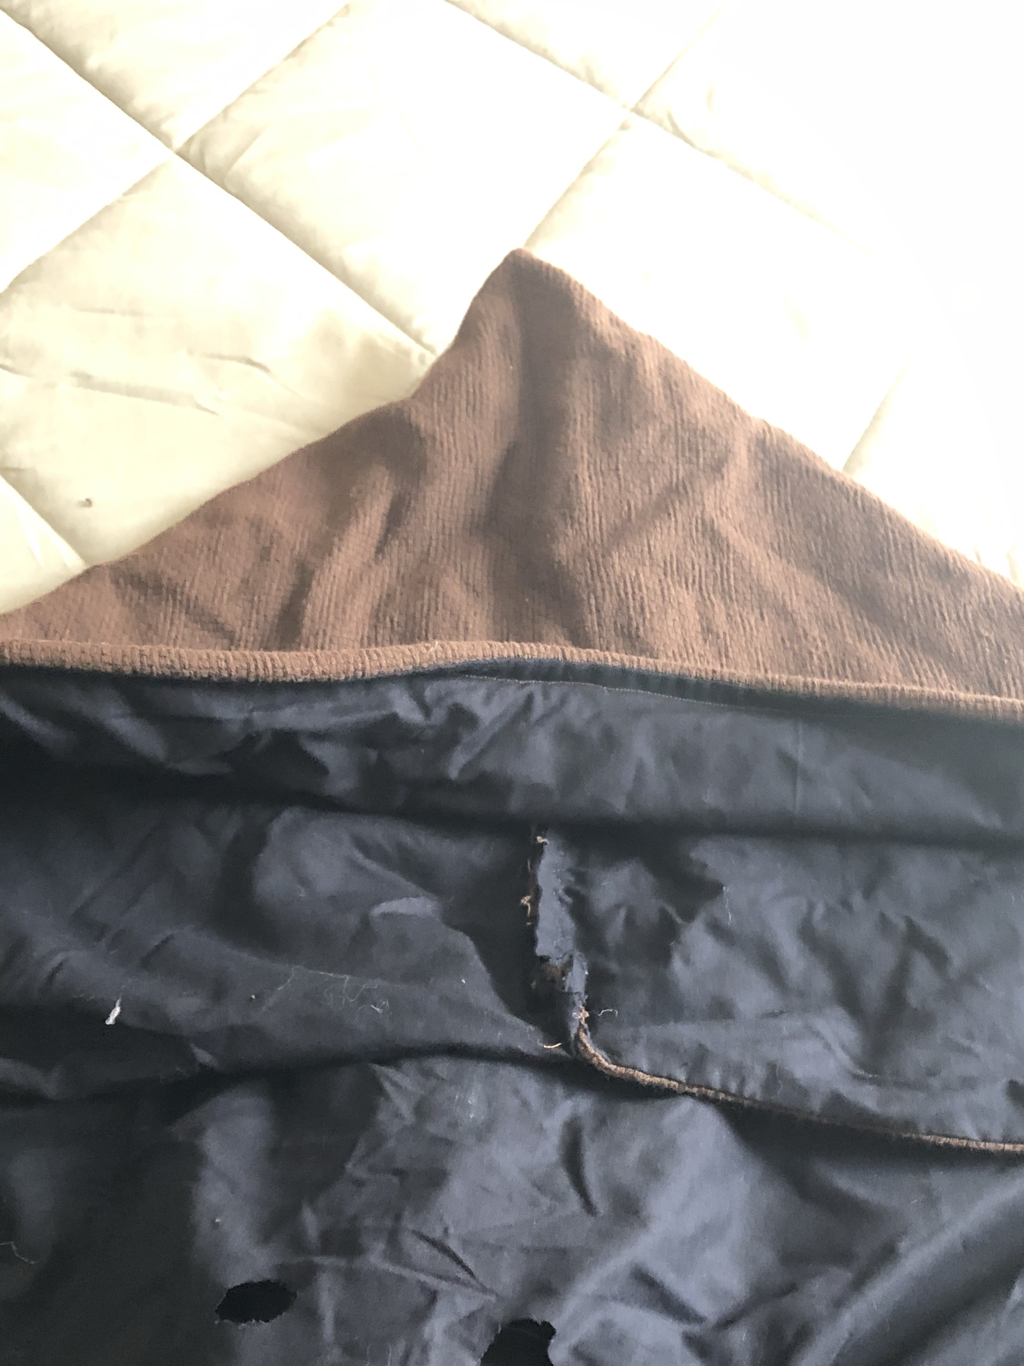
I got my fabric and some other supplies for this costume from a friend who was getting rid of things. I lucked out and the hood was already made. I can tell you that the hood is the same fabric from the robe and is lined with a black fabric. There is also a wire sewn into the face opening to help the hood keep its shape while being worn.
I decided that the two tails on the end of the hood that are used to tie the hood shut were too short on the hood I was given. They’re supposed to cross in the front to pull the hood shut and then go around the neck and dangle down the back. Also the tails on the one I was given were lined with black fabric just like the hood. Looking at the 501st picture of the hood theirs doesn’t appear to have that lining. So I took off the ones on my hood and added longer tails. I made them double the length of the ones I had on originally. They measure about one foot long each.
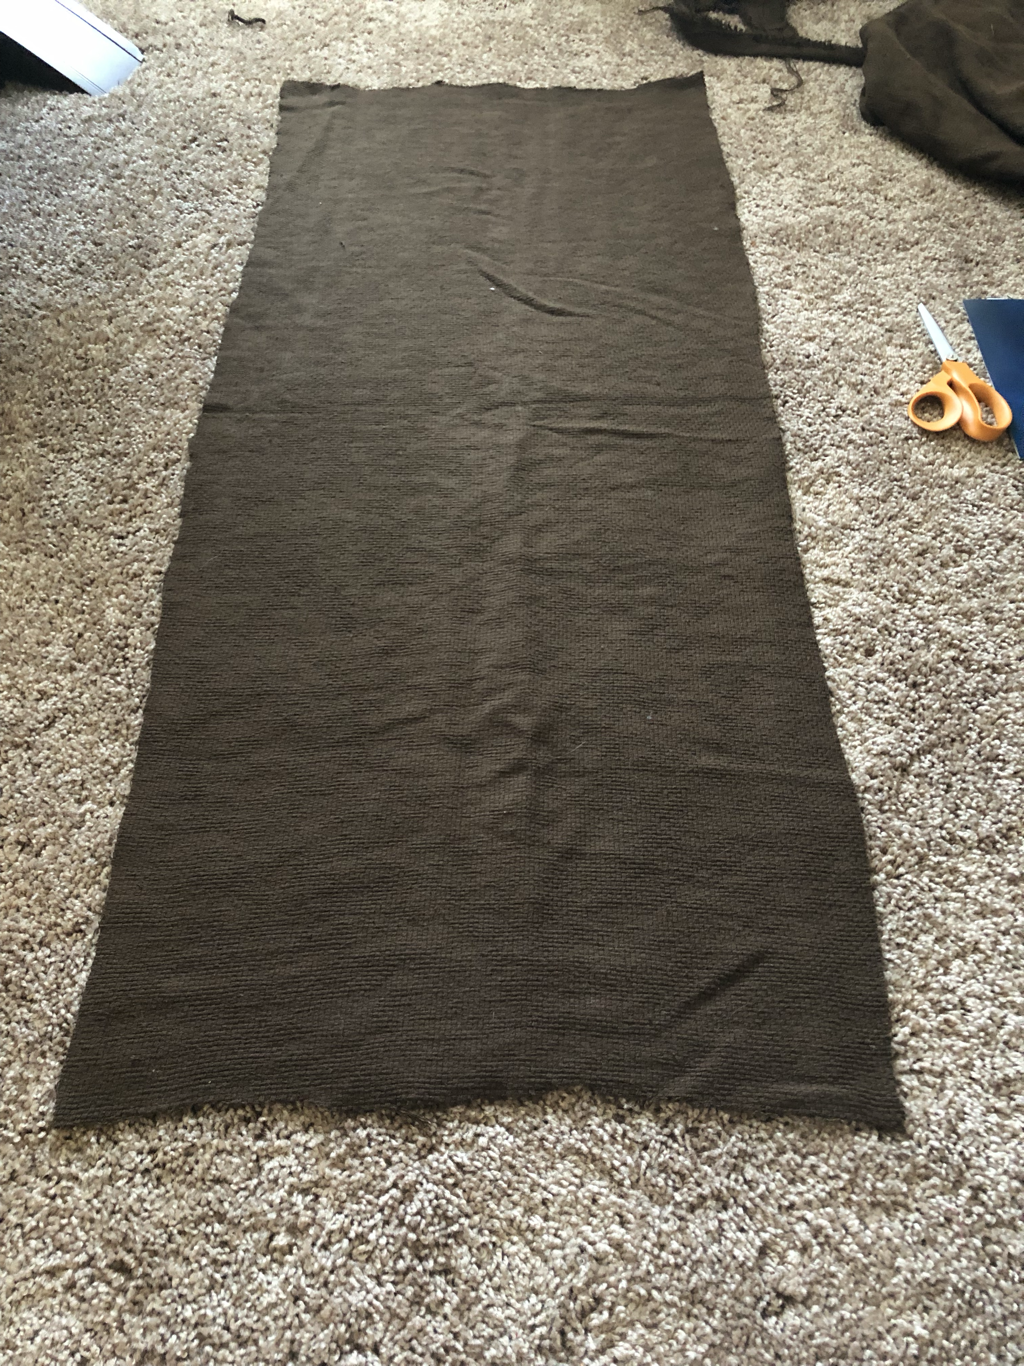
Cut a section of monk’s cloth for the hood. This one measures around 17.5x46 inches.
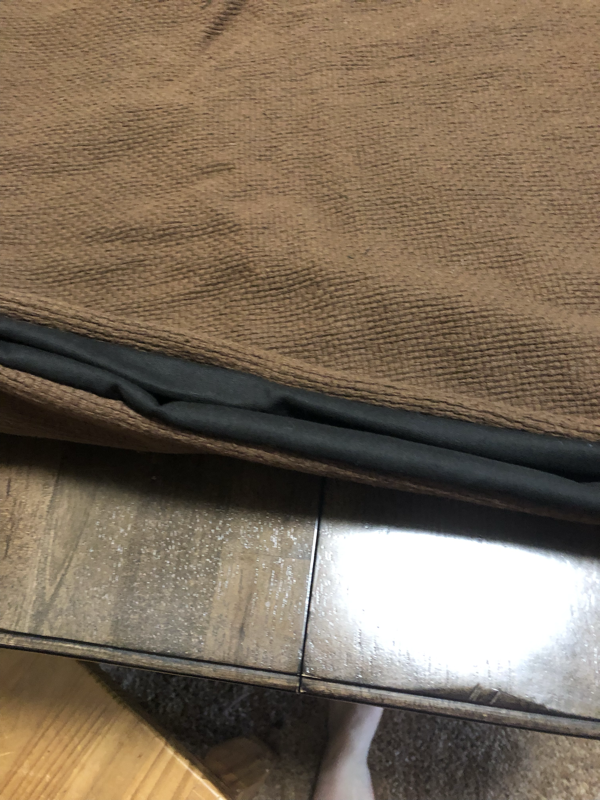
Cut out a section of black fabric that measures the same as the monks cloth.
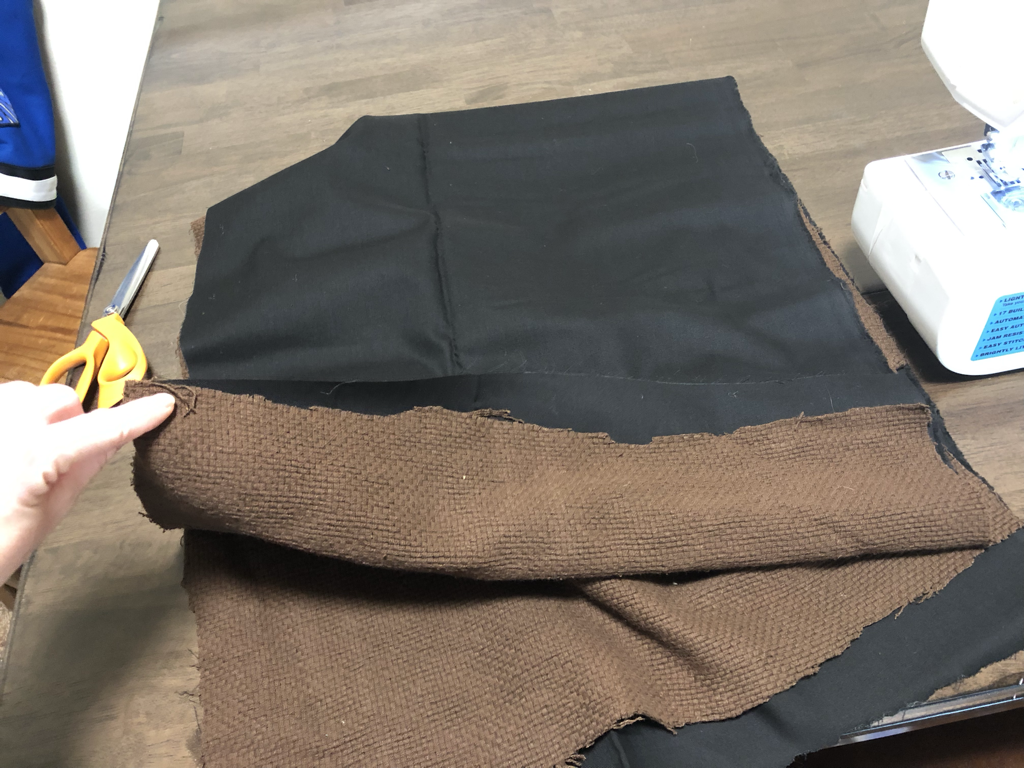
Sew one of the shorter edges of the black and brown fabric together.
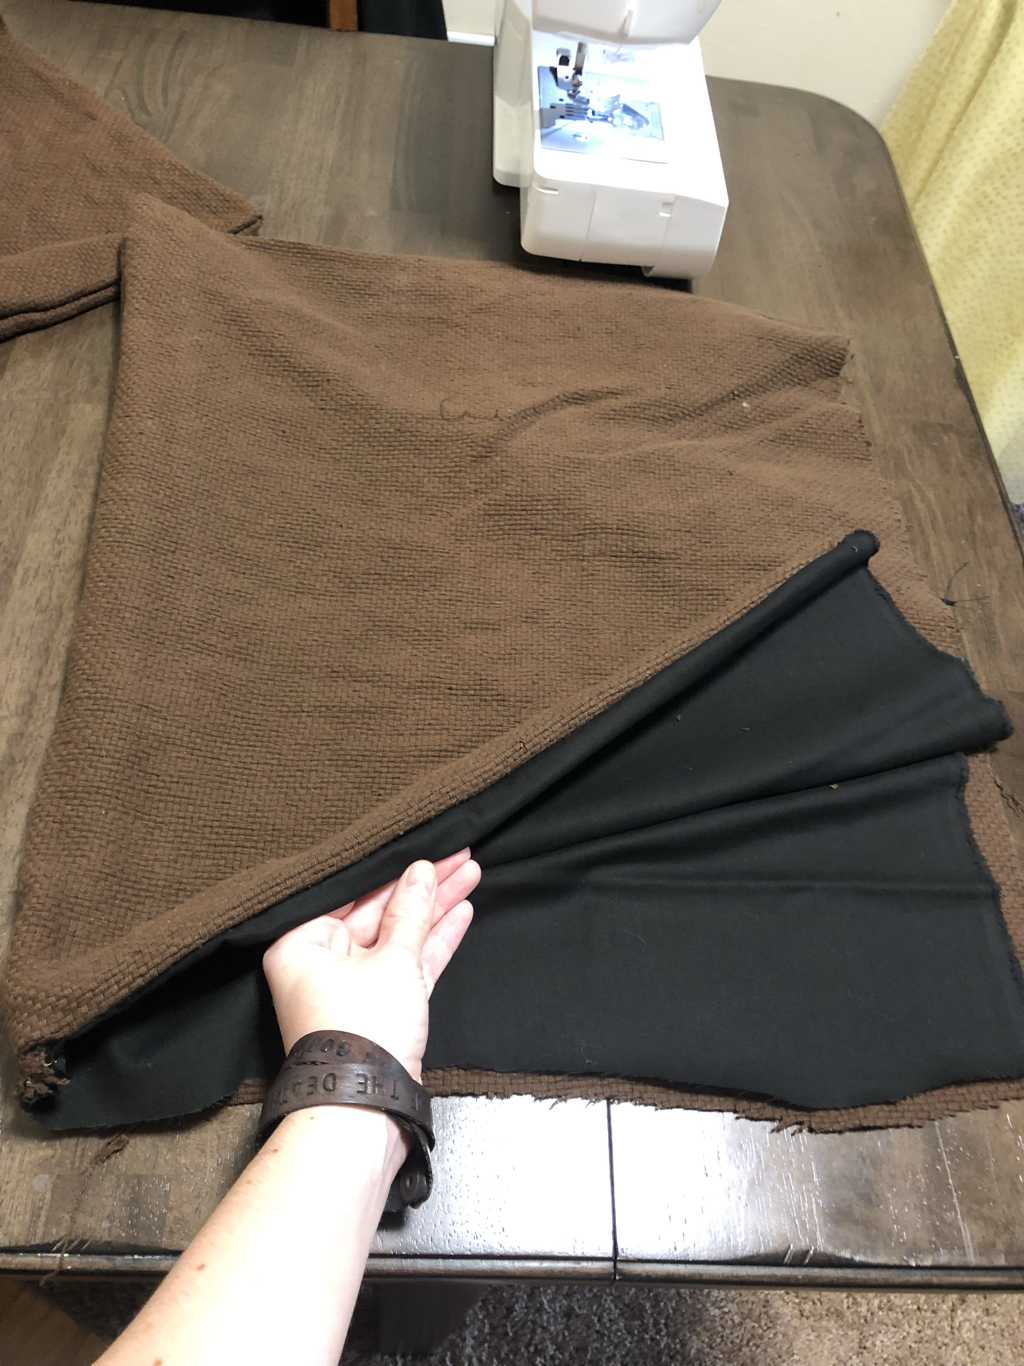
You will then turn it so that the sewed part is on the inside. This makes for a nice clean seam.
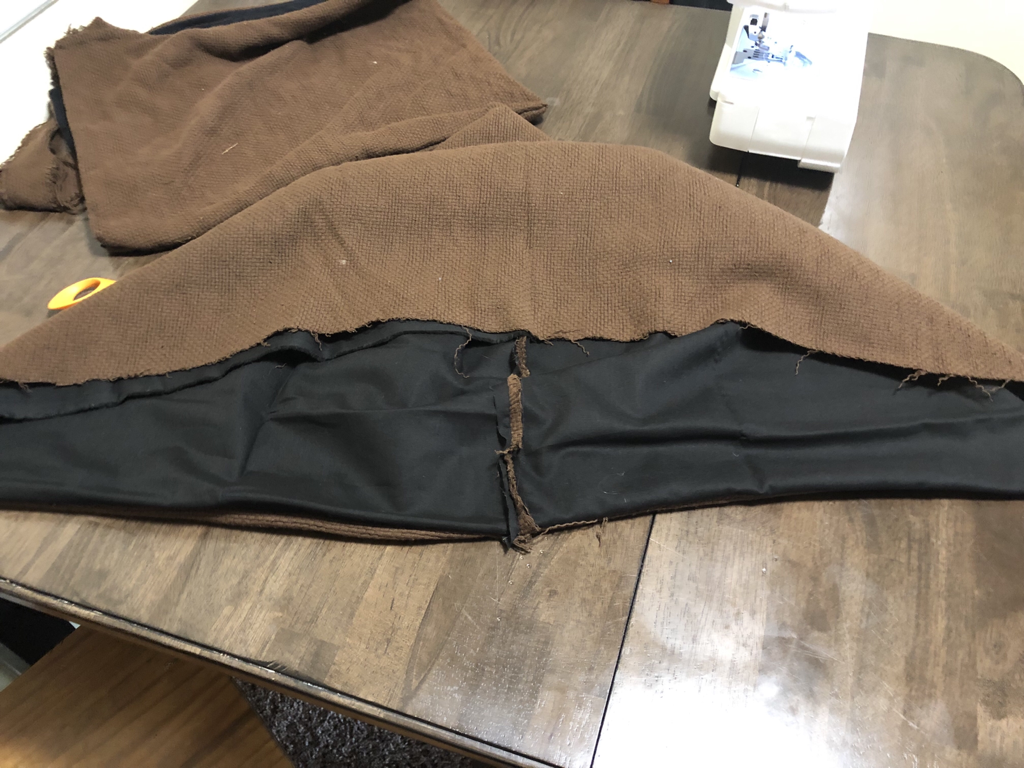
See the hood so that all of the clean edges are along the outside of the hood and all of the dirty edges are along the inside of the hood. The two shorter edges should be sewed to make the brown and black make a clean edge. Then fold in half hamburger style and sew one of the long edges together. Again, make sure that the seam will be on the inside (black side) of the hood.
The left picture is what the back of the hood looks like. The middle picture is the top of the hood. The right picture is what the bottom of the hood will look like.
Boots
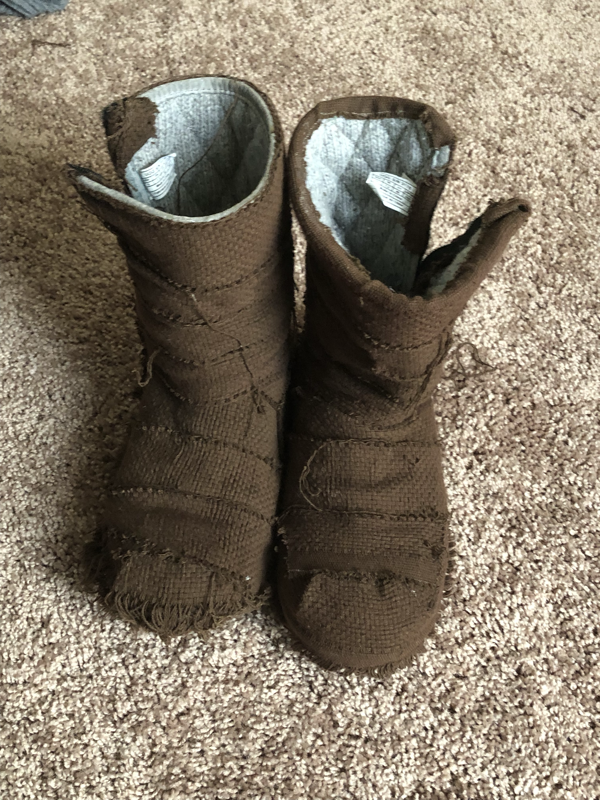
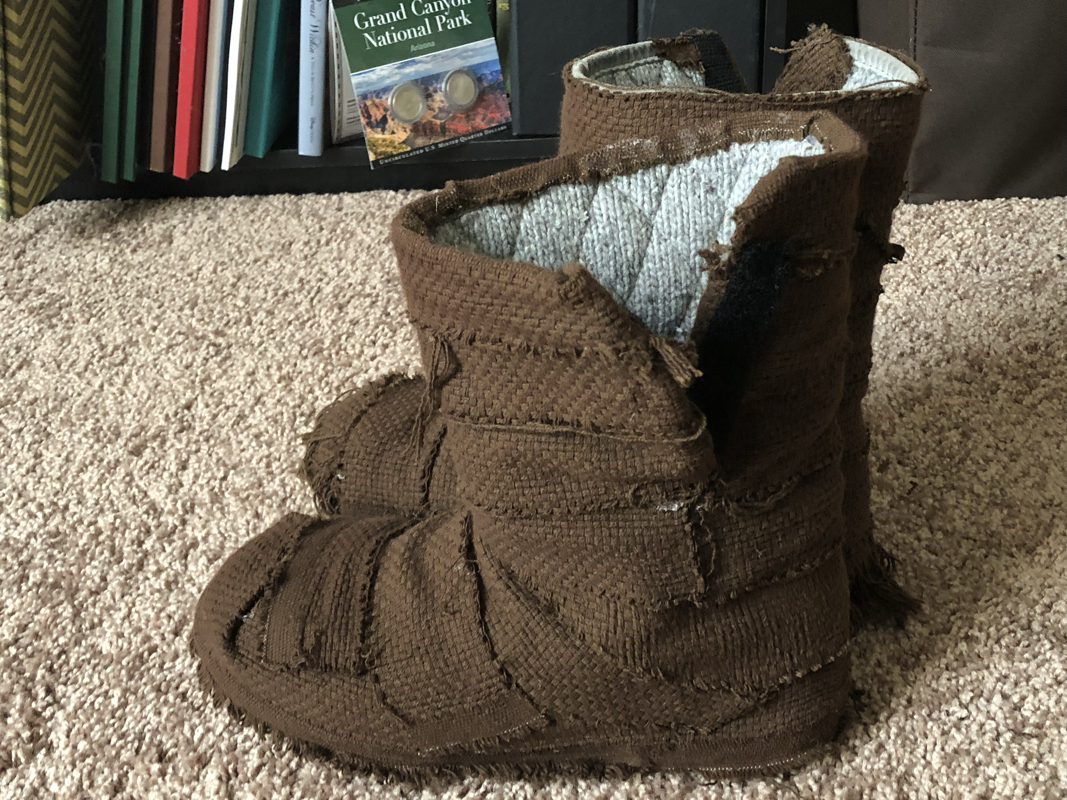
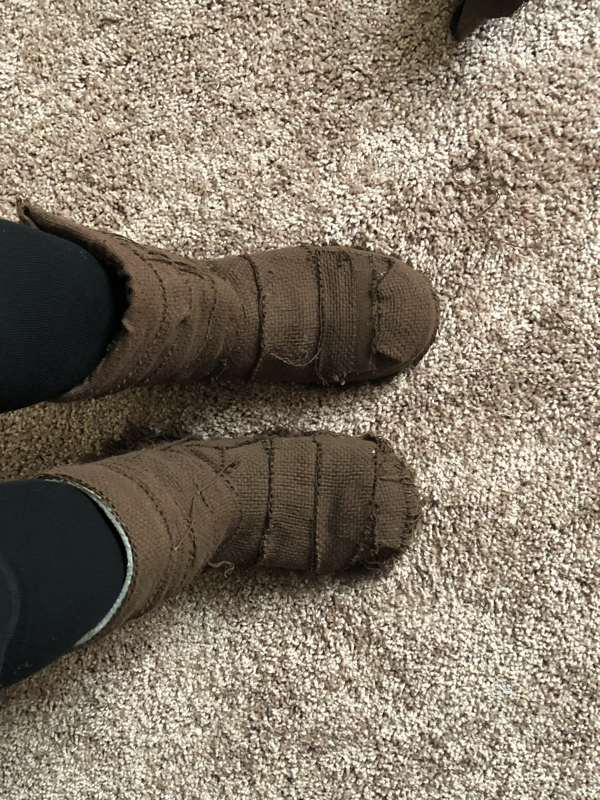
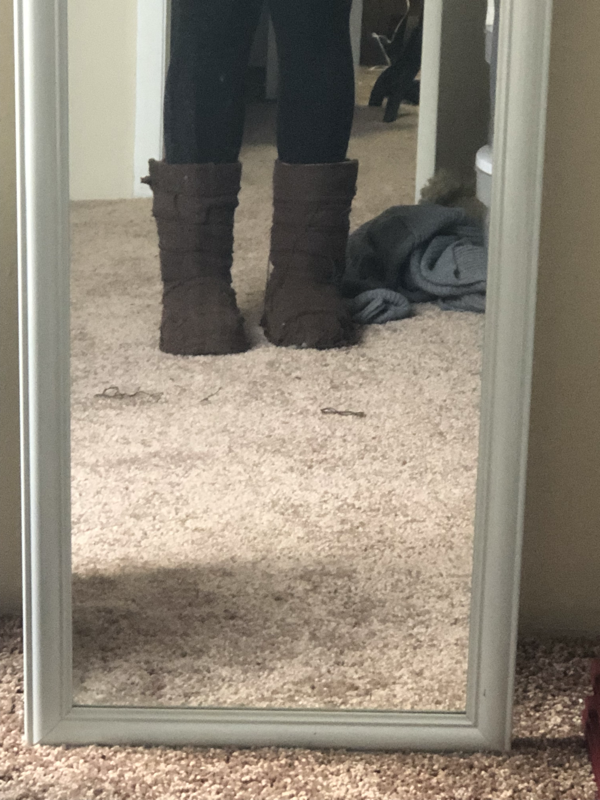
I lucked out and the friend who was giving away the fabric already had boots made that were my size. Simply buy a pair of boots and cover them with left over fabric from the robe and hood. I will note that you will want to make sure that they are comfortable boots as you might be doing a lot of standing and walking in them. Comfort is key.
Mask
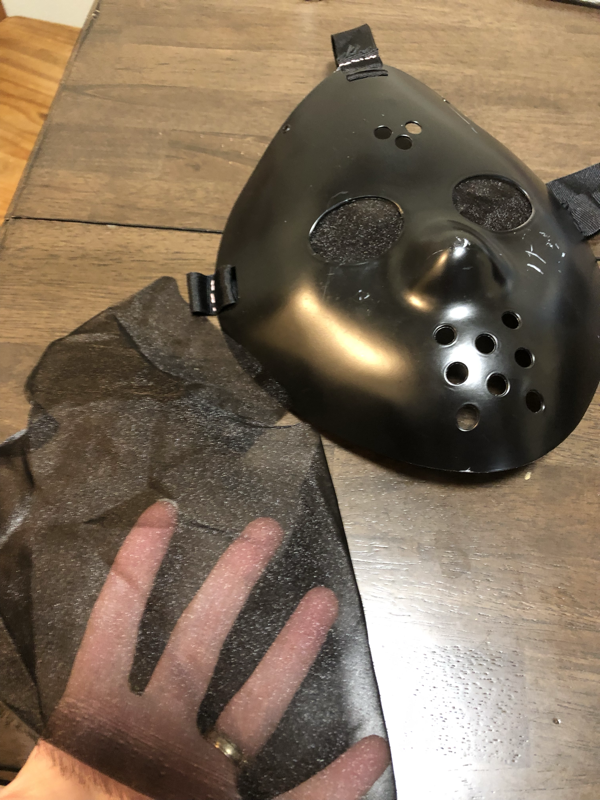
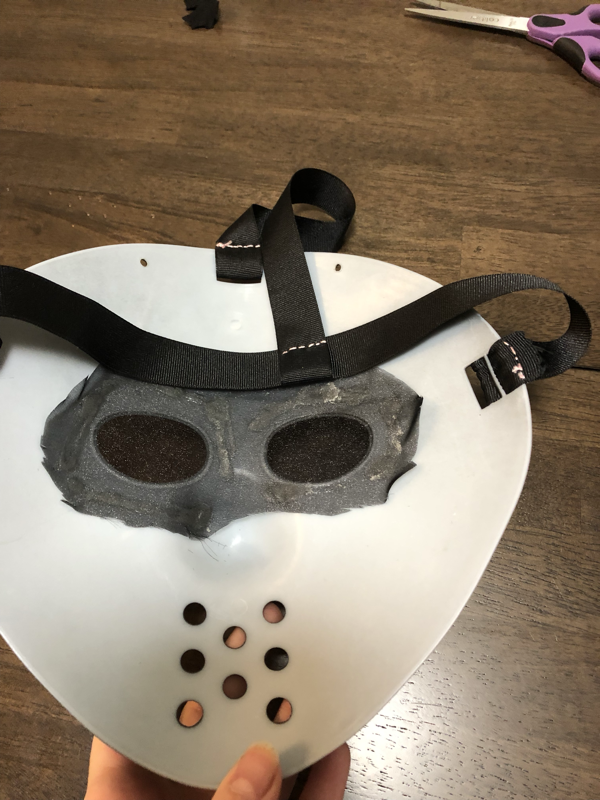
For the mask, start off with a cheap hockey mask and some thin/sheer black fabric. Since the mask has to be completely covered in black fabric it’s best to use a see through fabric over the eyes so you can see better. I simply hot glued it over the eyes in the back on the mask.
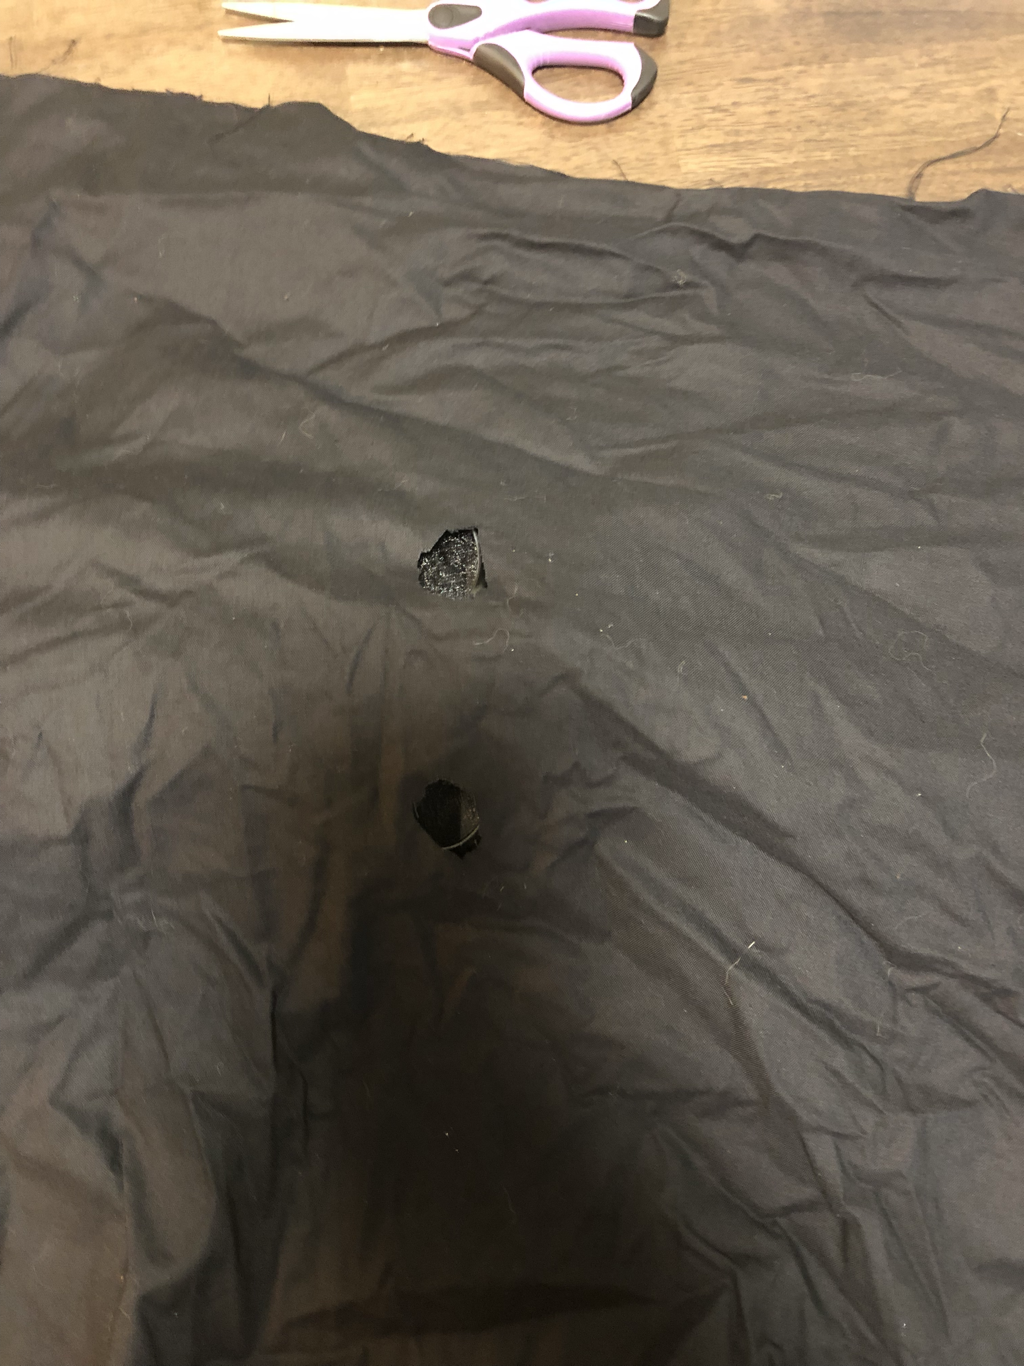
Next you want to take the other black fabric, the thicker one, and lay it over the mask. You need to mark where the two eyes will fall so that you can cut them out.
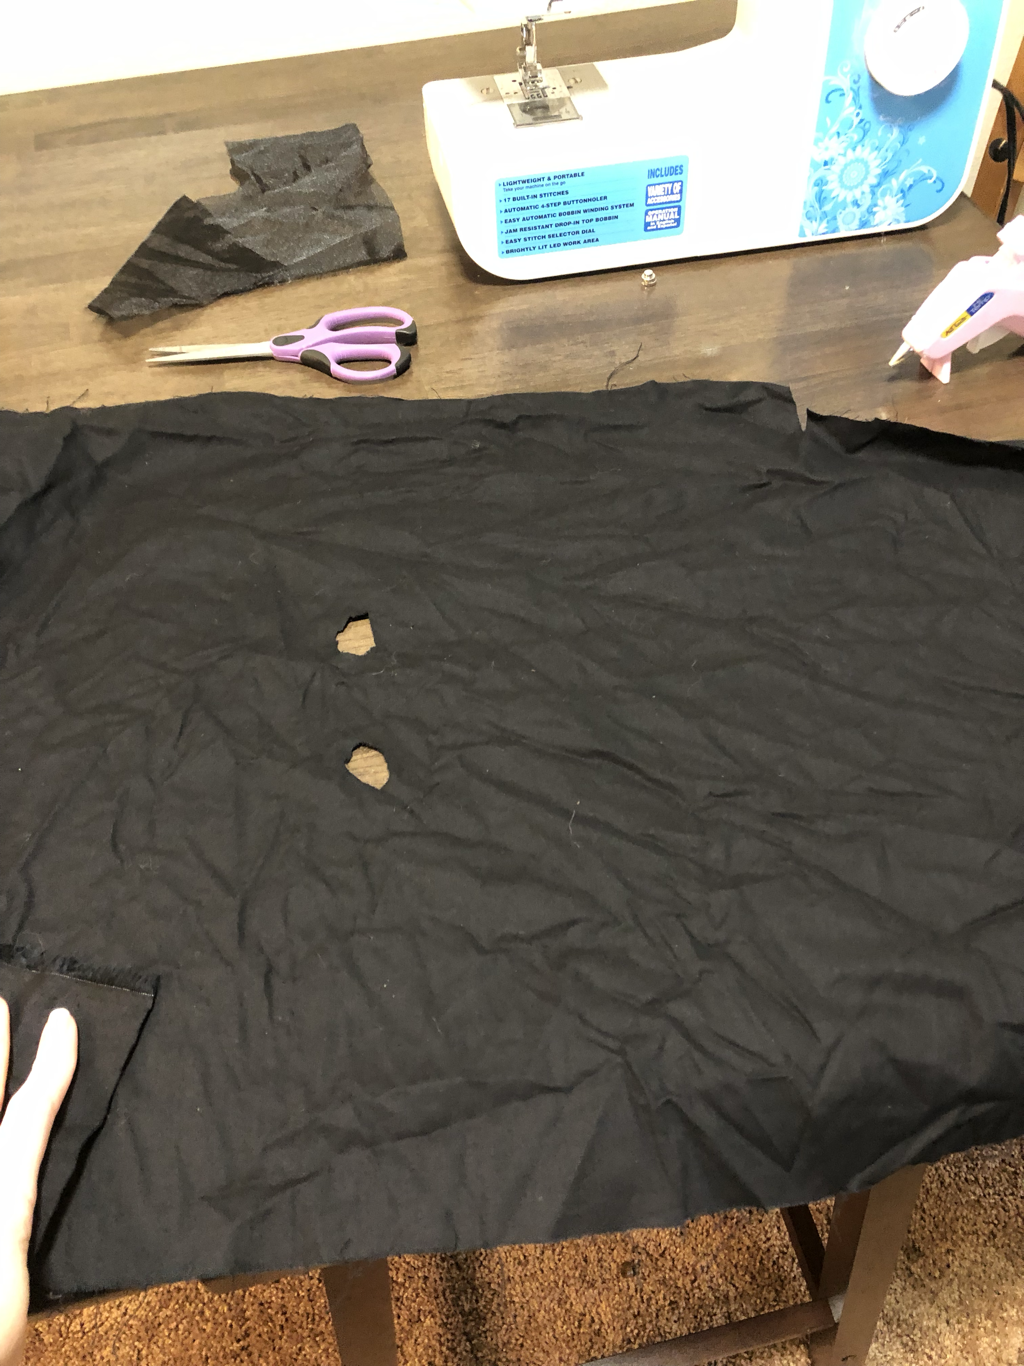
Make sure that when you decide where to cut the holes that you allow for more fabric on the bottom than the top. The extra fabric on the bottom will get tucked into the robes so that you ensure no skin is showing on your neck when the costume is worn.
Place the fabric over the mask so that the holes for the eyes line up. It should look like the above picture. Then hot glue the top part of the fabric to the mask.
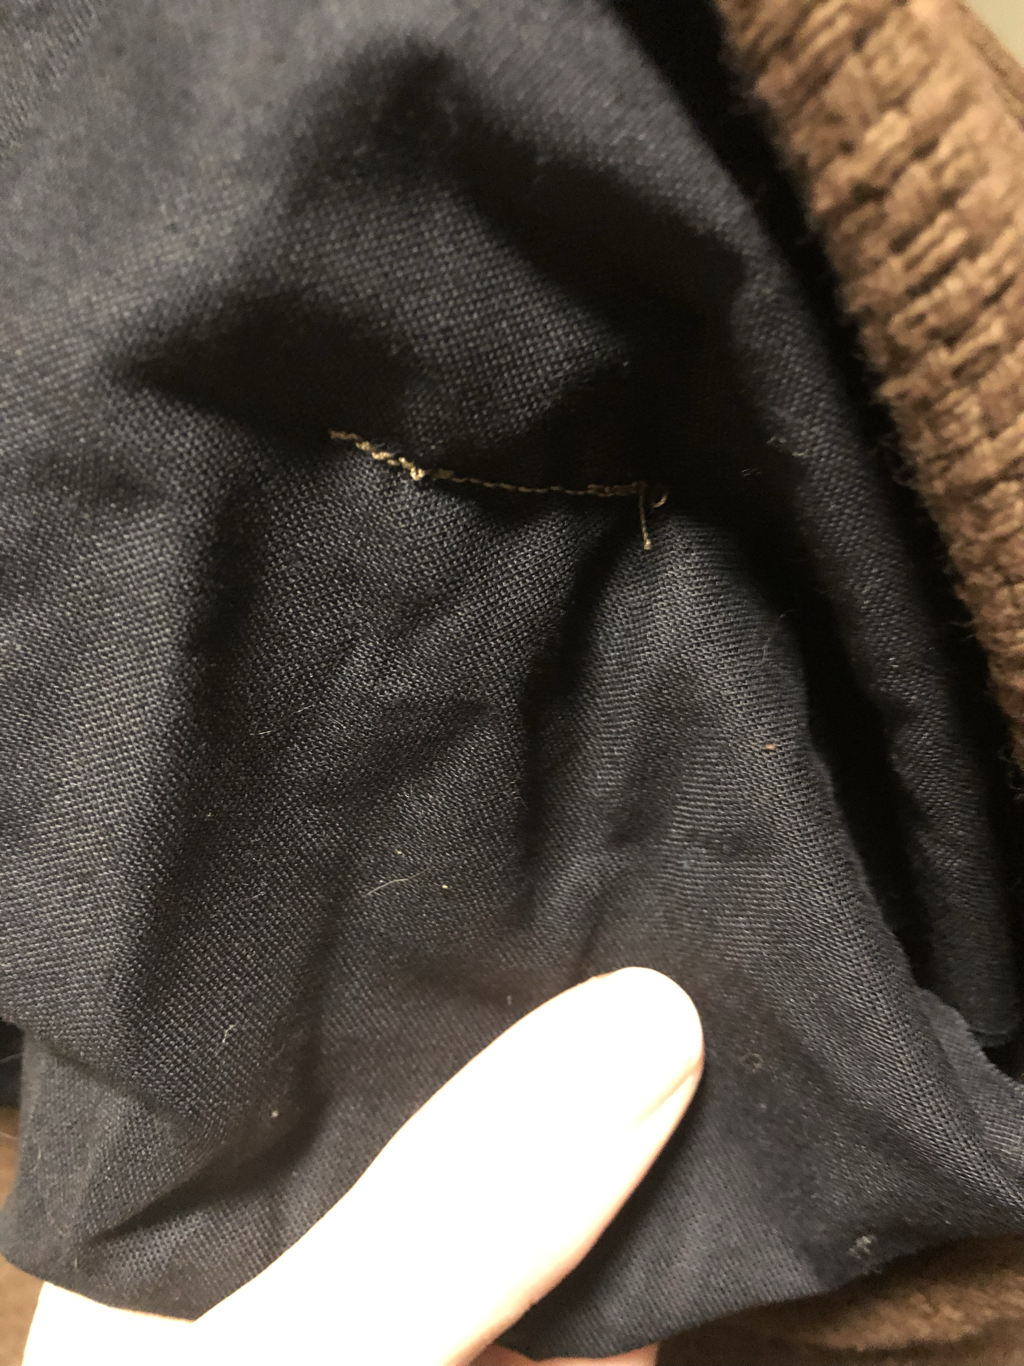
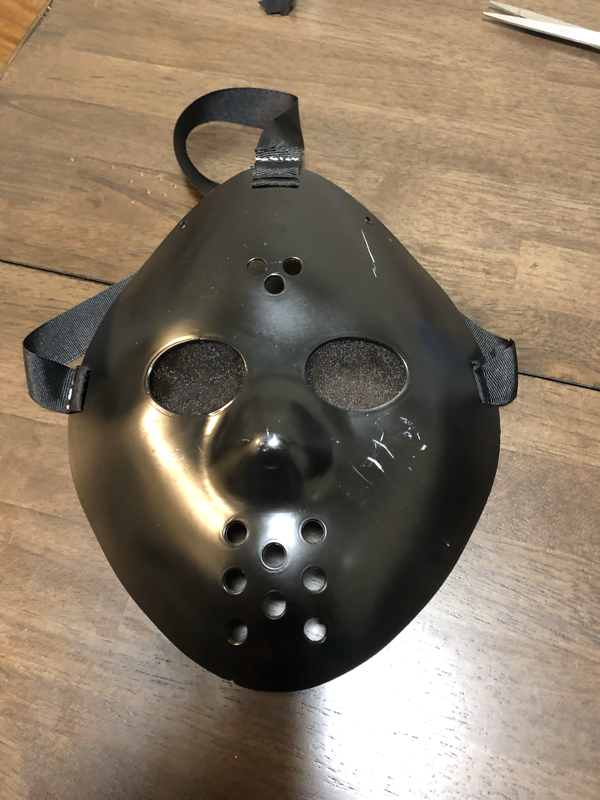
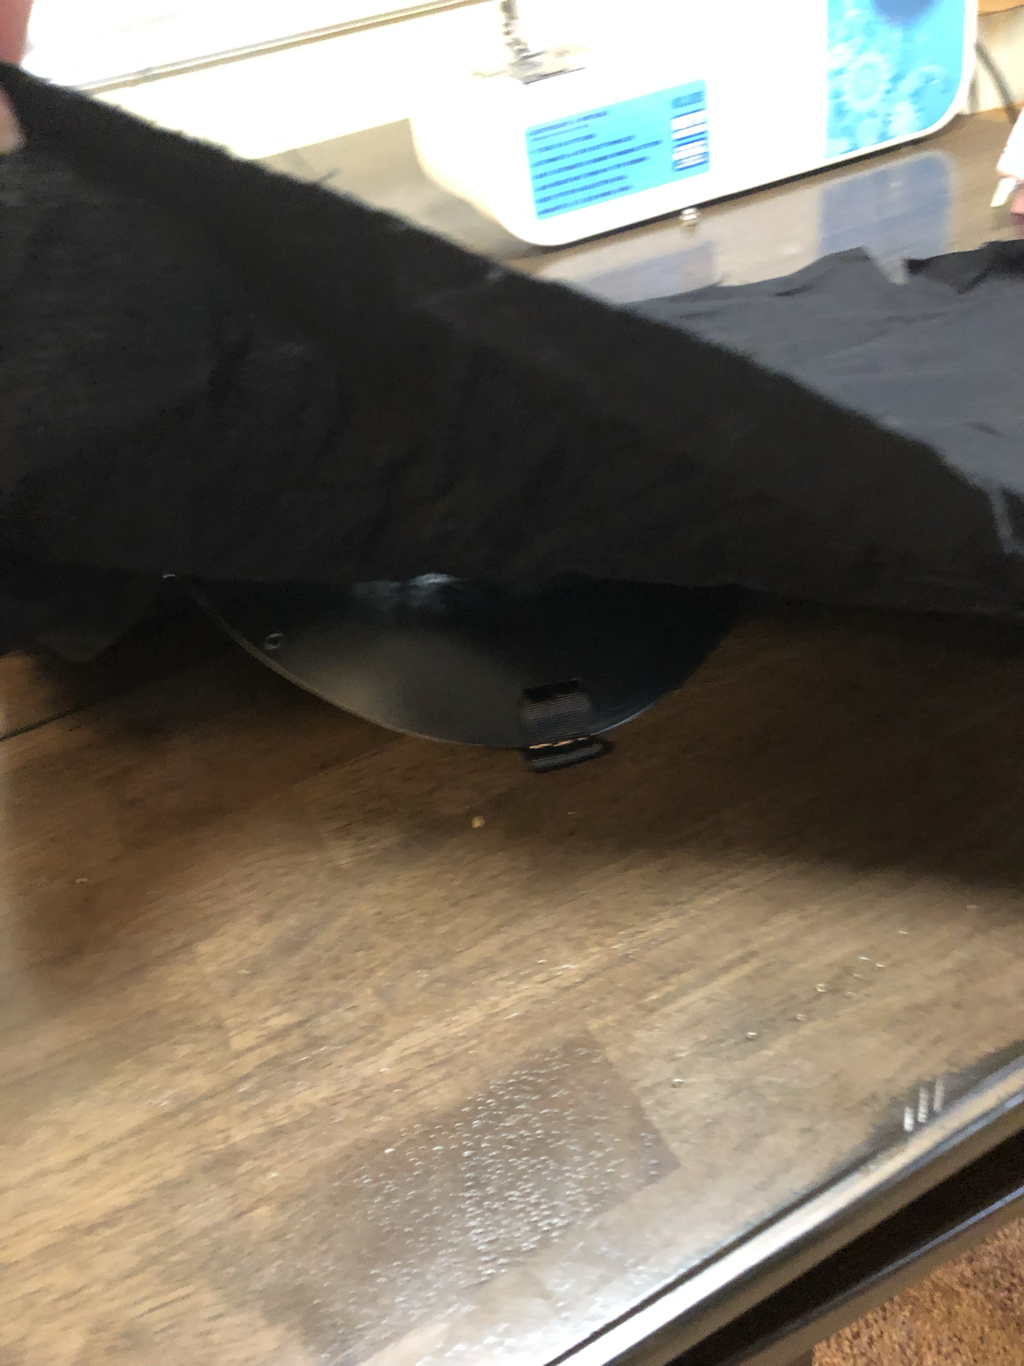
Next you want to use your sewing machine to do a quick easy stitch along the fabric and all three contact points for the band on the mask. This will help keep the extra fabric from moving around and will help hide your head and hair while wearing the costume.
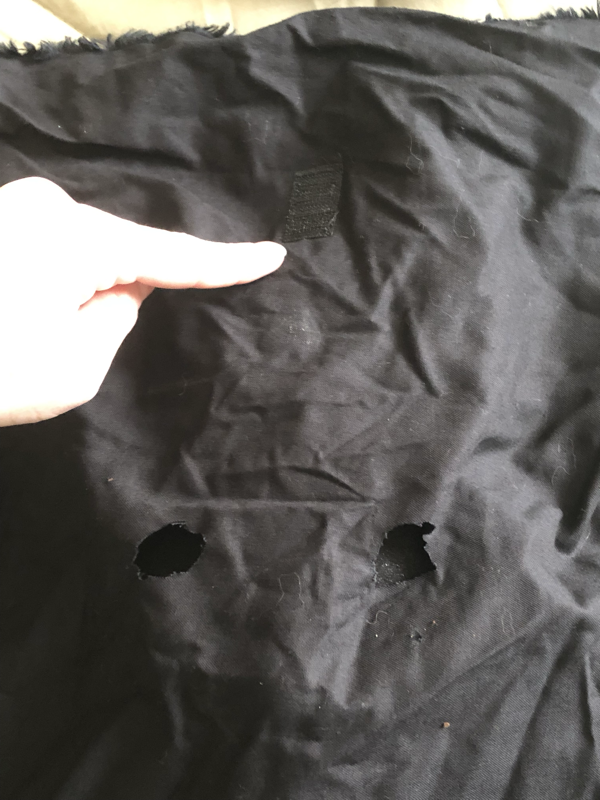
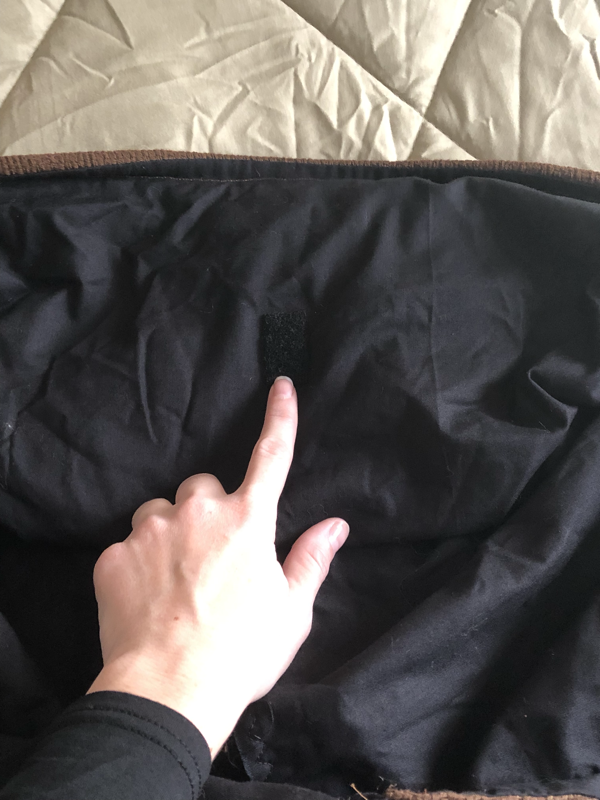
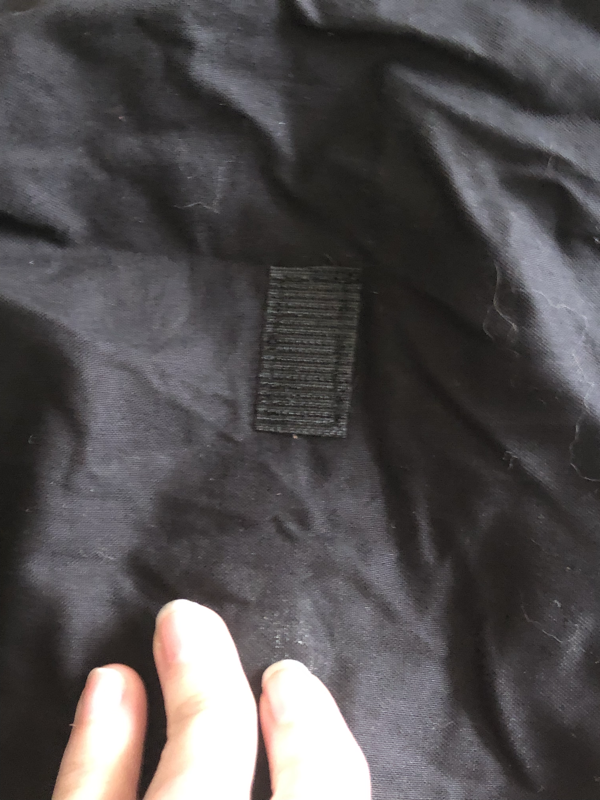
I added Velcro to the mask and the hood so that I would be sure the hood doesn’t fall off or move when I wear the costume.
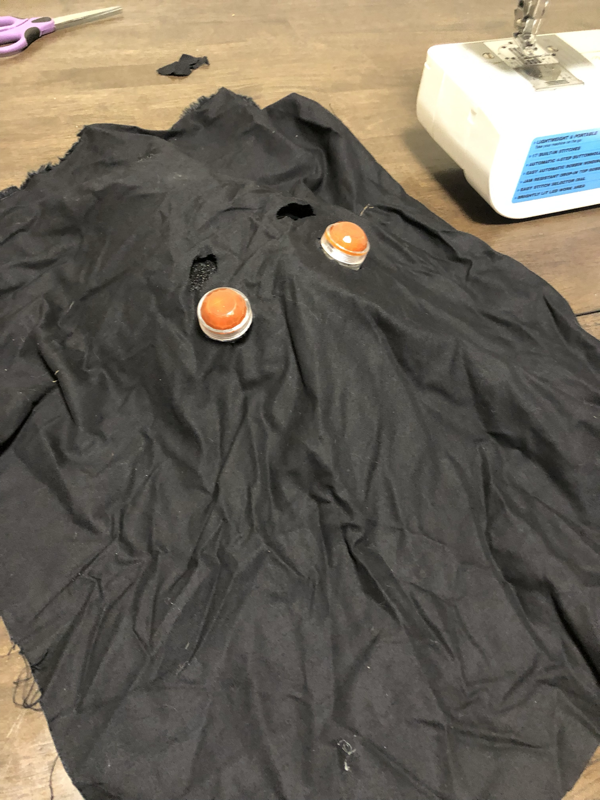
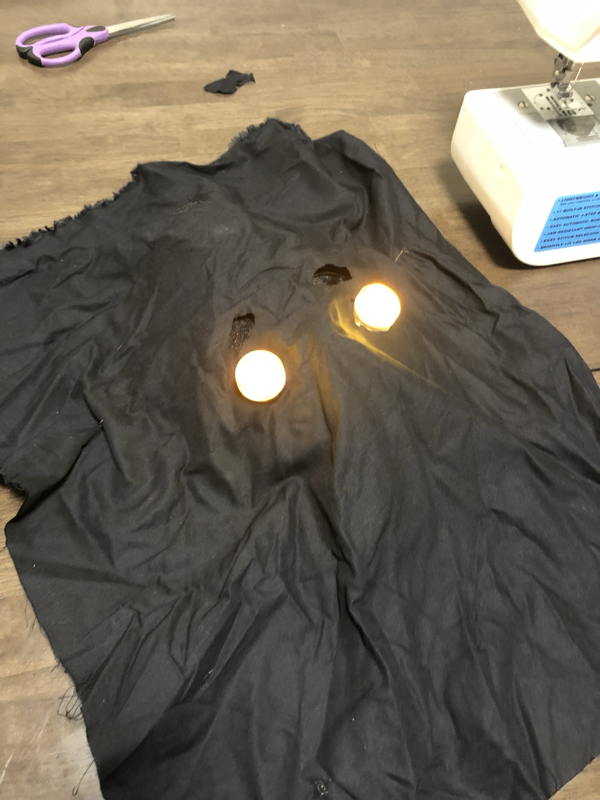
I bought the eyes from the Etsy seller HydePrideProps. This is because theirs were made to run on batteries that didn’t require wiring. I hot glued them the the mask and then pulled the fabric down. Next I cut two holes in the fabric for the eyes to pop out. After this I hot glued the fabric down to a few more places on the mask.
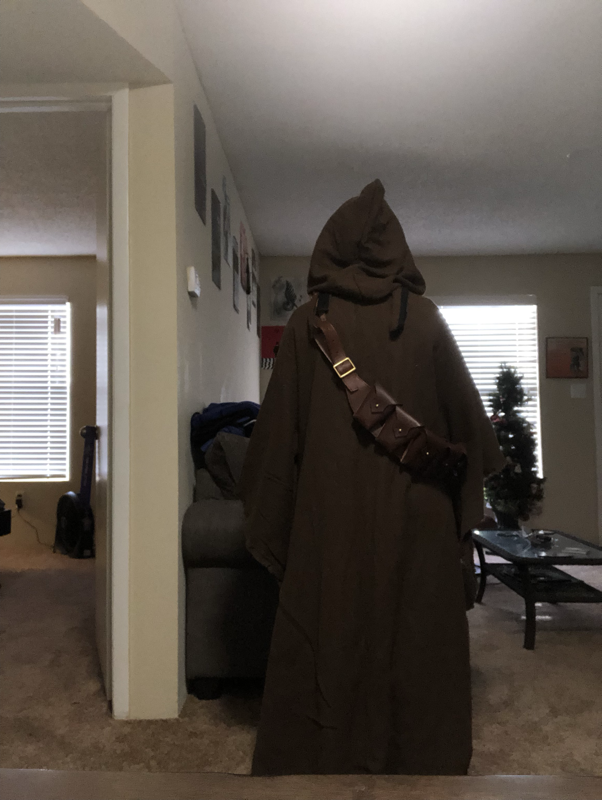
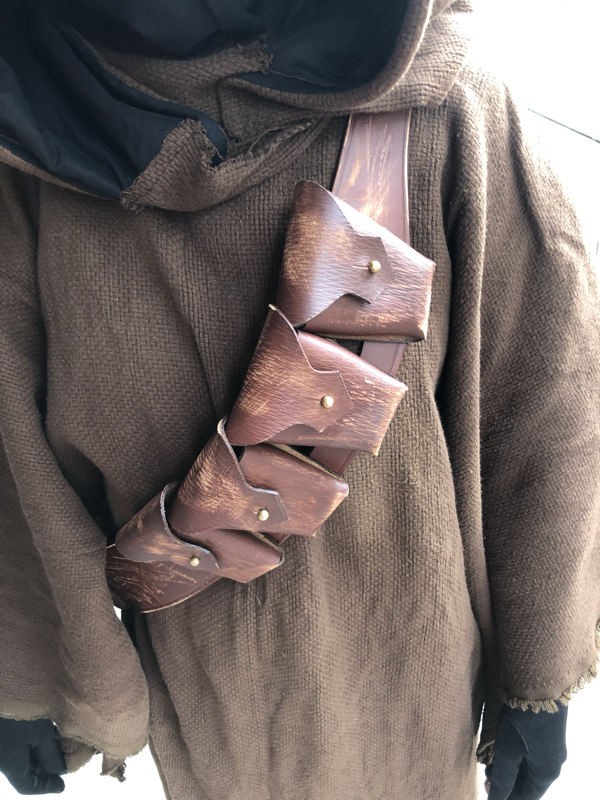
Bandolier
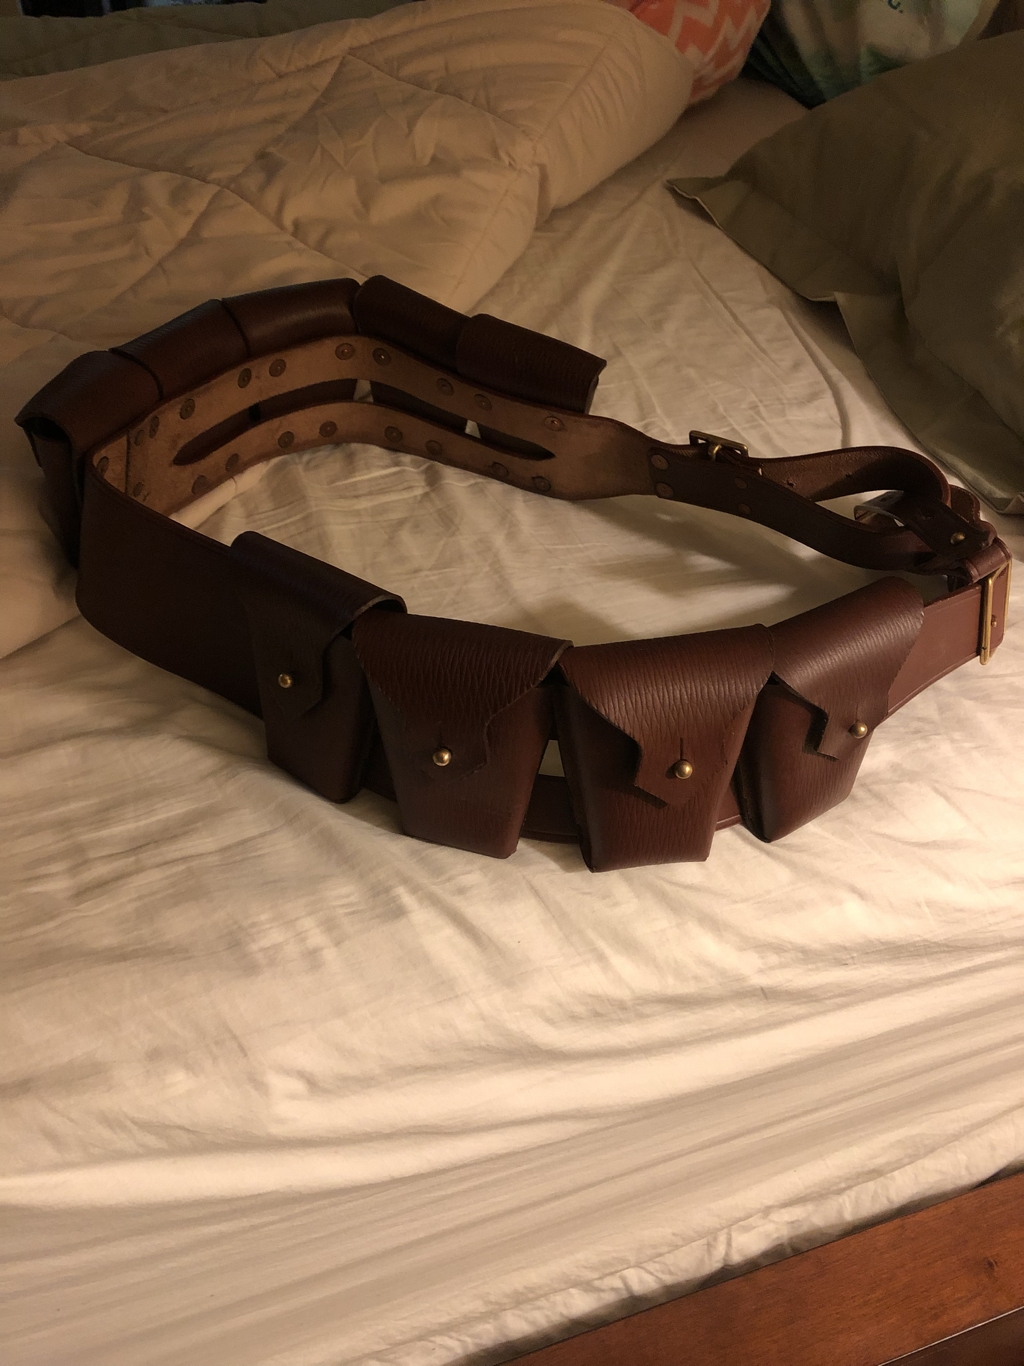
As with my Tusken Raider costume, I simply ordered a bandolier from Etsy user TrooperBayShop.
Undergarments
You can make your own, but it seems like an unnecessary hassle. I simply bought black stretch yoga pants, a high neck long sleeve black shirt, and black opera gloves.
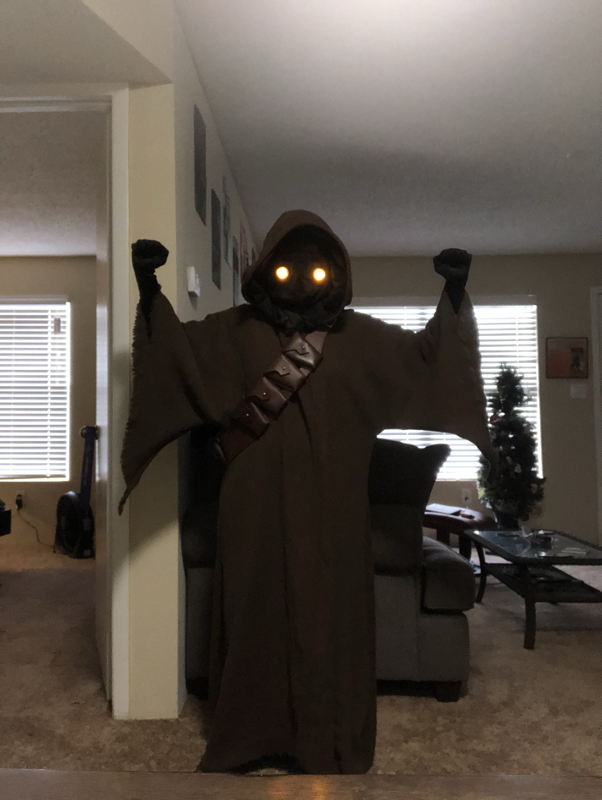
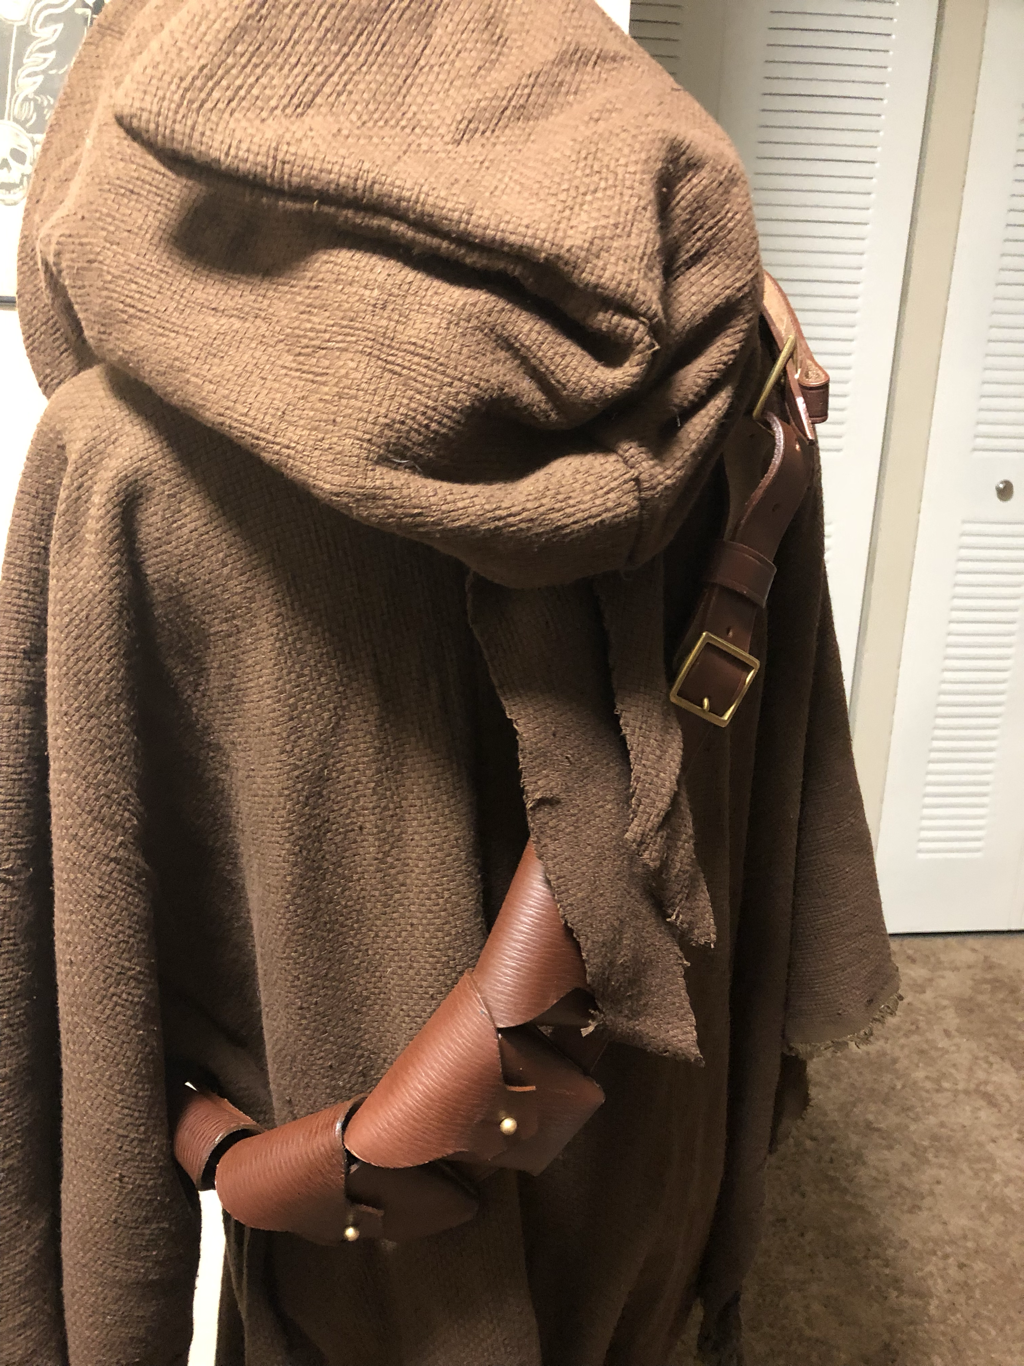
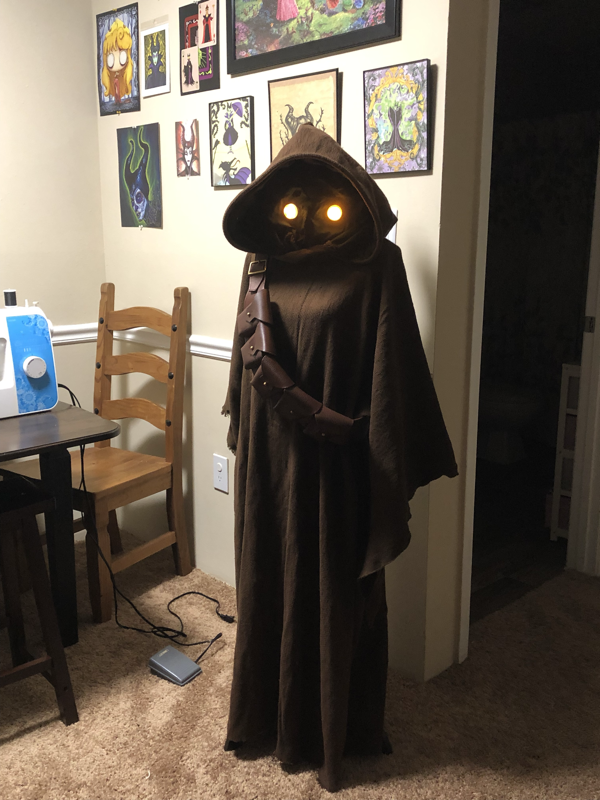
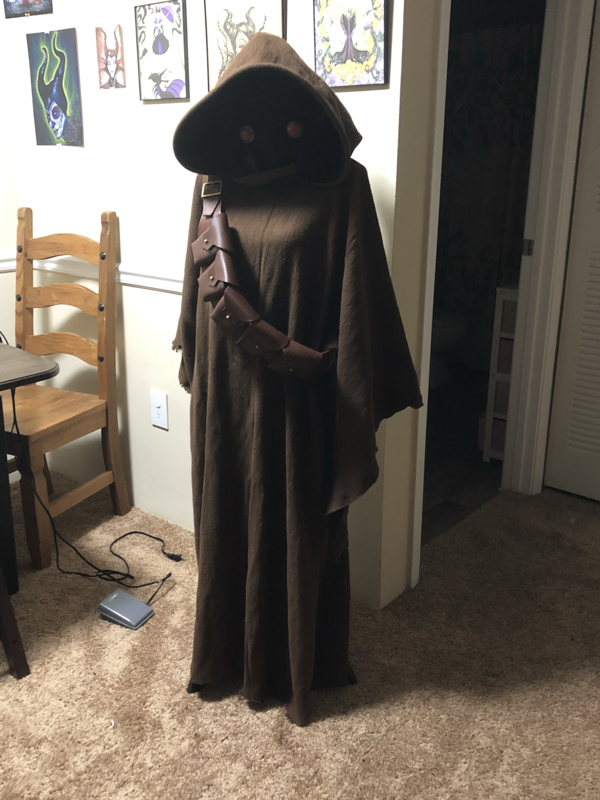
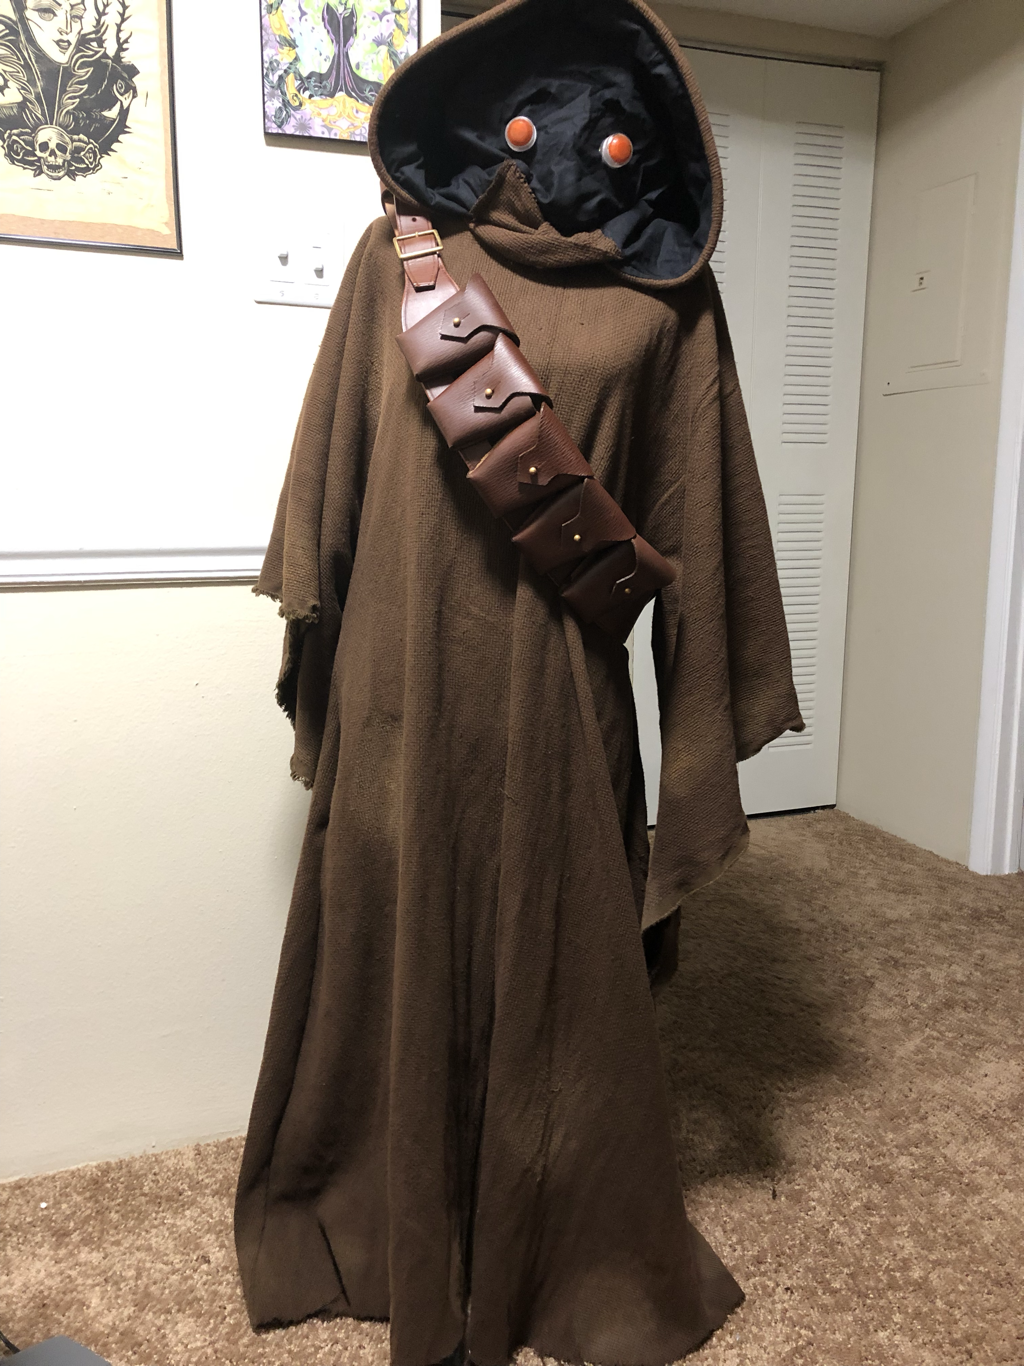
This is what it all looks like so far. The last step is to weather the robe and bandolier.
Weathering
I bought some light brown paint and watered it down a lot. Then using a sponge I dabbed the paint onto the bottom of the robes. The goal was to make it look like sand had stained the bottom of the robes and boots from walking. 501st guidelines specifically say to make it look like sand weathering, not weathering due to dampness. That’s why I stuck with the light brown paint. I added a few random stains to the upper areas of the robe, but mainly concentrated on the bottom.

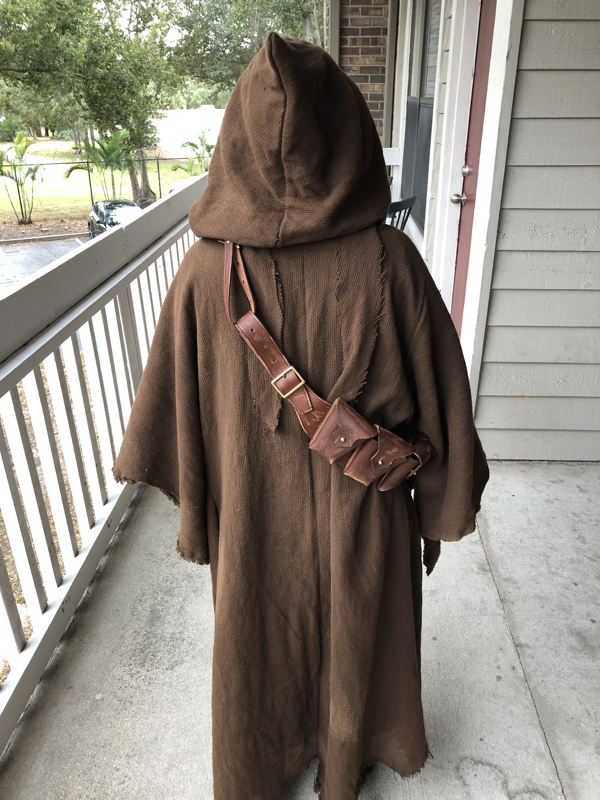
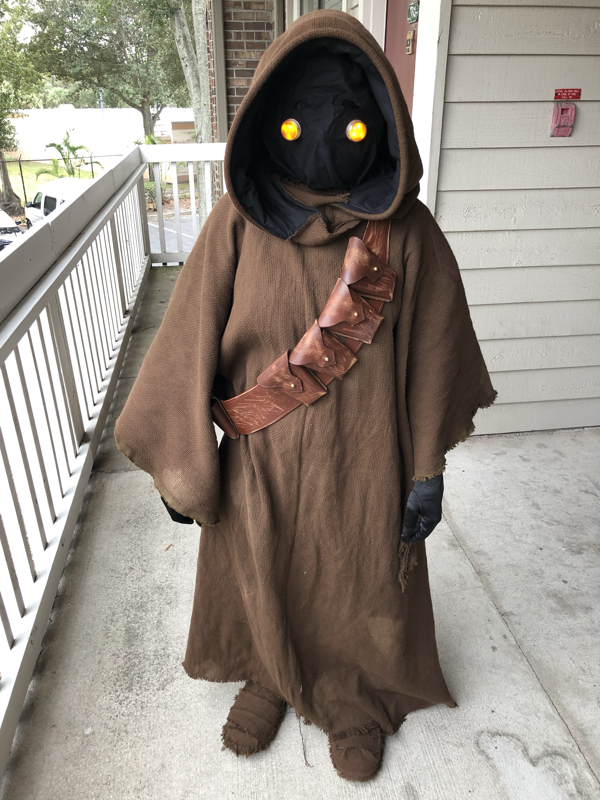
Next I rubbed the robes in the dirt and scratched the bandolier up on the sidewalk.