introduction
In 2018 I made a Tusken Raider costume for my friends at And You Films. Here are the steps I took.
First I will point you towards the site: http://www.studiocreations.com/howto/tuskenraider/main.html
This site has a very good detailed description on how to make most of the costume pieces. I followed the directions there for the vast majority of the process. I’d highly recommend reading through that site before starting so you can get an idea of how to make the costume.
I also used the following link for their directions on making the breather:
http://dz9588.com/tusken-raider/tusken-breather/#.WzrU0RYpCaO
Inner robes
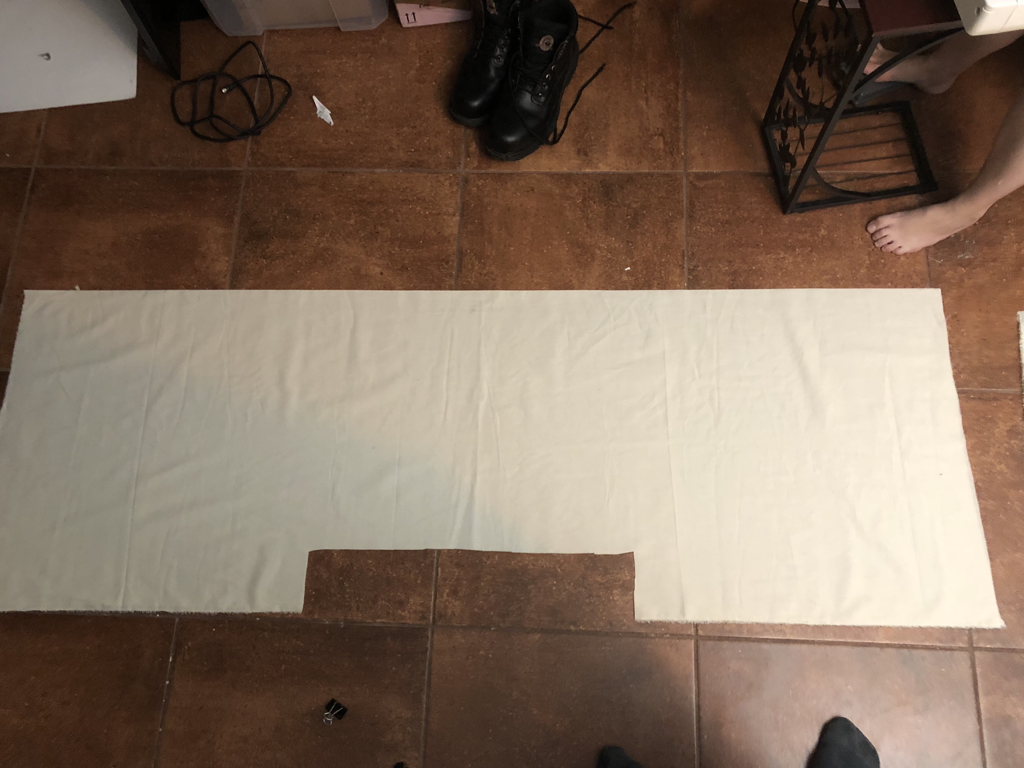
Fold the fabric in half with the 2 yards being the length of the fold. It should measure 72 inches by 24 inches. Next cut a section out to be the waist. (This is where the skirt will attach.) The section should be 20 inches from the top of the fold, and each of the bottom sections should measure 24 inches. Sew the bottom two sections so the front and back are closed together.
Take the second section of 2 yards and fold it into three even pieces. (Meaning fold the 72 inches portion into three even sections of 24 inches.) The two sections that overlap will be the front of the robes. It should measure 48 inches up and down by 24 inches along the top and bottom.

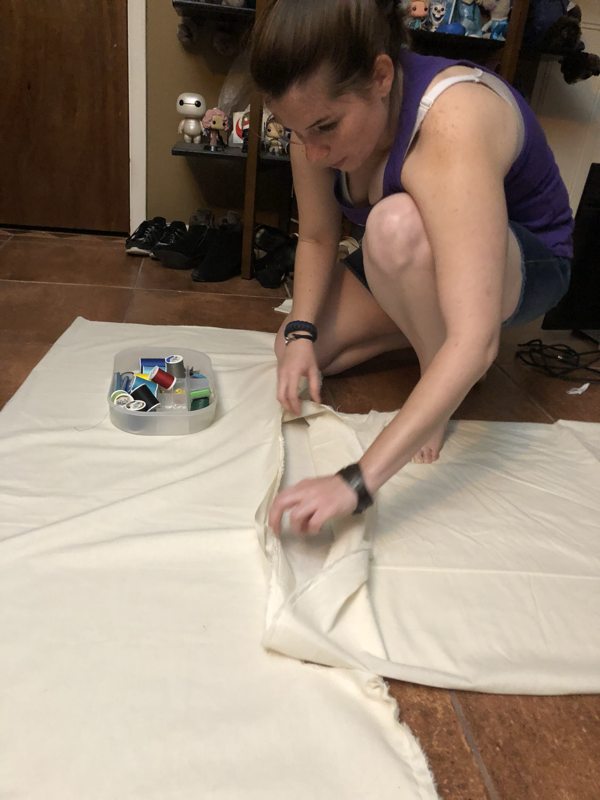
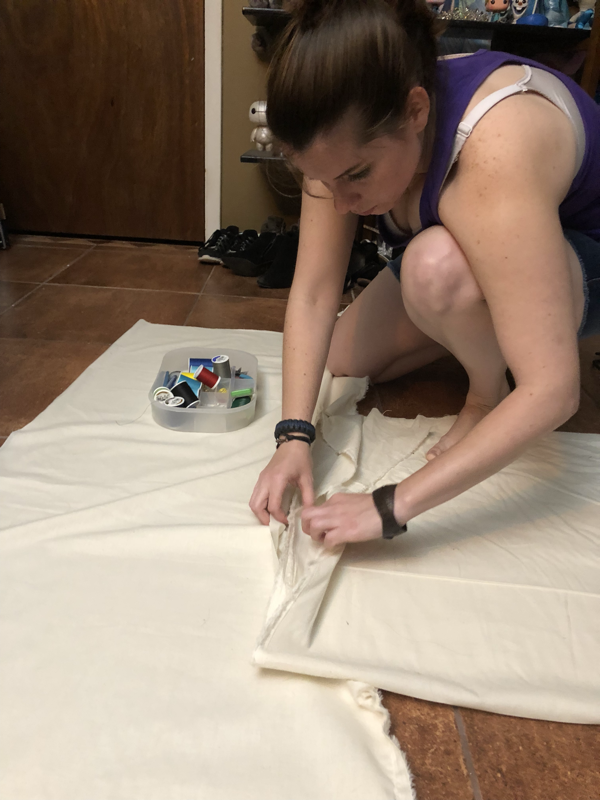
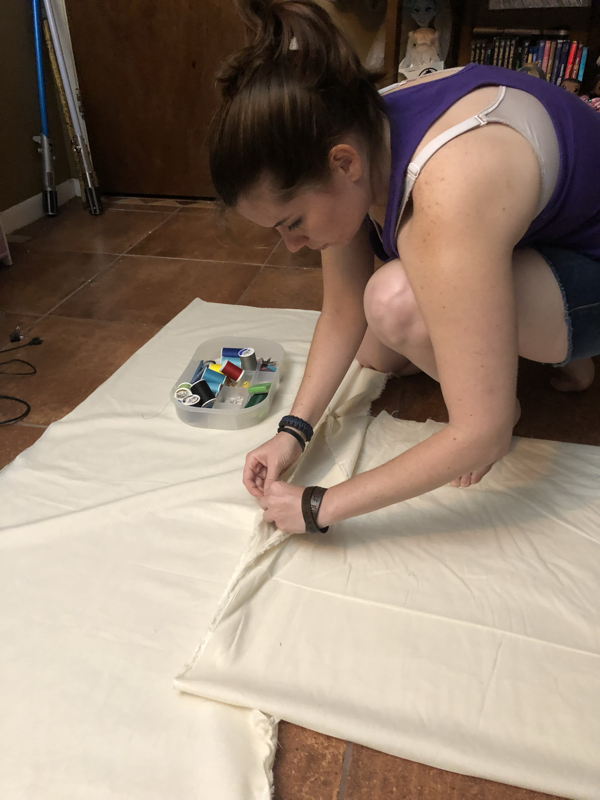
Sew the top of the skirt to the bottom cutout of the top. The back will have one section of the skirt sewn to the back of the top. The front of the costume will have two of the skirt sections sewn to the front of the top. Pin everything in place, and I suggest turning it inside out to make sure all the seams all face the same direction. Also be sure the seams on the sleeves already sewn together face the same direction that these new ones will. Once you are sure, sew it all together.
Turn the garment inside out. This is now the new outside of the robe. Cut a hole for your head and make sure that it fits well. You might have to trim the length of the skirt some depending on your height. Be aware that the skirt should reach the instep of the boots.


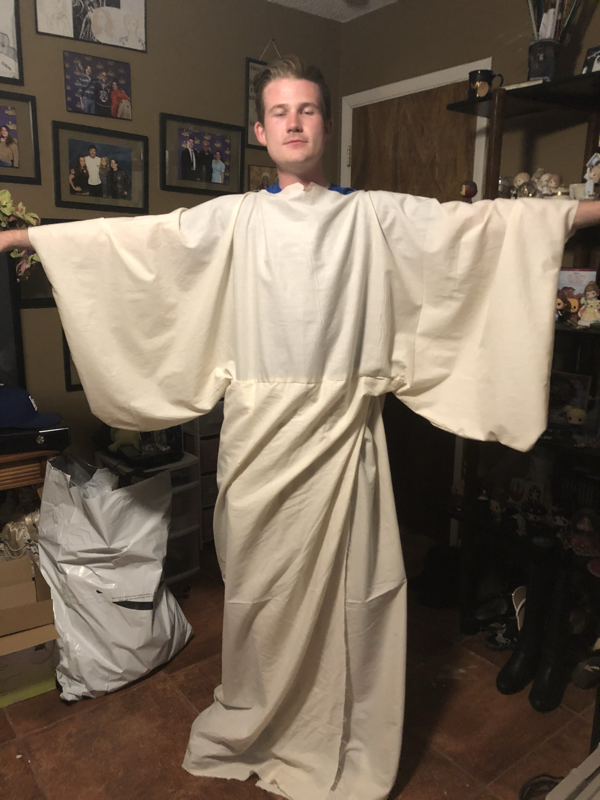
Once you’re sure it fits right, sew the sleeves up. With the garment inside out (so that the seams are visible) sew the edge of the sleeves up on both sleeves. Make sure to leave room for the hands to go in and out. You may need to leave a little extra room so they’ll fit when the gloves are on. Sew these together and turn the robes back to right side out.
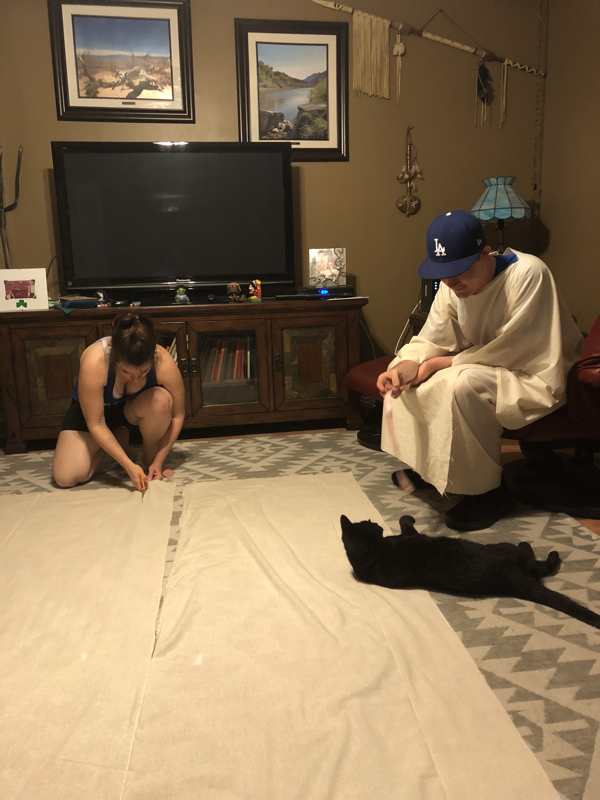
belt
Use any scrap fabric to make a belt to go around the waist. We attached string to the ends of the belt so that the string is what ties it in place, and the fabric is cosmetic. The belt should be 6-7 inches wide.
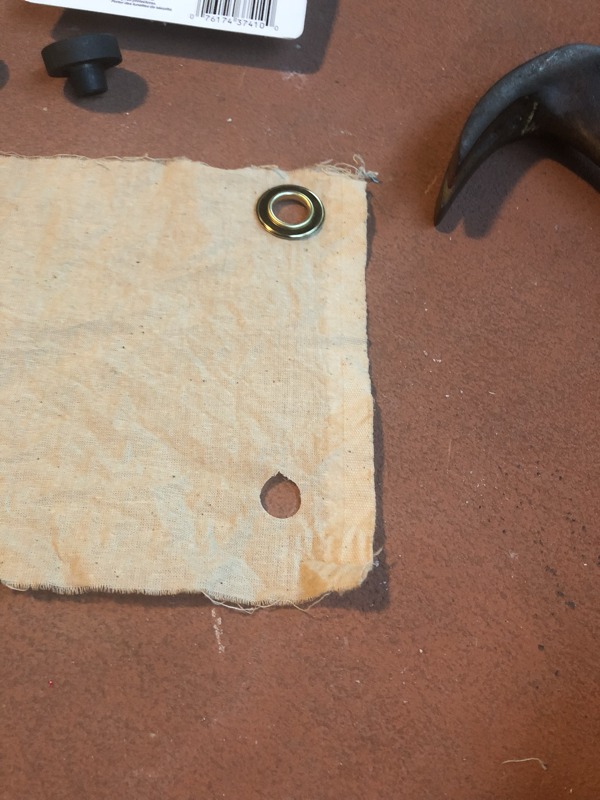
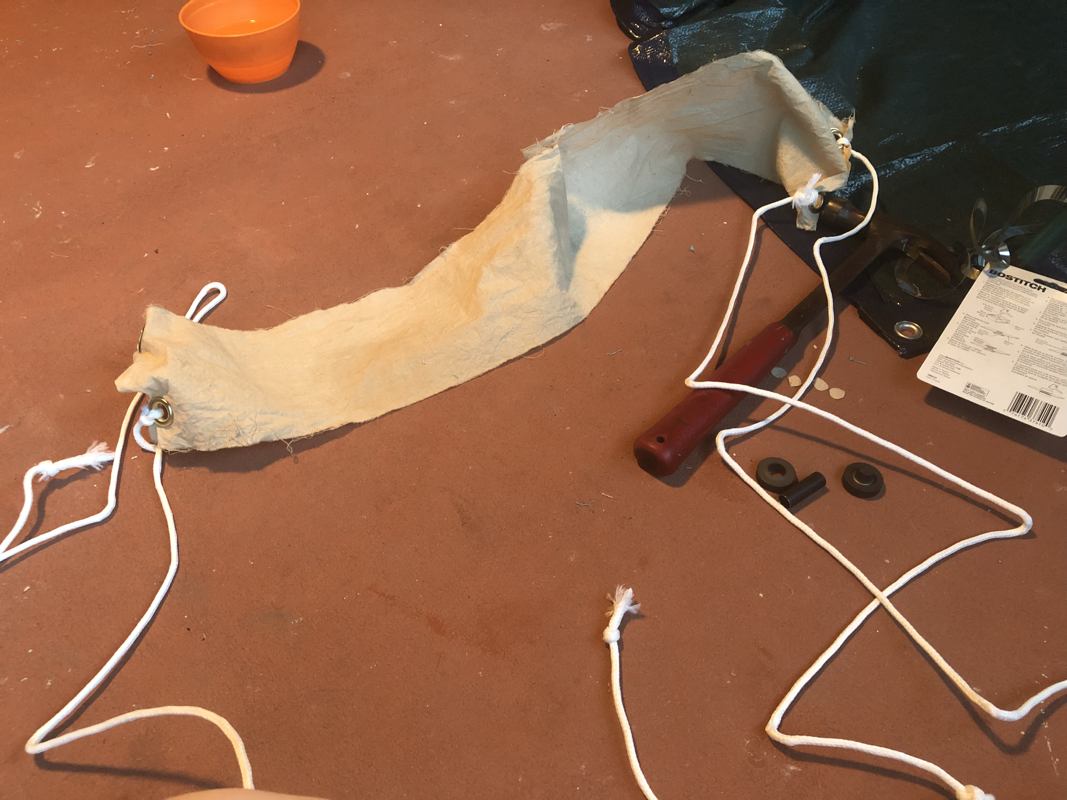
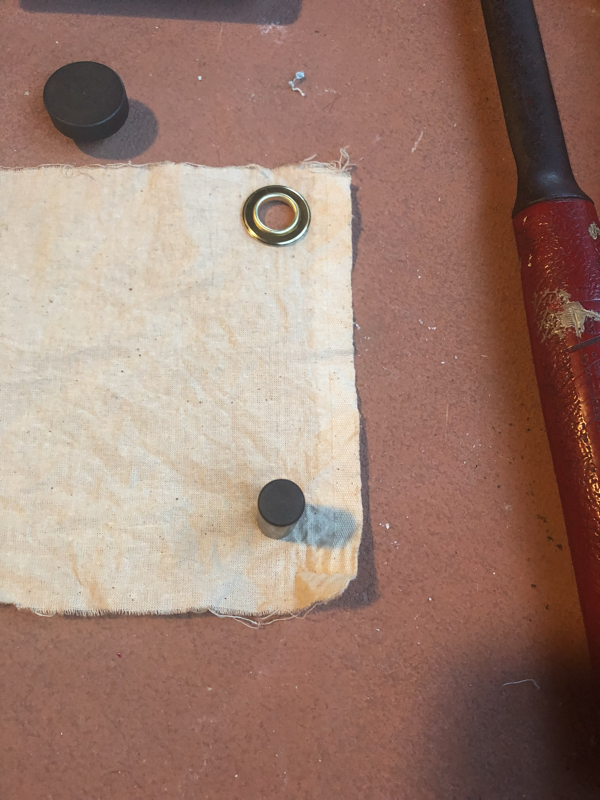
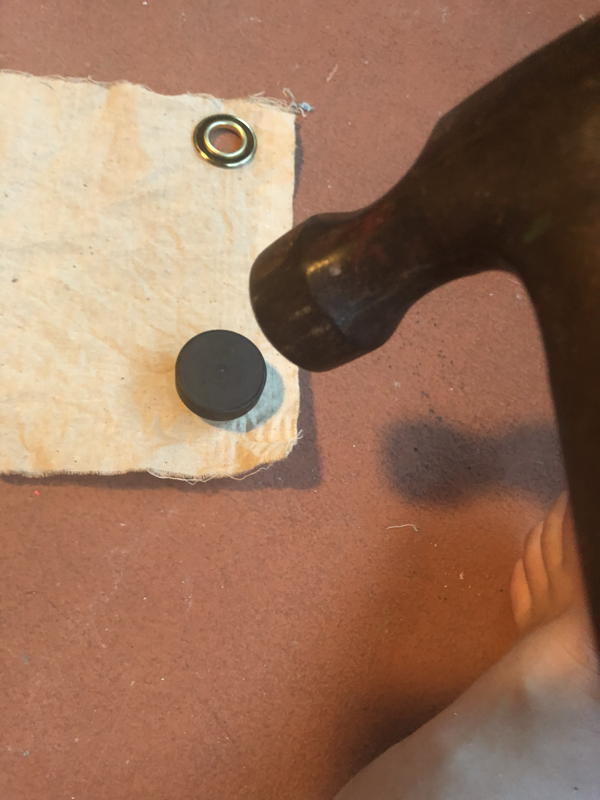
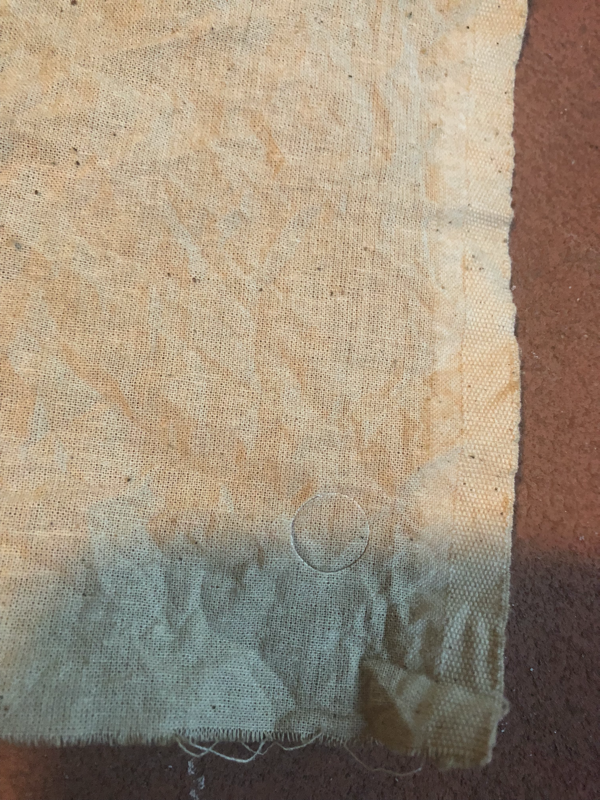
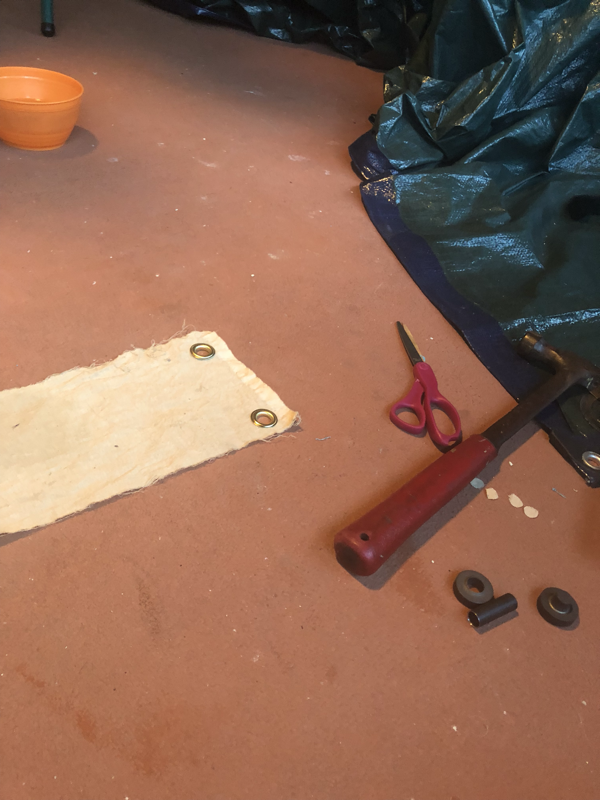
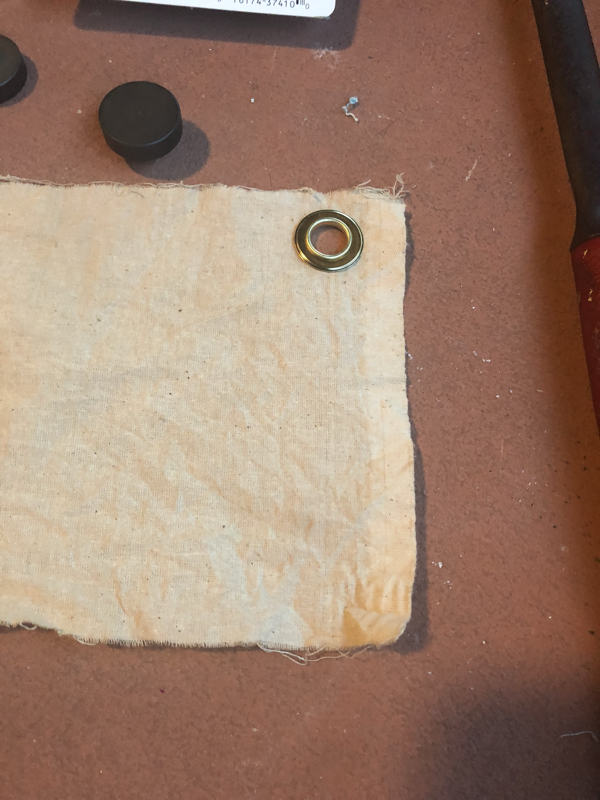

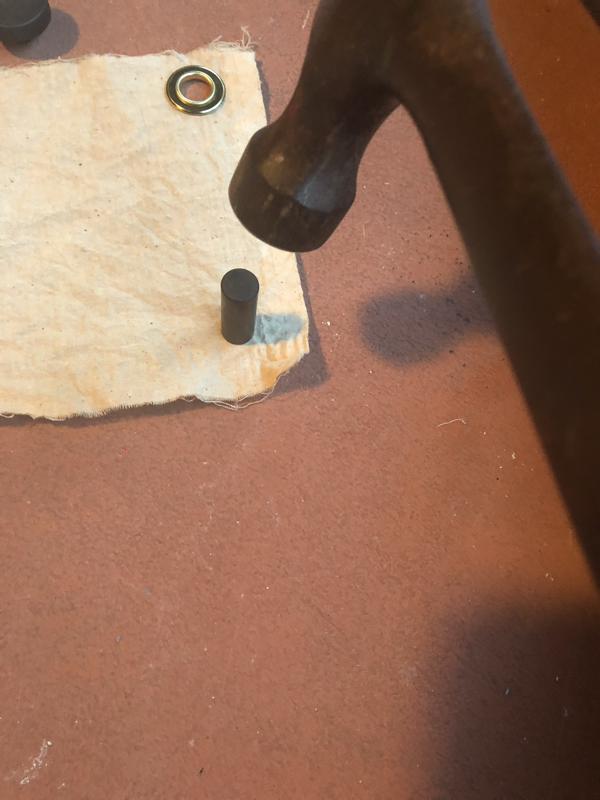
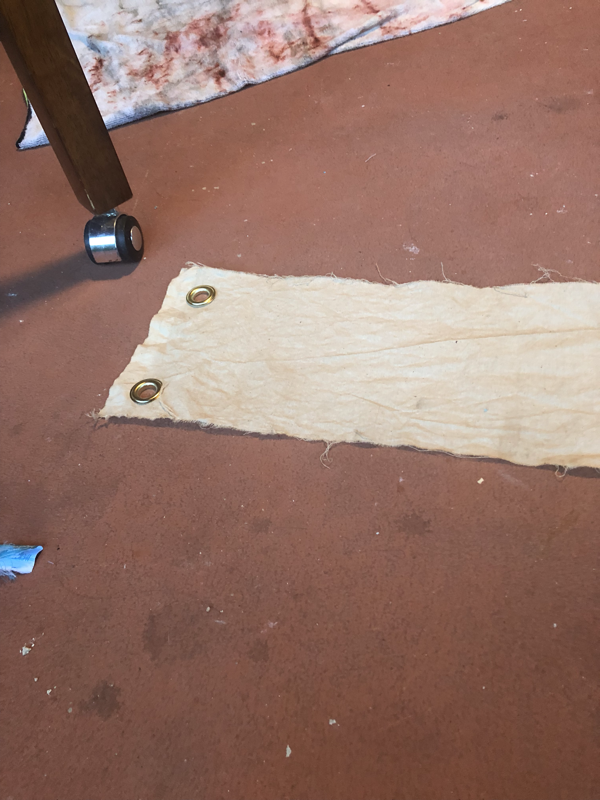
I added four grommets to the belt and attached string to those to tie in the back. This way the belt is nearly cosmetic and the string is what holds it in place. I decided this would look better than tying the belt itself. See the above pictures for how to attach a grommet. Note that I weathered the belt before attaching the grommets. Weathering instructions are further down the page.
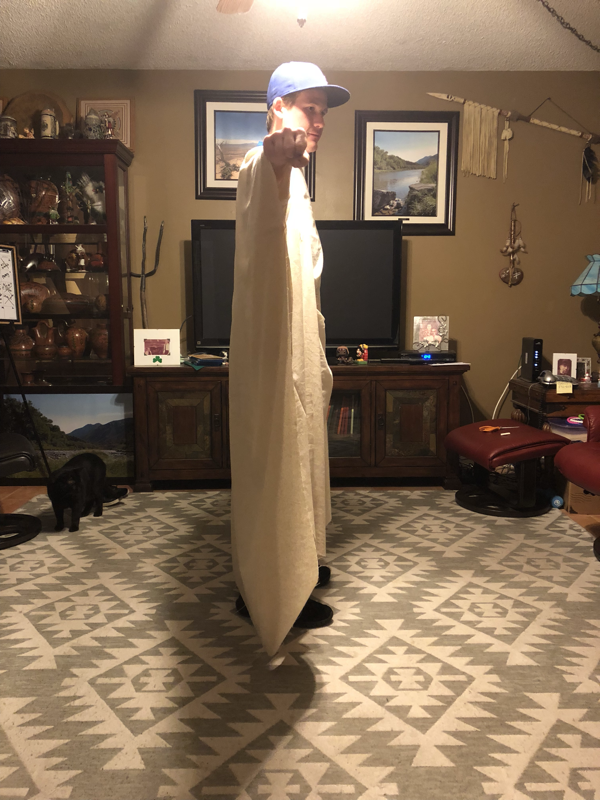
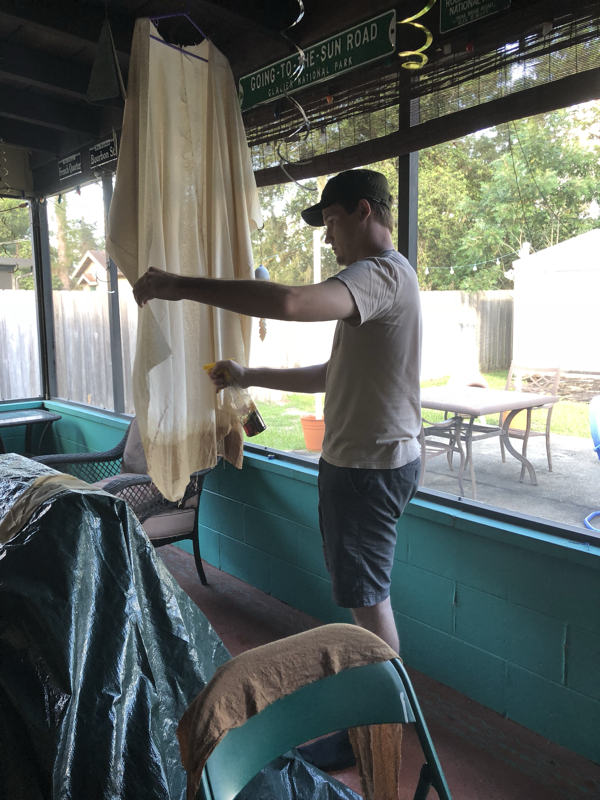
outer robEs
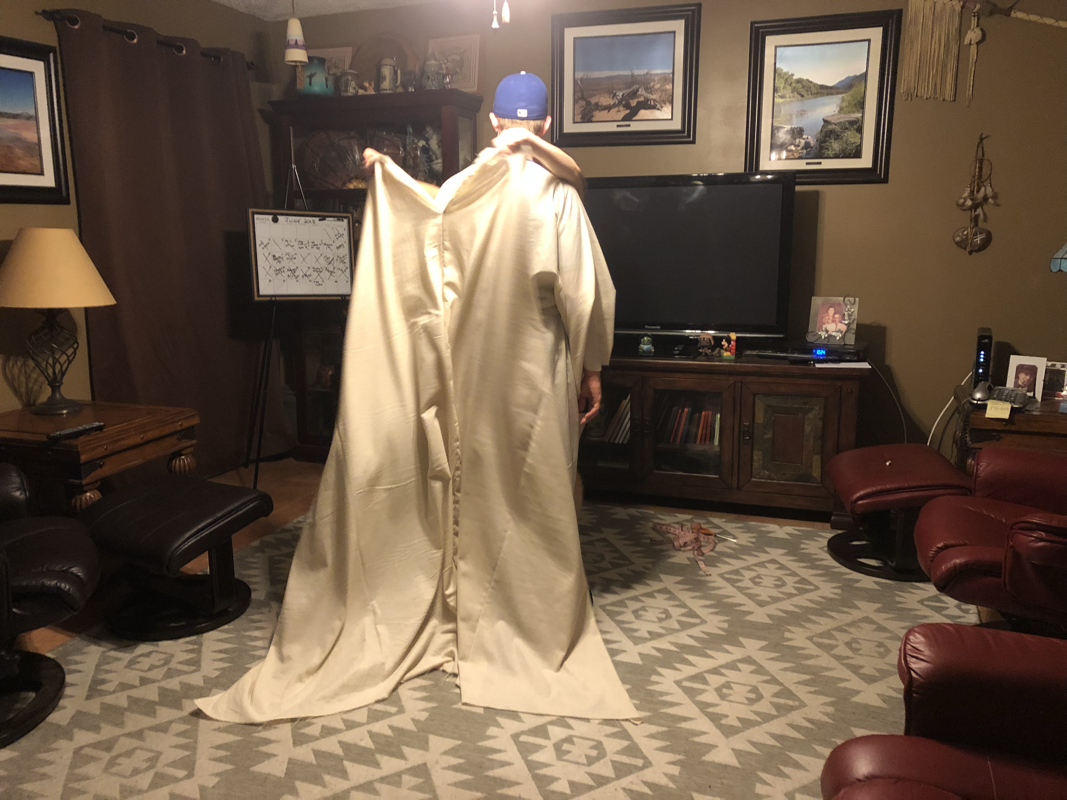
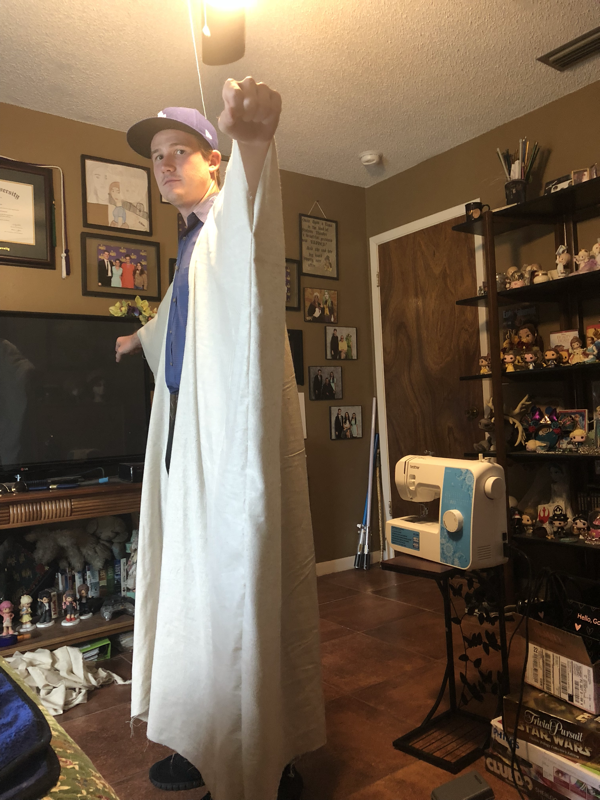
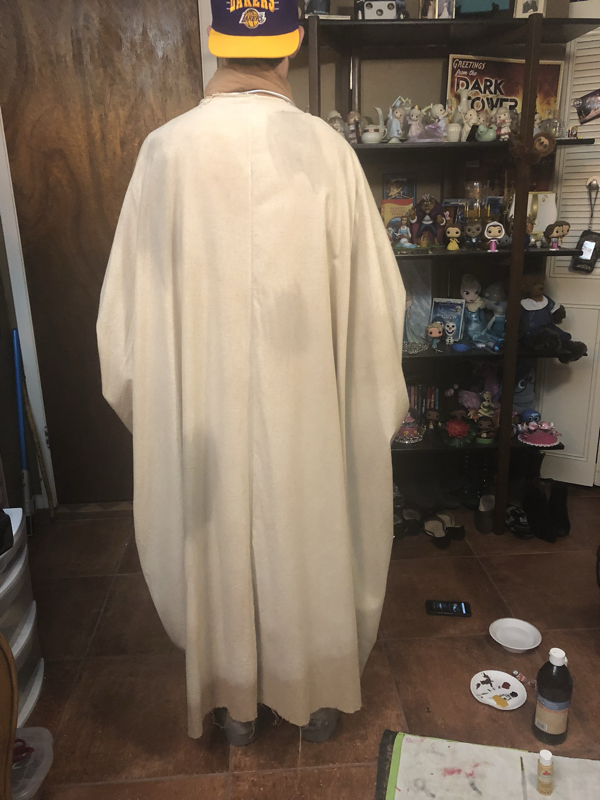
The outer robes were made of Monks Cloth. That’s not what is pictured here. The fabric in the pictures was used to practice first, since Monks Cloth is very expensive.
I bought 3 yards of the fabric, but the fabric wasn’t wide enough. So we went back and bought 3 more yards of the same fabric and sewed both pieces together along the 3 yards. Now you have one large piece of fabric.
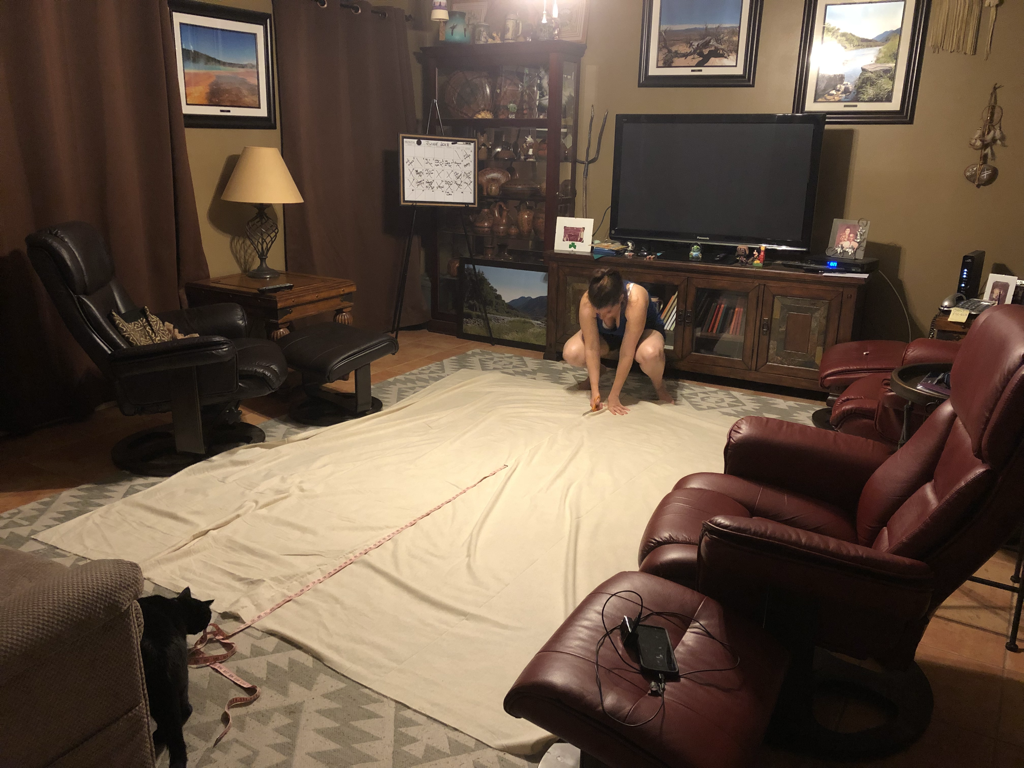
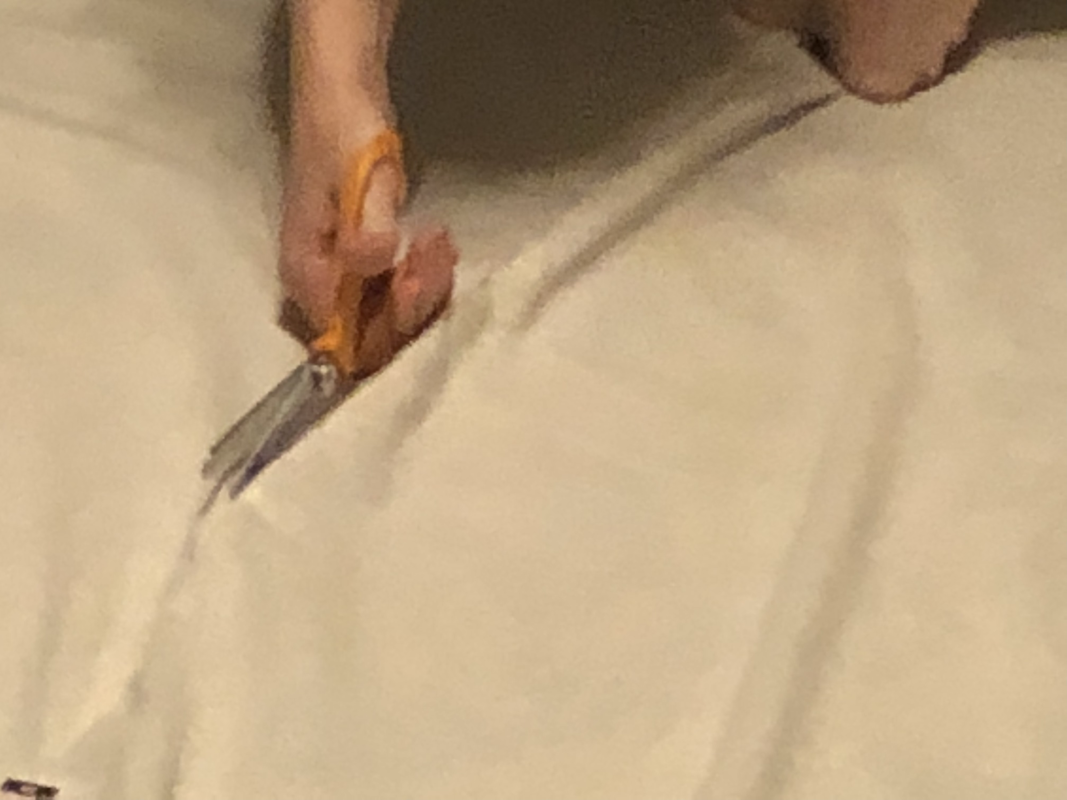
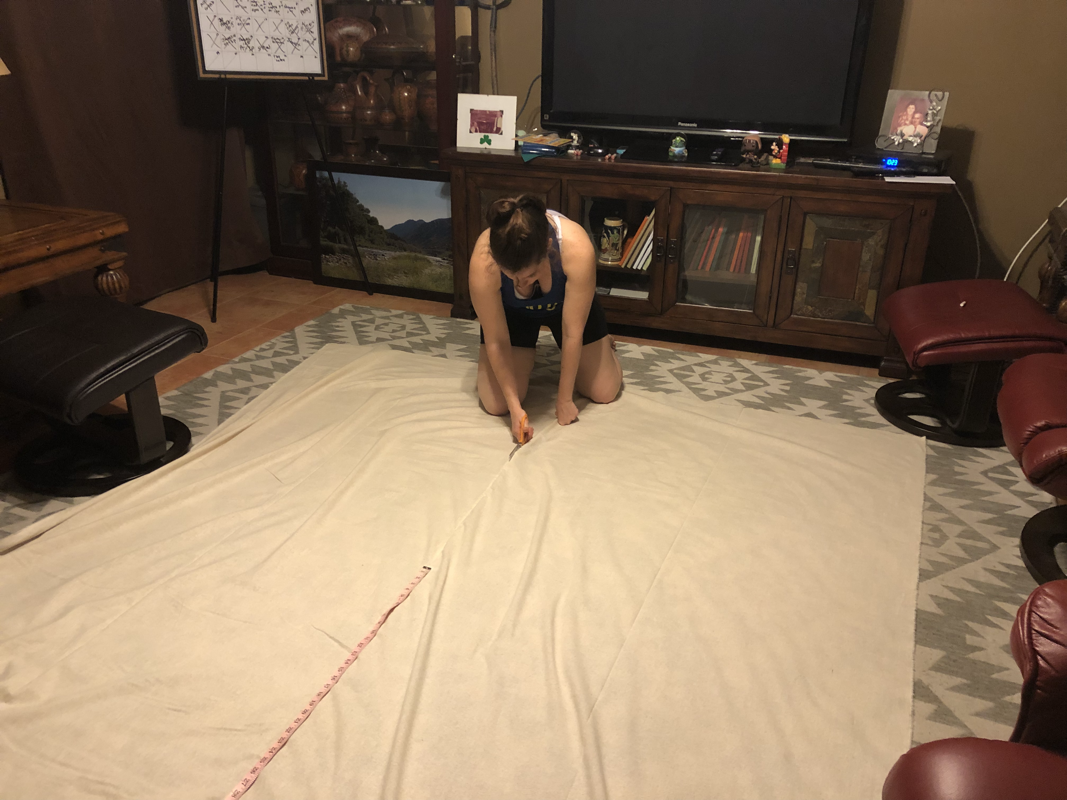
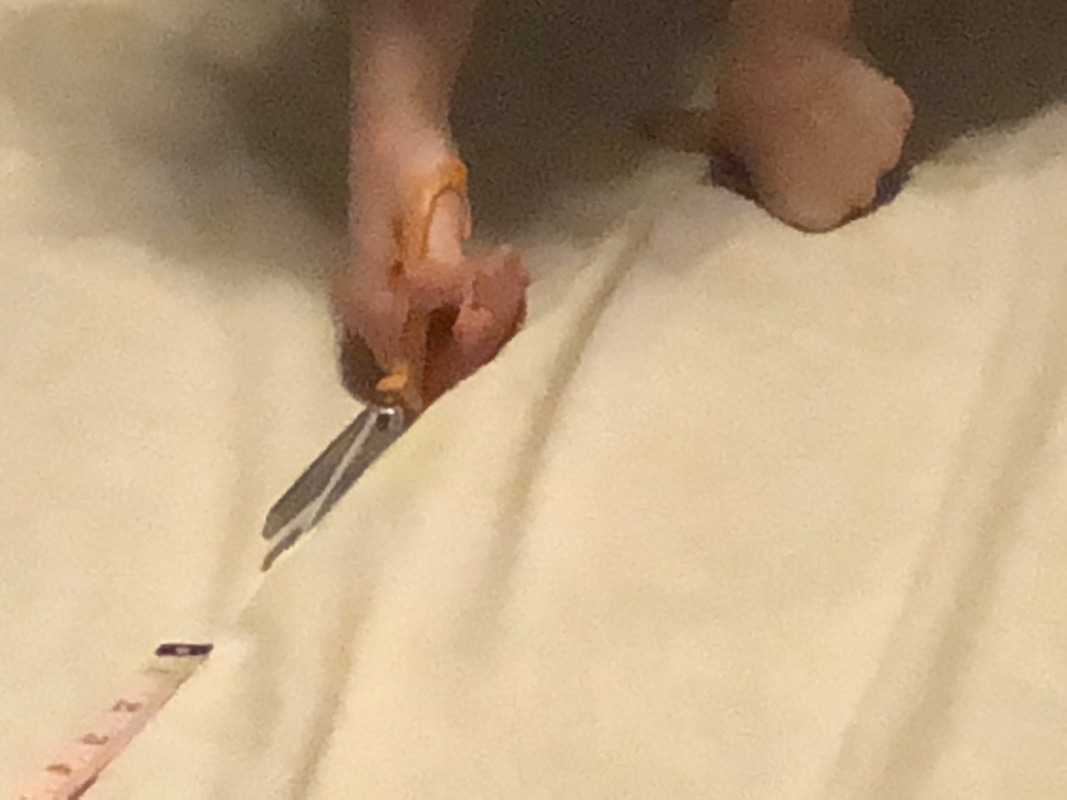
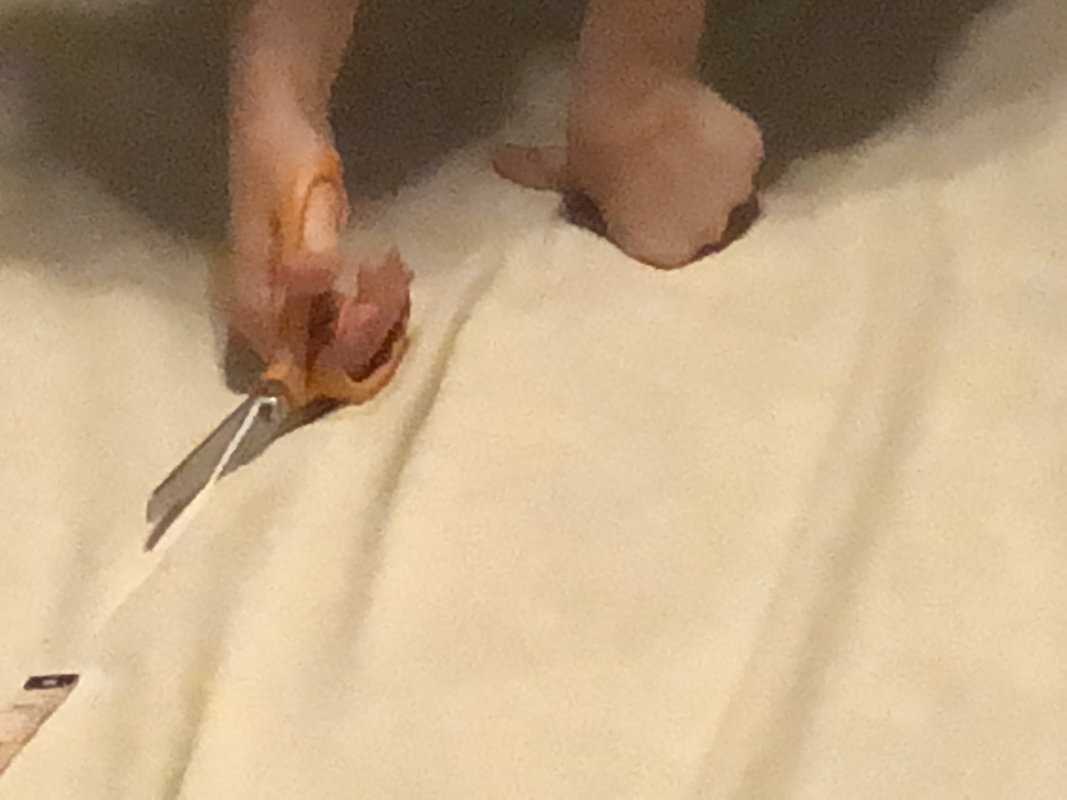
Next you want to measure from the back of the neck to the instep of the boots along the back. Lay the fabric out on the ground and measure this length. Cut an opening in the middle of the fabric up to this length. (Meaning that this length will be the back of the robe, and your cut will be the front.) Where you have stopped cutting will be the neckline.

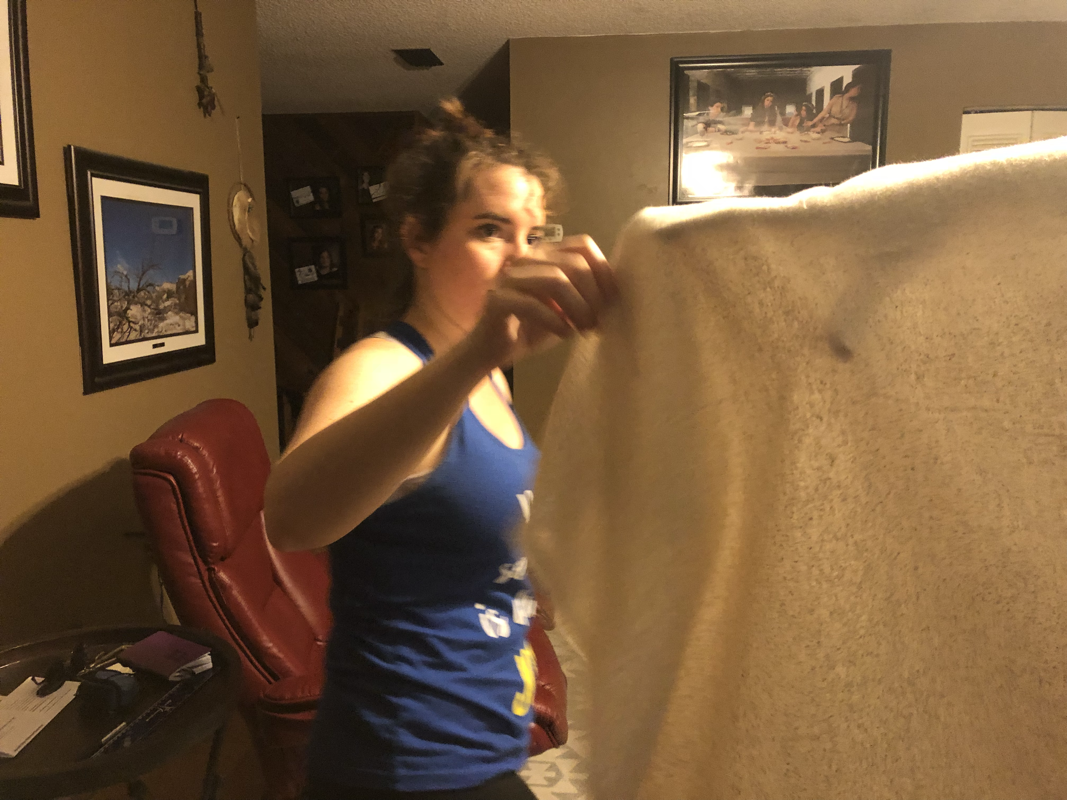


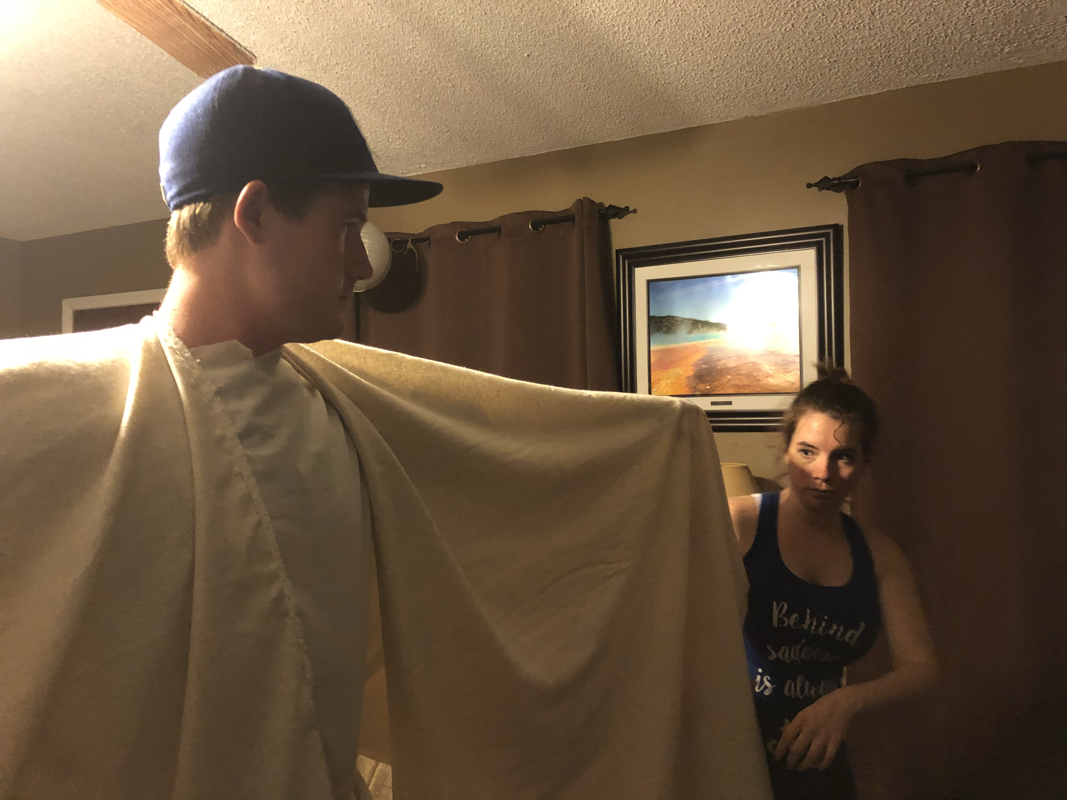
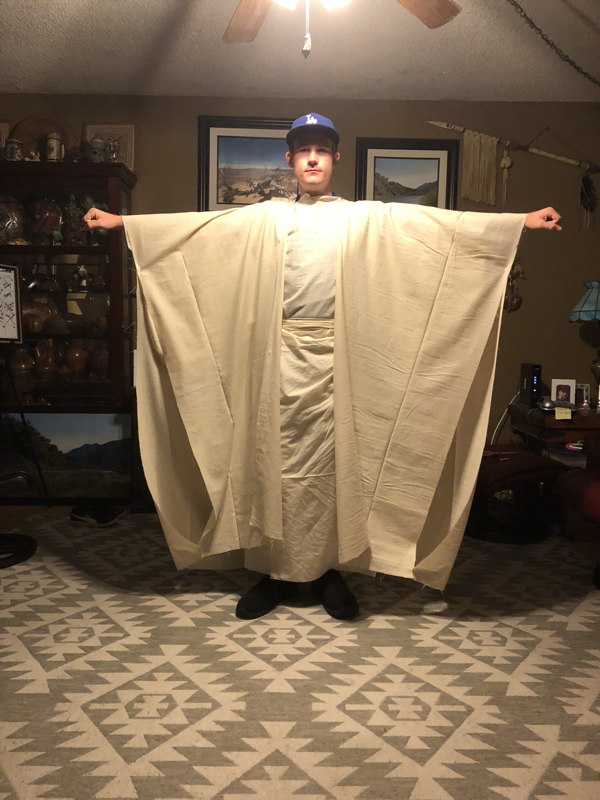
Next, try the robe on and see if it fits right. The next step is to measure the distance from the shoulder to the wrist.
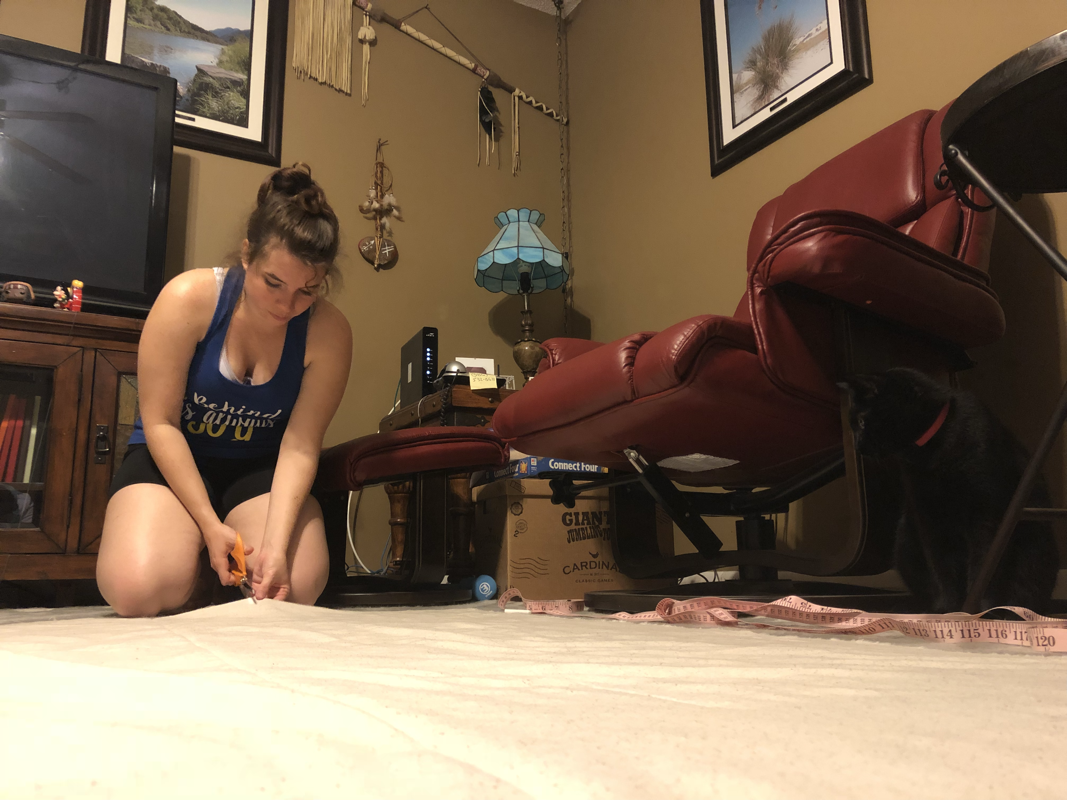


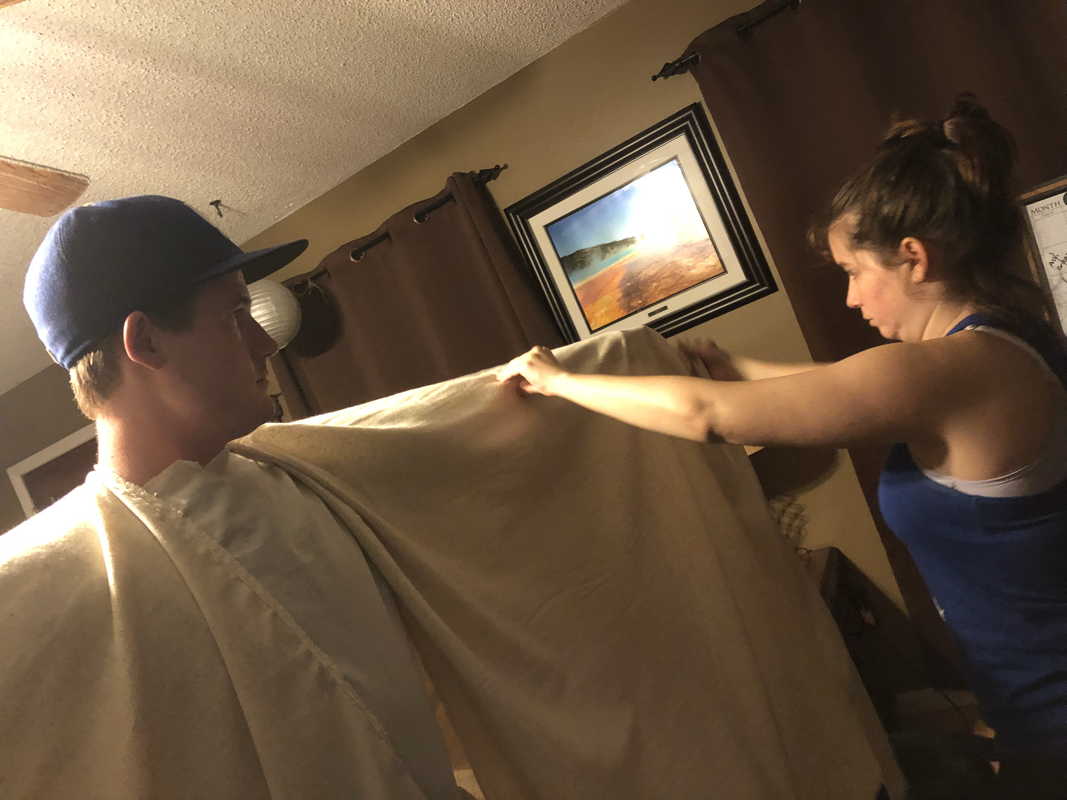
Take the robe off and lay it out on the floor again. Measure the distance from shoulder to wrist and cut the extra off of each end. You also want to cut the front so that there is a slight opening. I suggest about 4-5 inches on either side of the slit. Cut all the way up to the neckline. Next, fold the robe in half so the front and back are touching, and pin the sides of the robe together for sewing. (Be sure to leave enough room for your hands and gloves to fit through.)
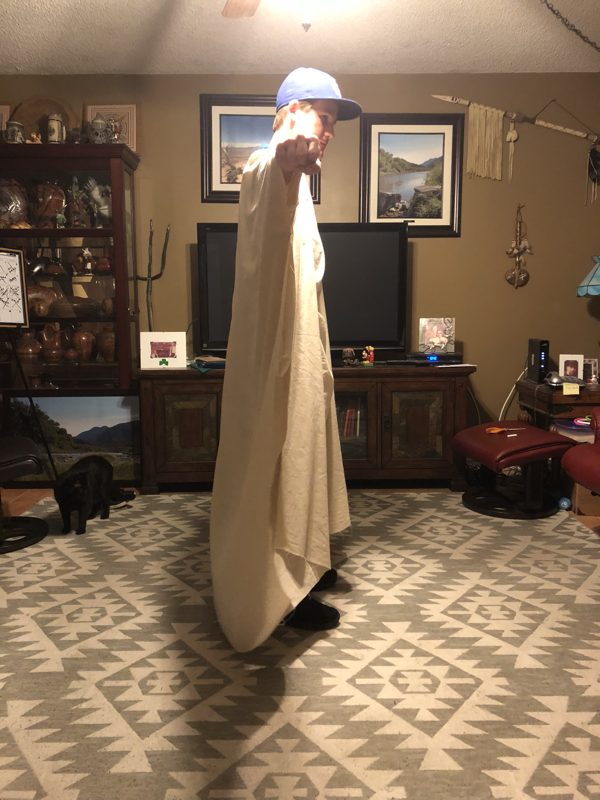
Sew together the length of the side of the robes, leaving room for your hands.

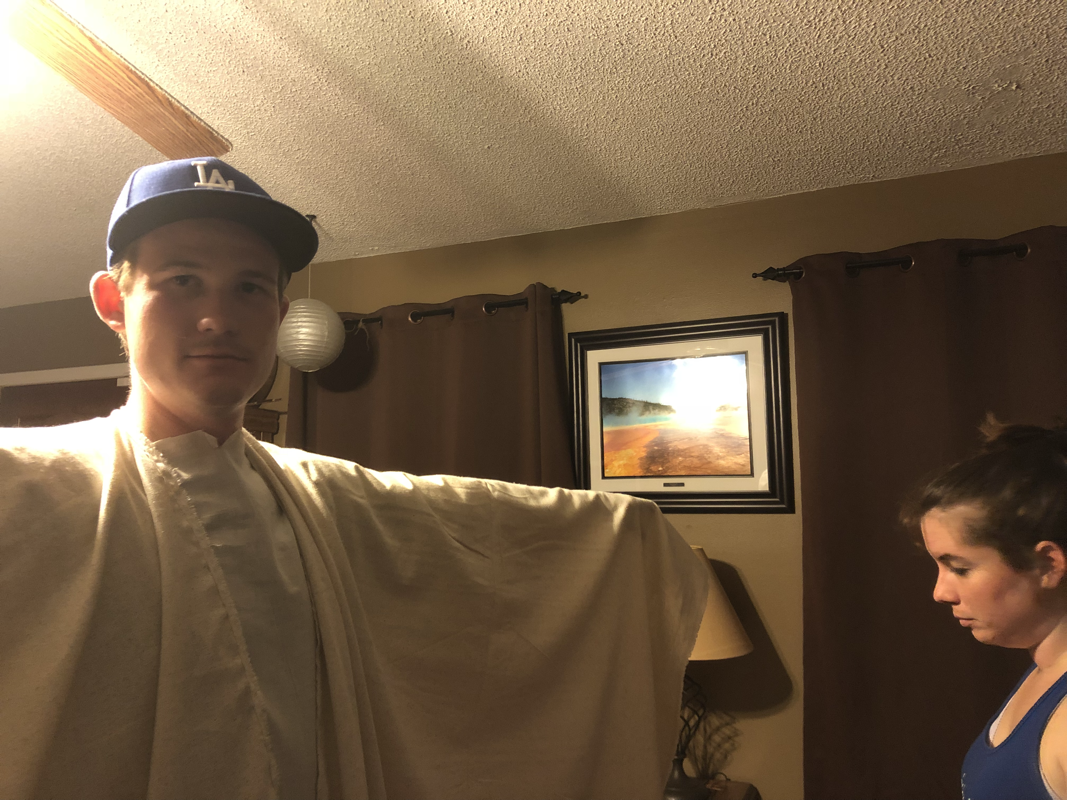
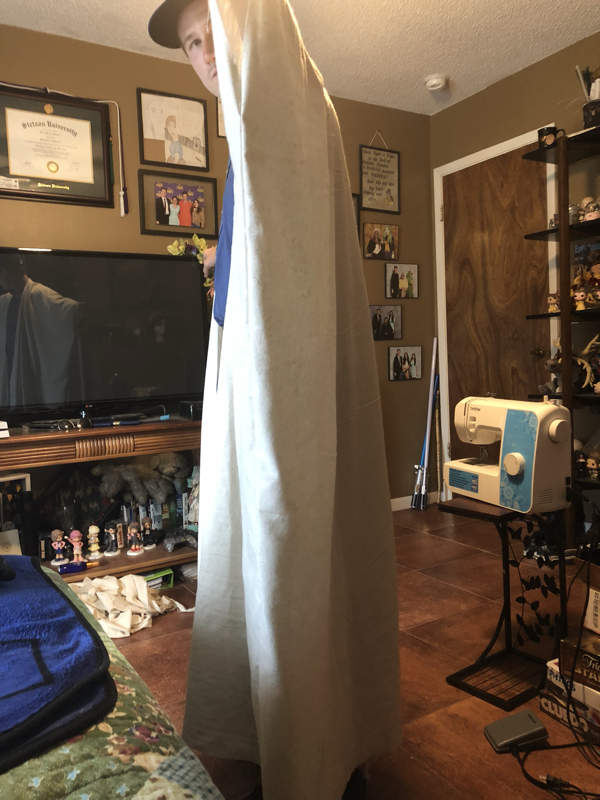
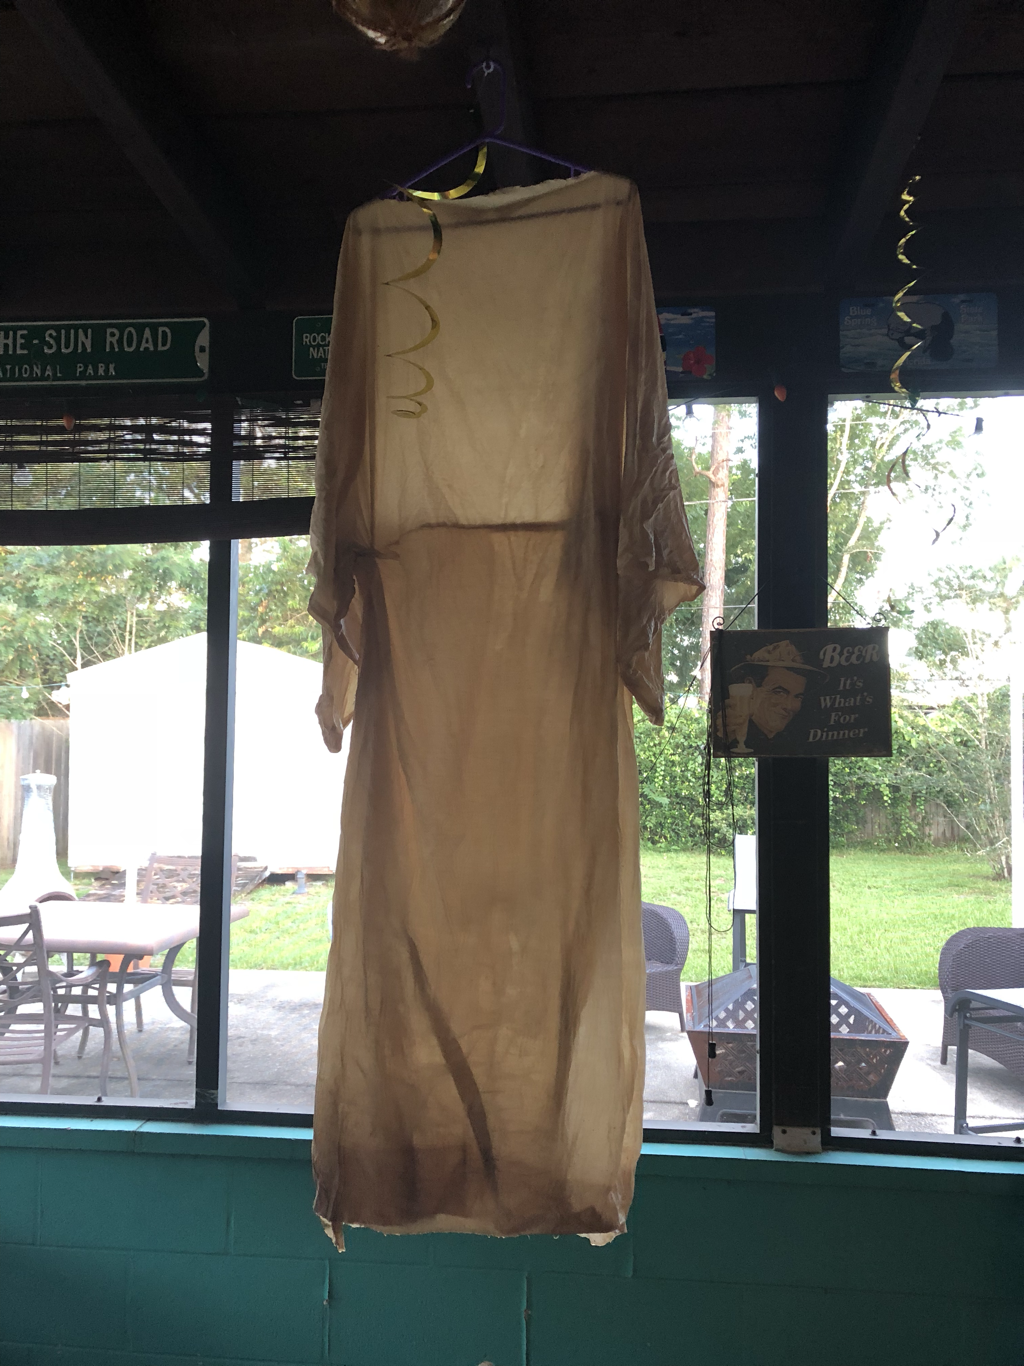
The outer robe should look like this. Again, this is the practice material.
boots
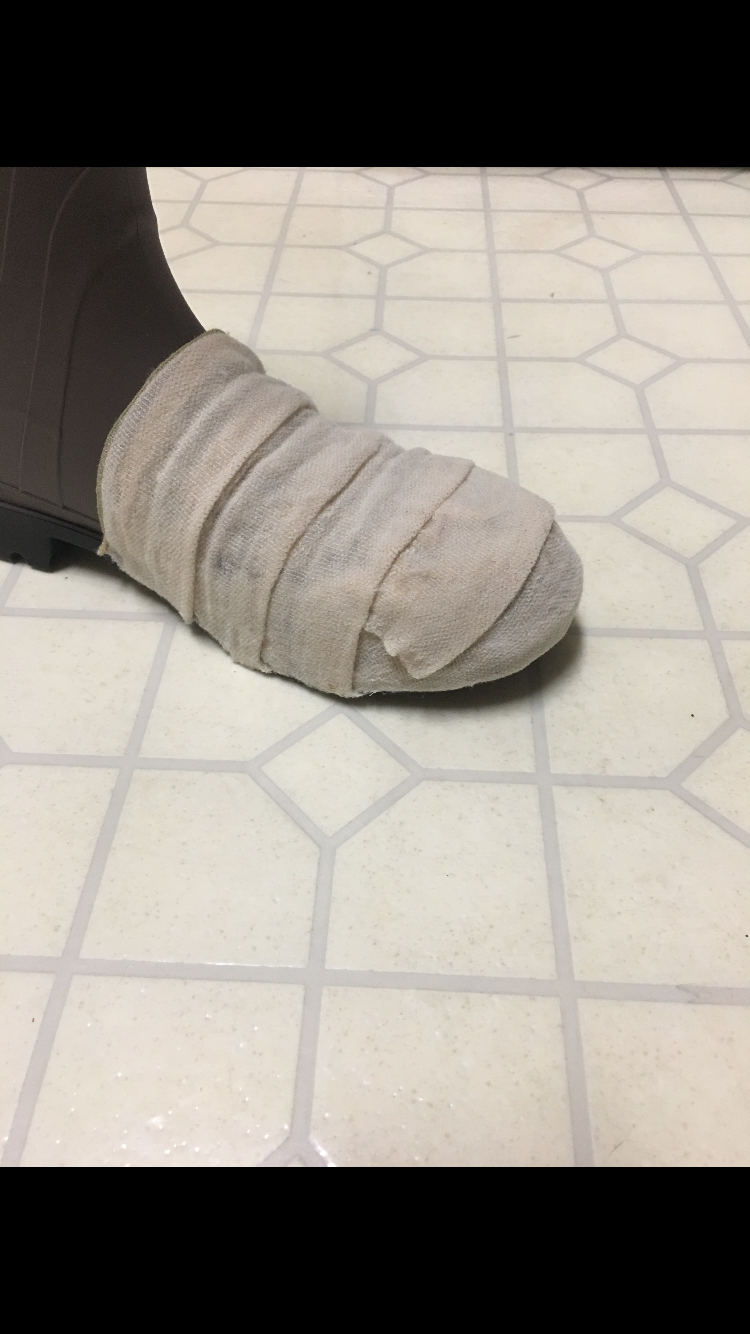
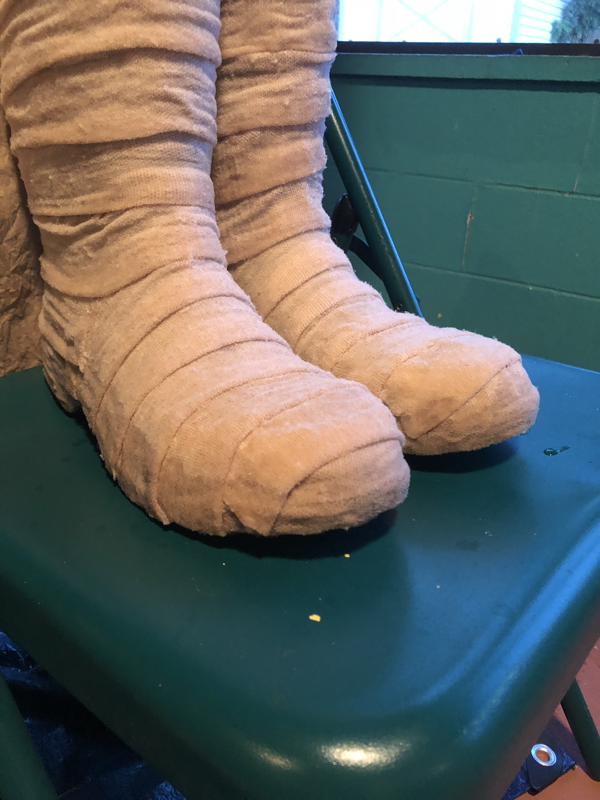
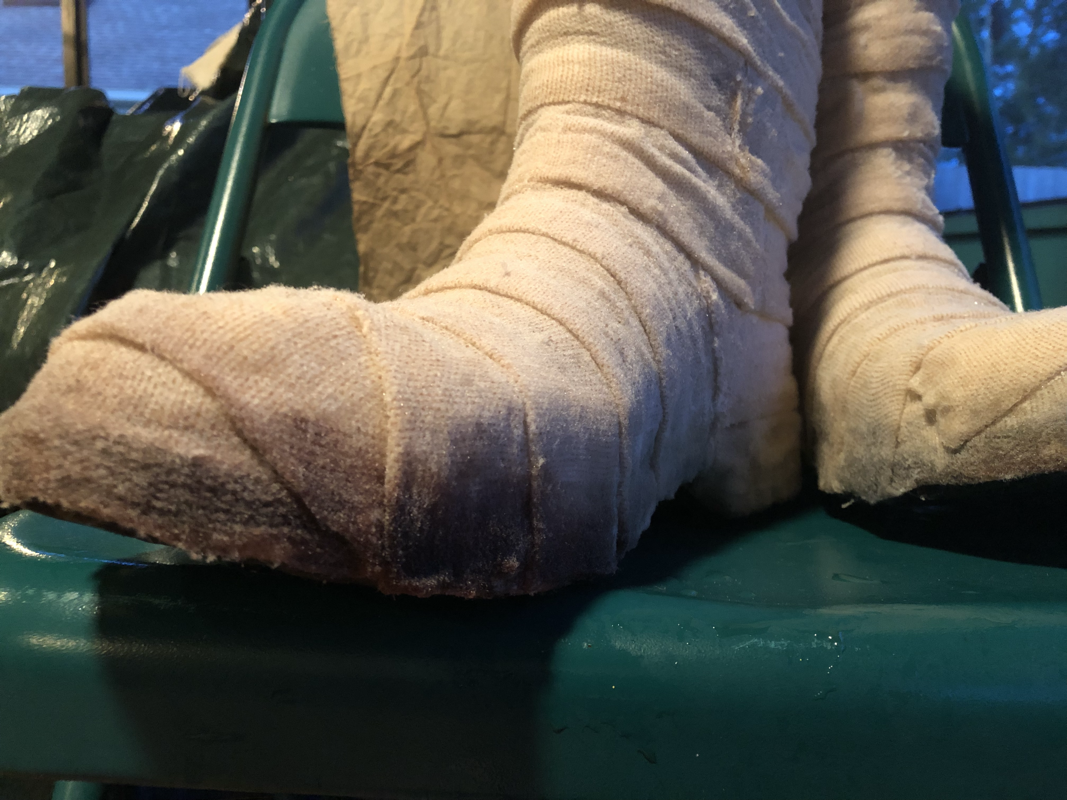
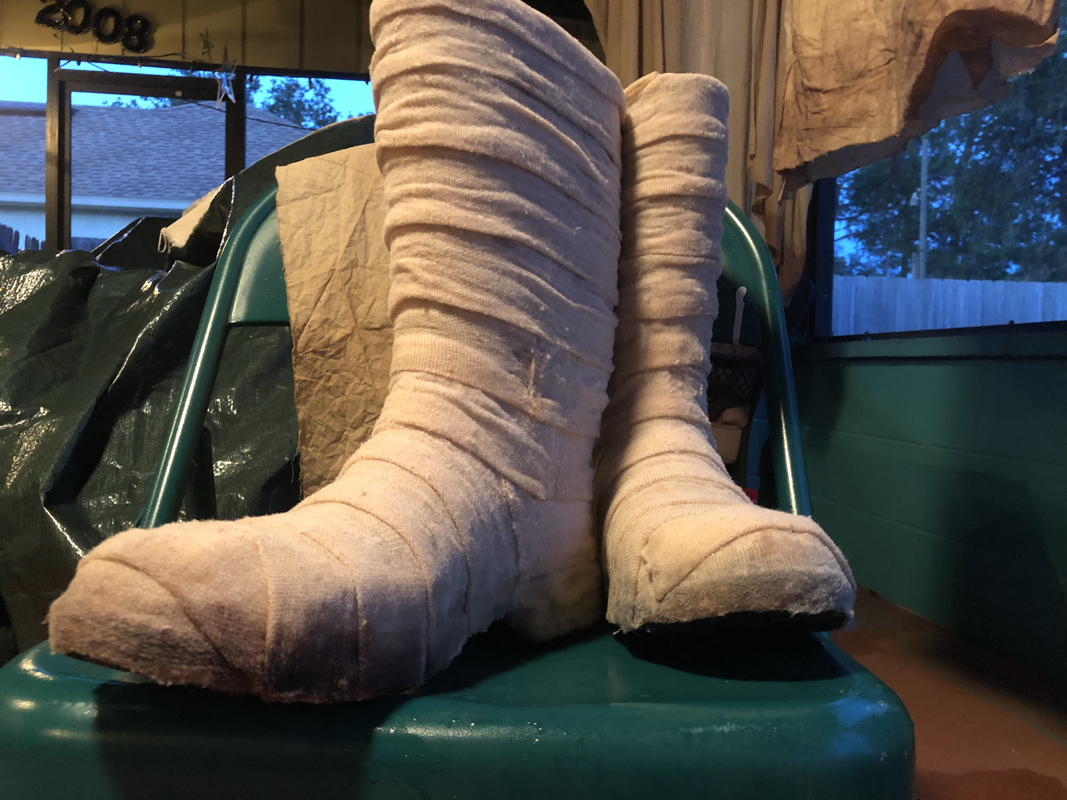
I started with a pair of gardening boots and added medical gauze all around the visible parts of the boots. Do not put any on the bottoms of the boots. This will make them slippery and dangerous to wear.

This is what the boots should look like.
arm wraps
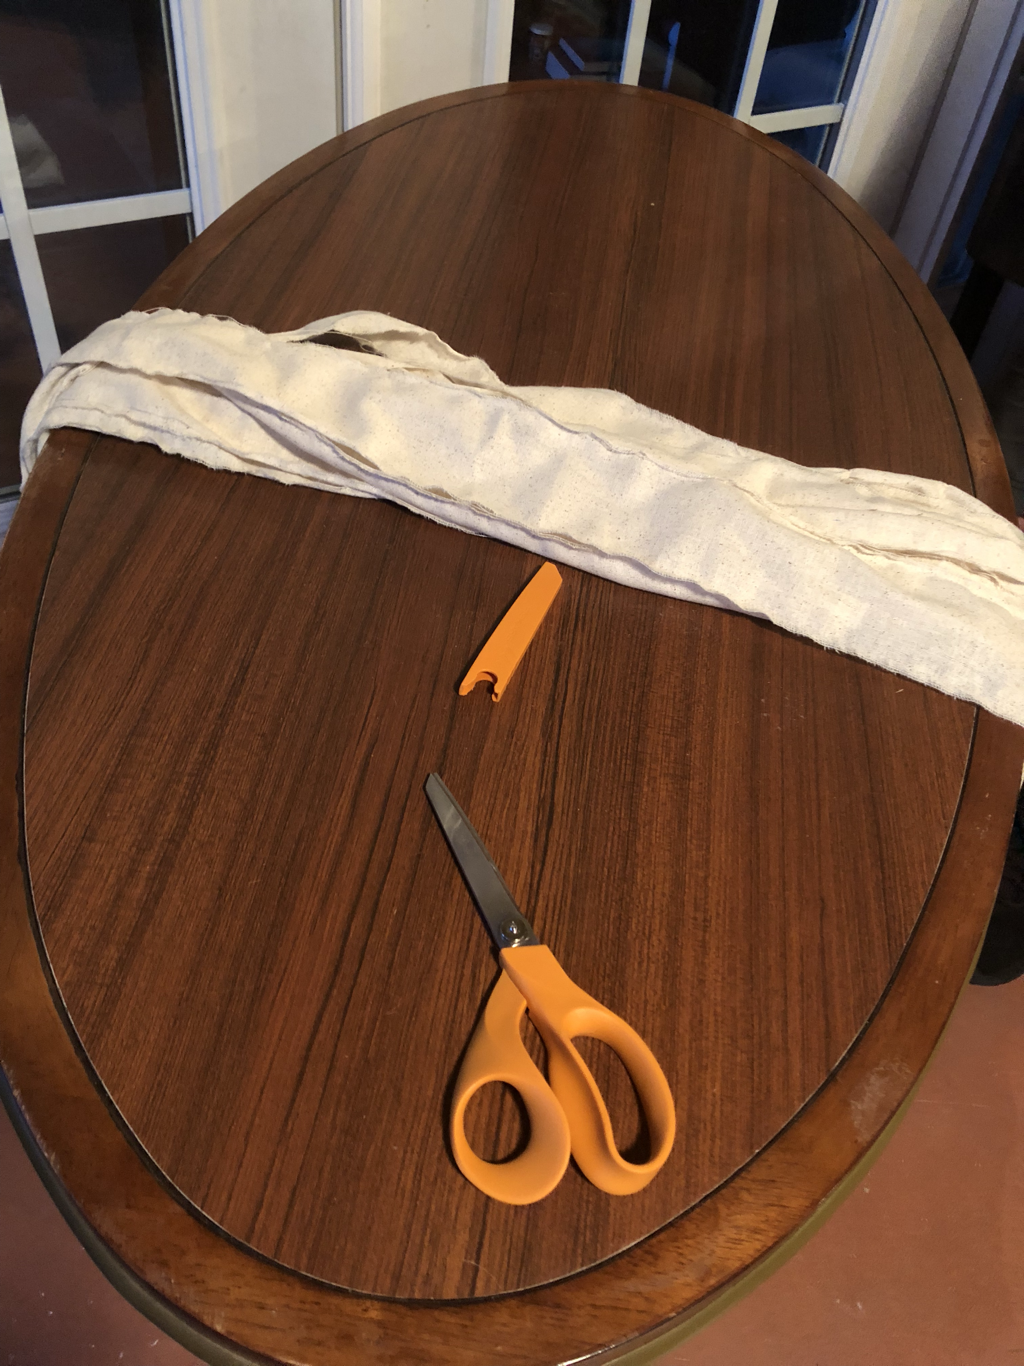
Cut some strips of the leftover fabric of the outer robe. These will be used for the arms wraps. Once cut, pit then in a mixture of Rit Camel dye and water for about 10 minutes, or until they are your desired shade of brown. (Don’t forget to heat up this mixture until it boils, then take it off the heat and add the material.)
gloves
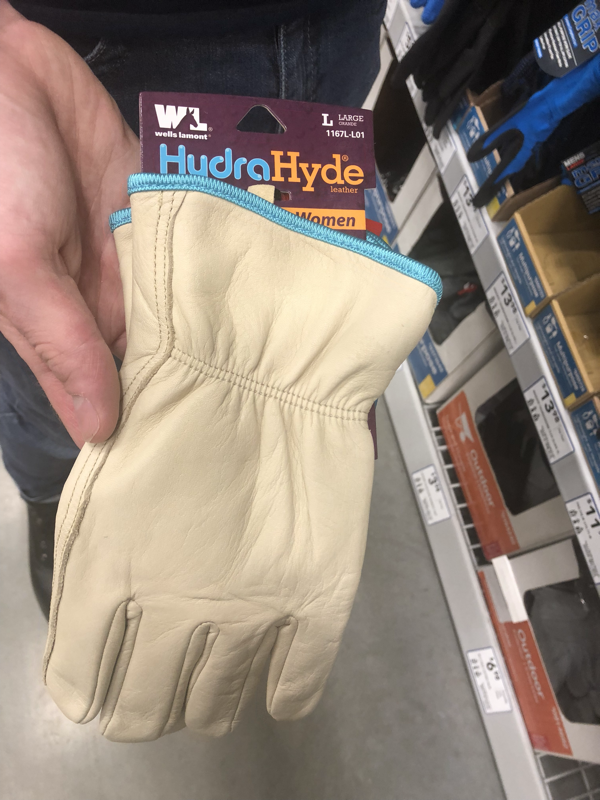
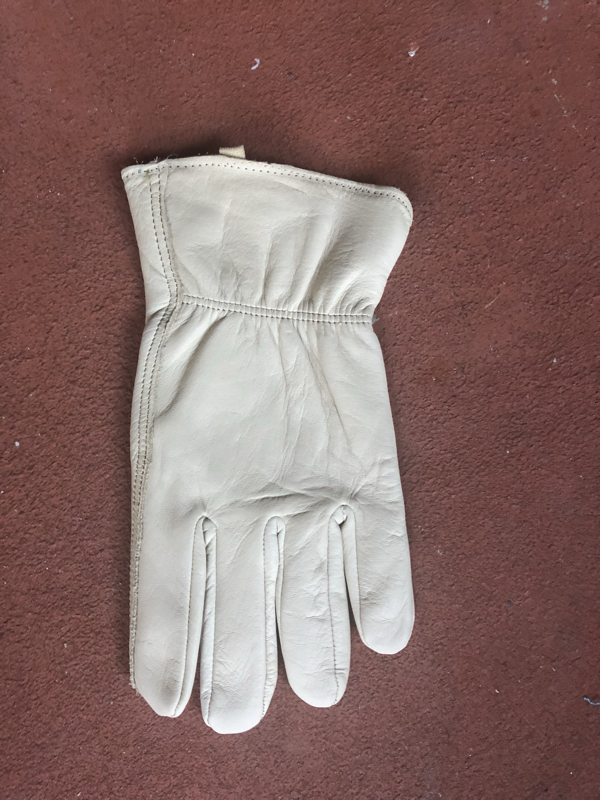
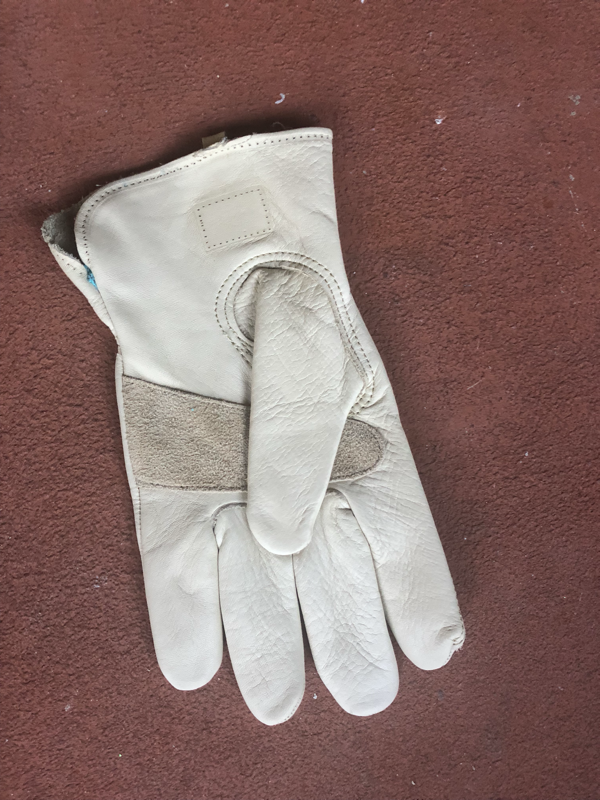
I simply bought a pair of tan leather gardening gloves and removed the label and blue trim.
Weathering the soft parts
I used two methods to dye the fabric. For the inner robe and the belt I used tea. For the outer robe and the scarf I used Rit Camel.
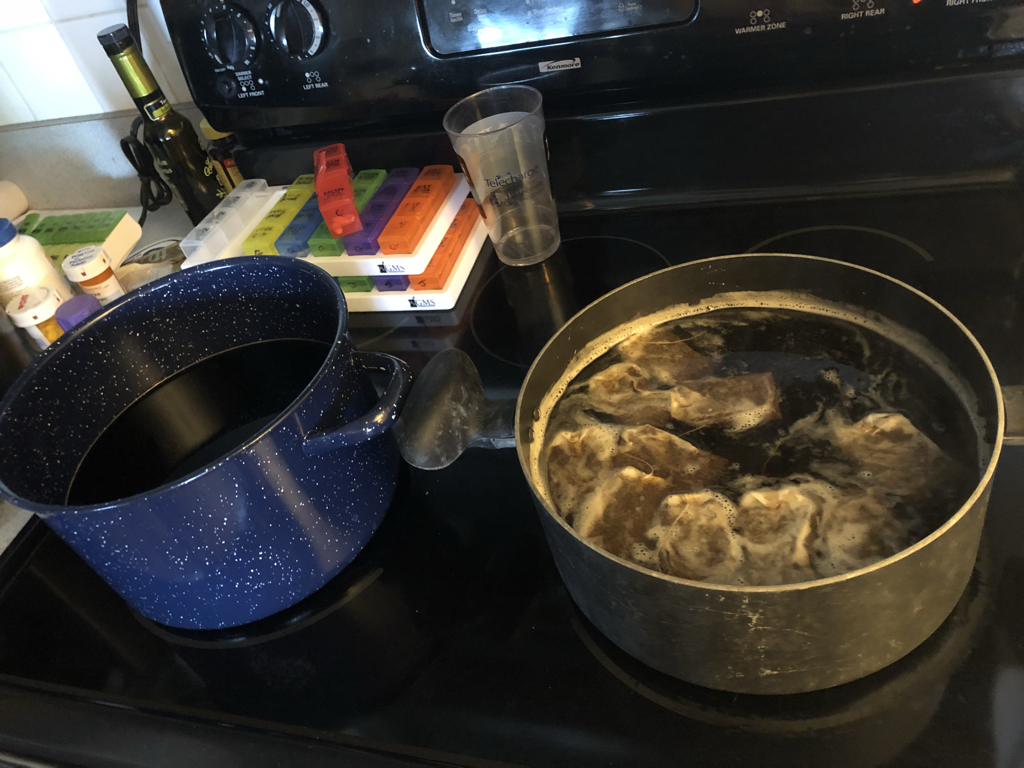
For the tea put the water in a pot and bring it to a boil. Next add about a teaspoon of salt. (This will help the color stay.) Take the pot off of the heat and add 10 bags of Lipton tea. Let it steep for 30 minutes.
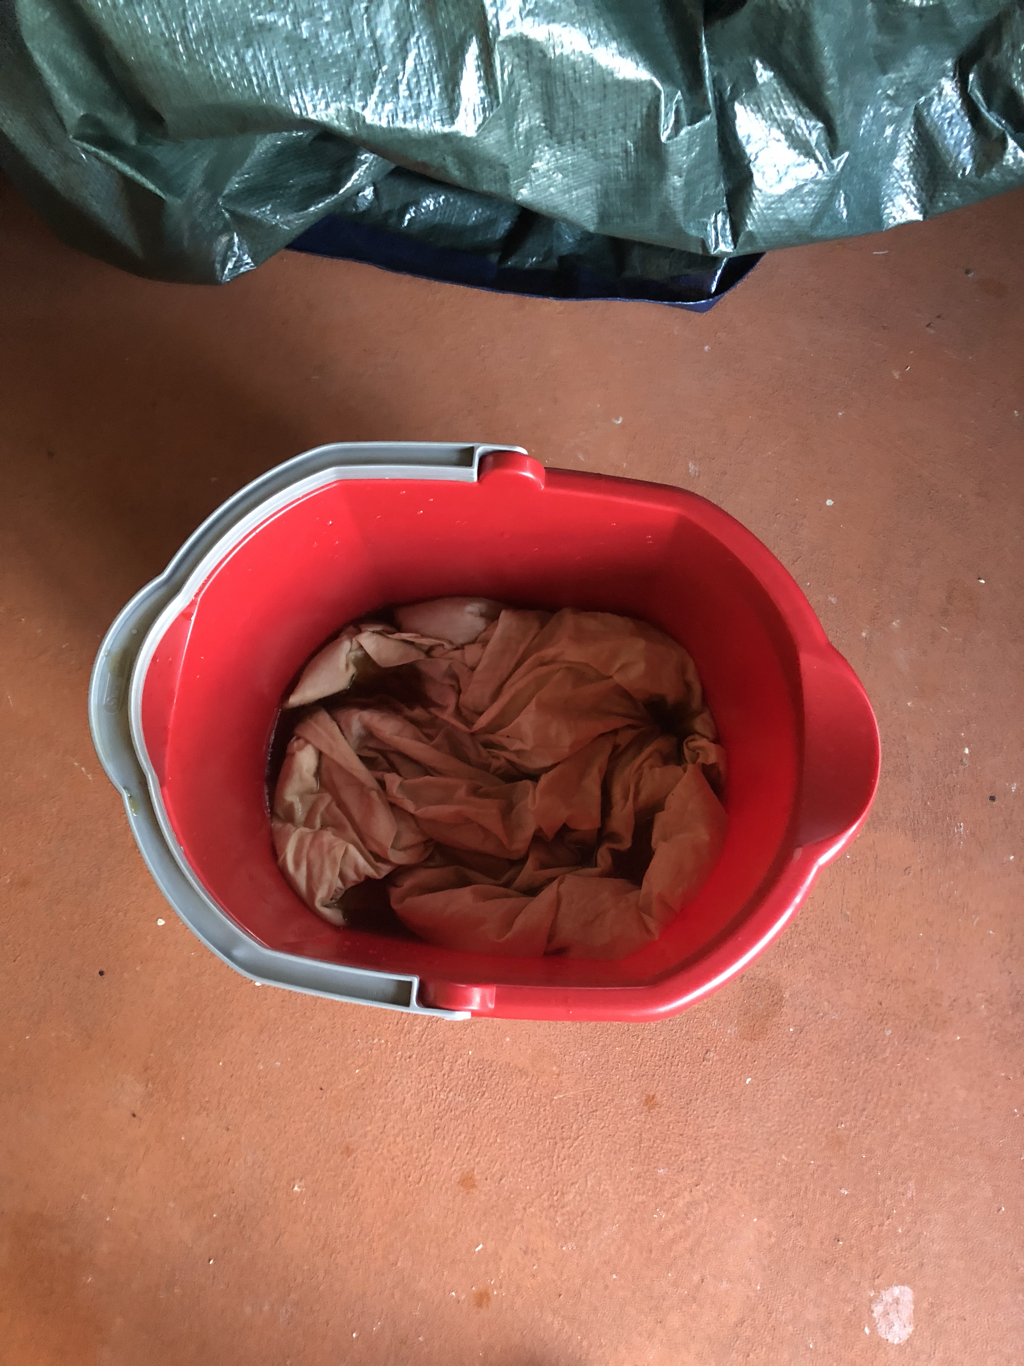
After 30 minutes take the tea bags out and pour the tea into a bucket. Put the inner robe and the belt into the bucket and leave for several hours. Check every hour or so to check on the color.
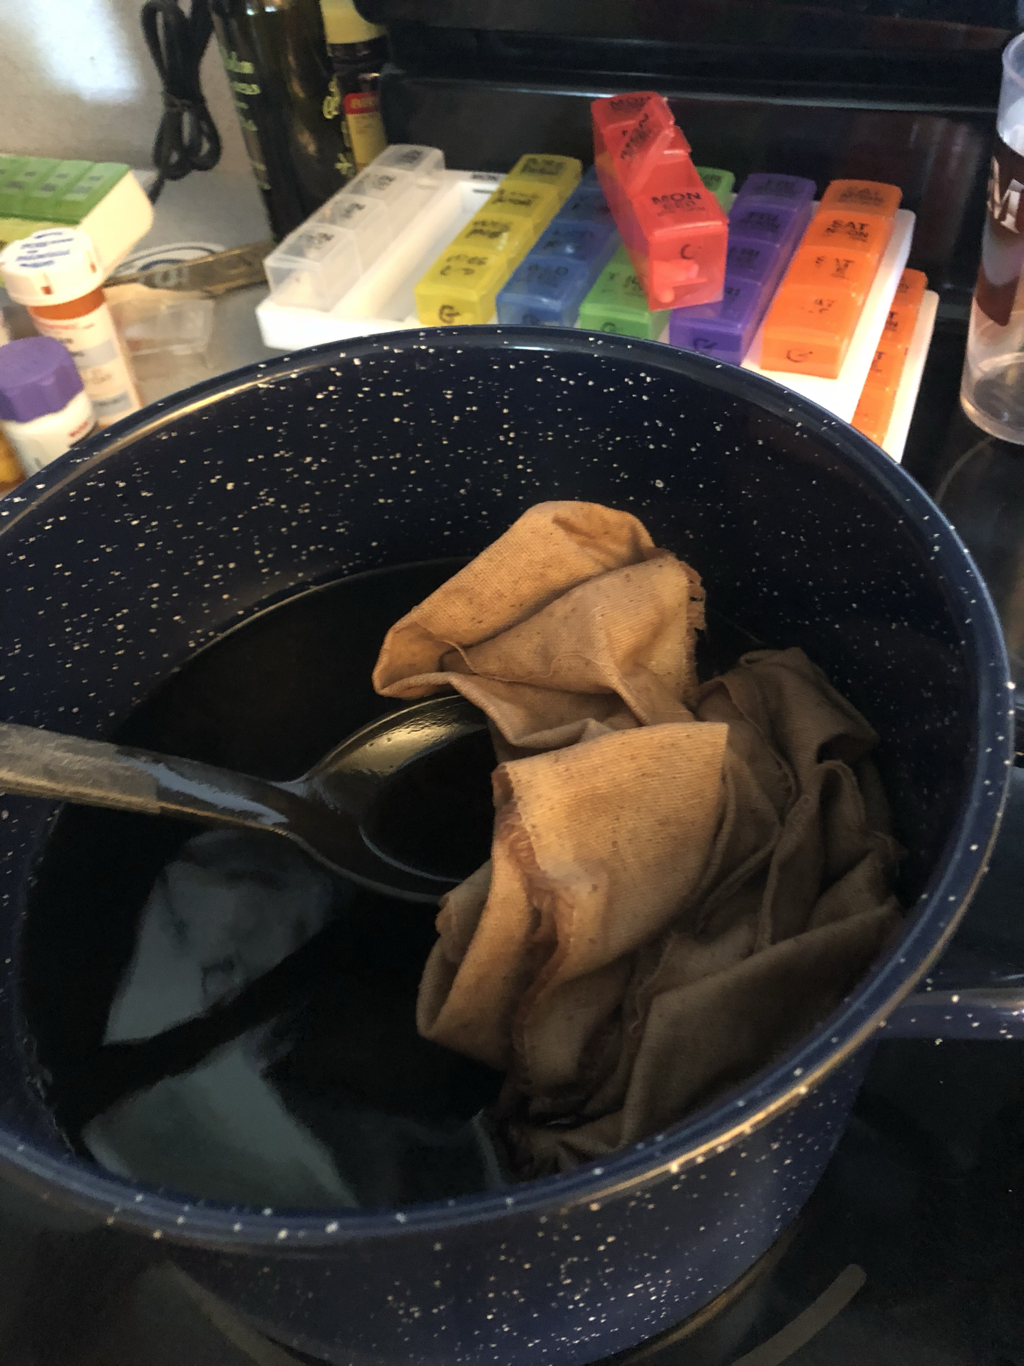
For the outer robe, boil water in a pot and add the Rit Dye to it. Next, add the scarf to it and let sit for 15 minutes.
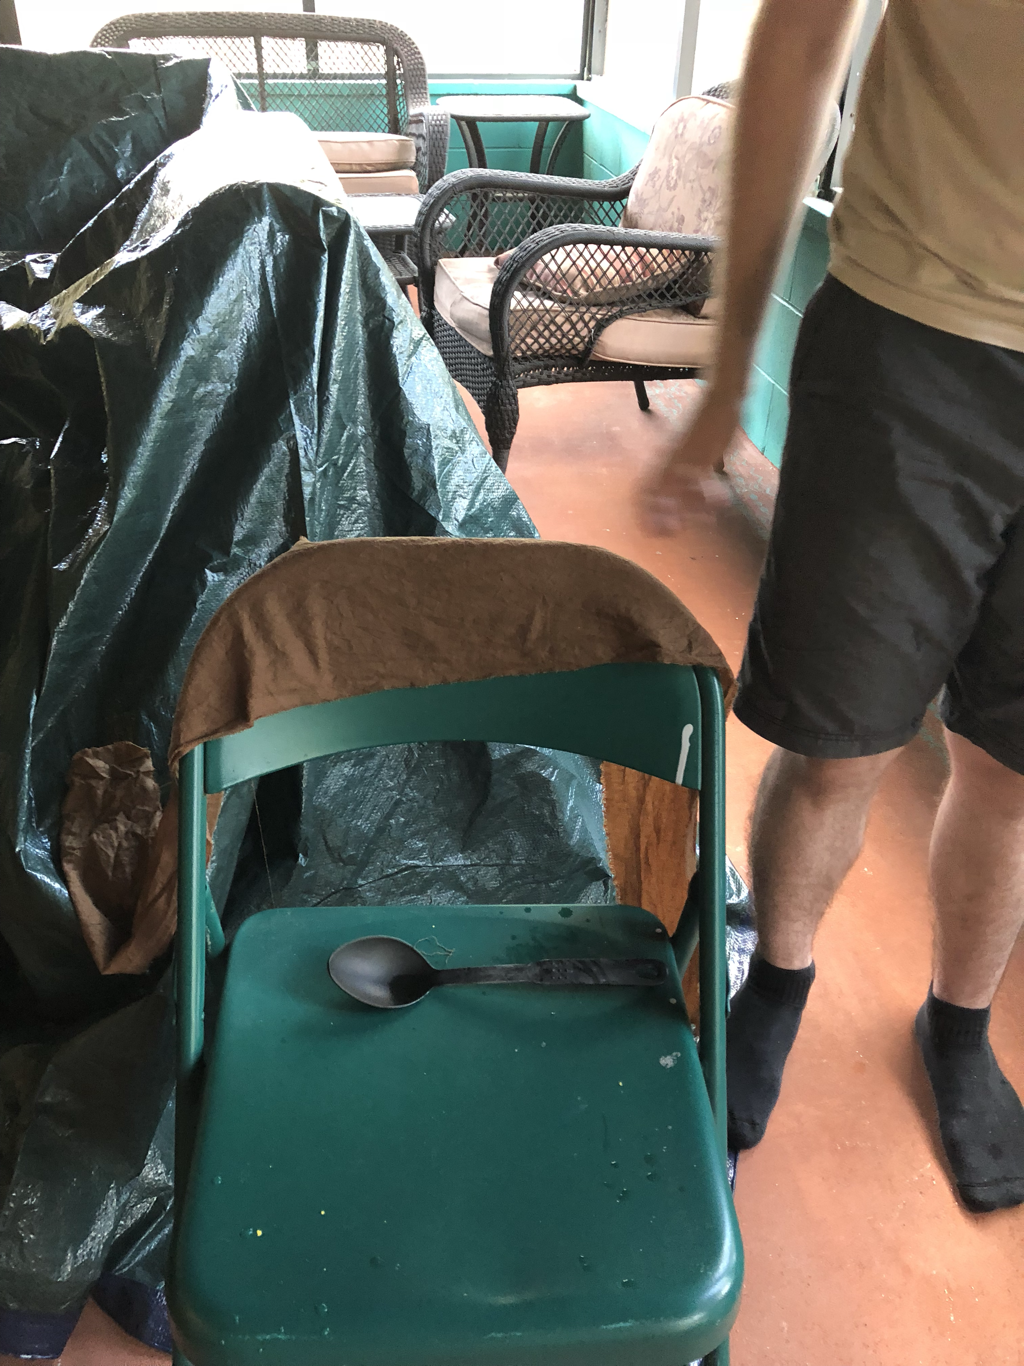

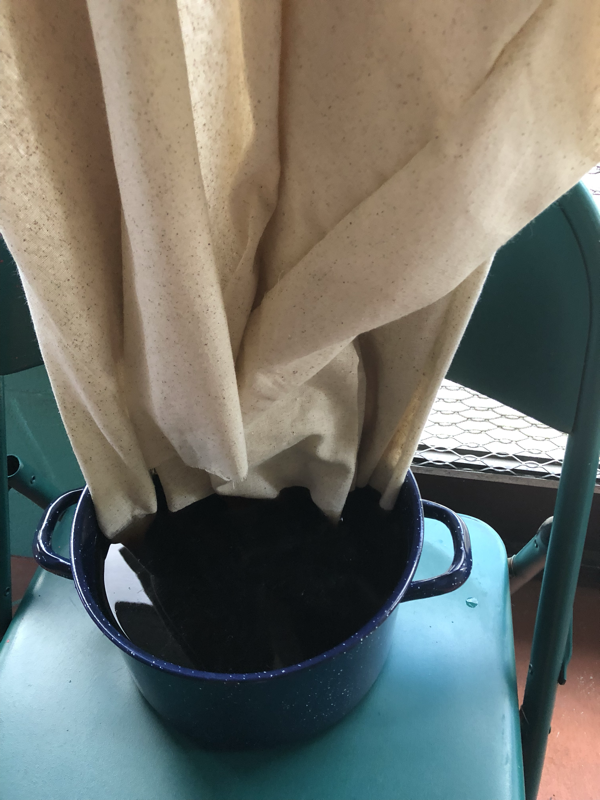
Once it is done, take it out and remove the mixture from the heat. Keep the scarf somewhere safe to dry, and put the mixture on the floor in a safe space and put the bottom of the outer robes into it. I want the bottom to be darker than the rest, as if they walked through dirt. (I also dipped the bottom of the inner robe just like this when it was done in the tea.)

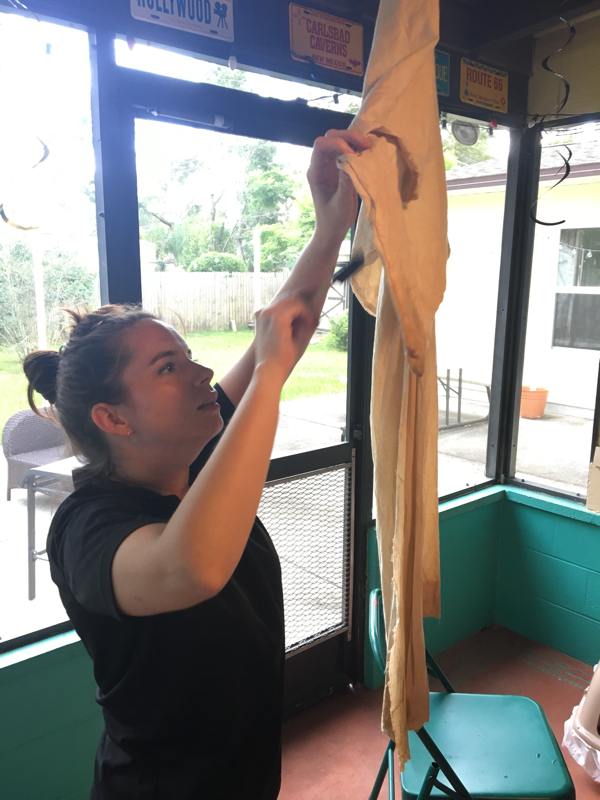
Keep an eye on the bottom of the robes. You don’t want them getting too dark. When done with the bottom, take the outer robe out and hang it up. Fill a spray bottle with the mixture and spray the outer robe as desired.
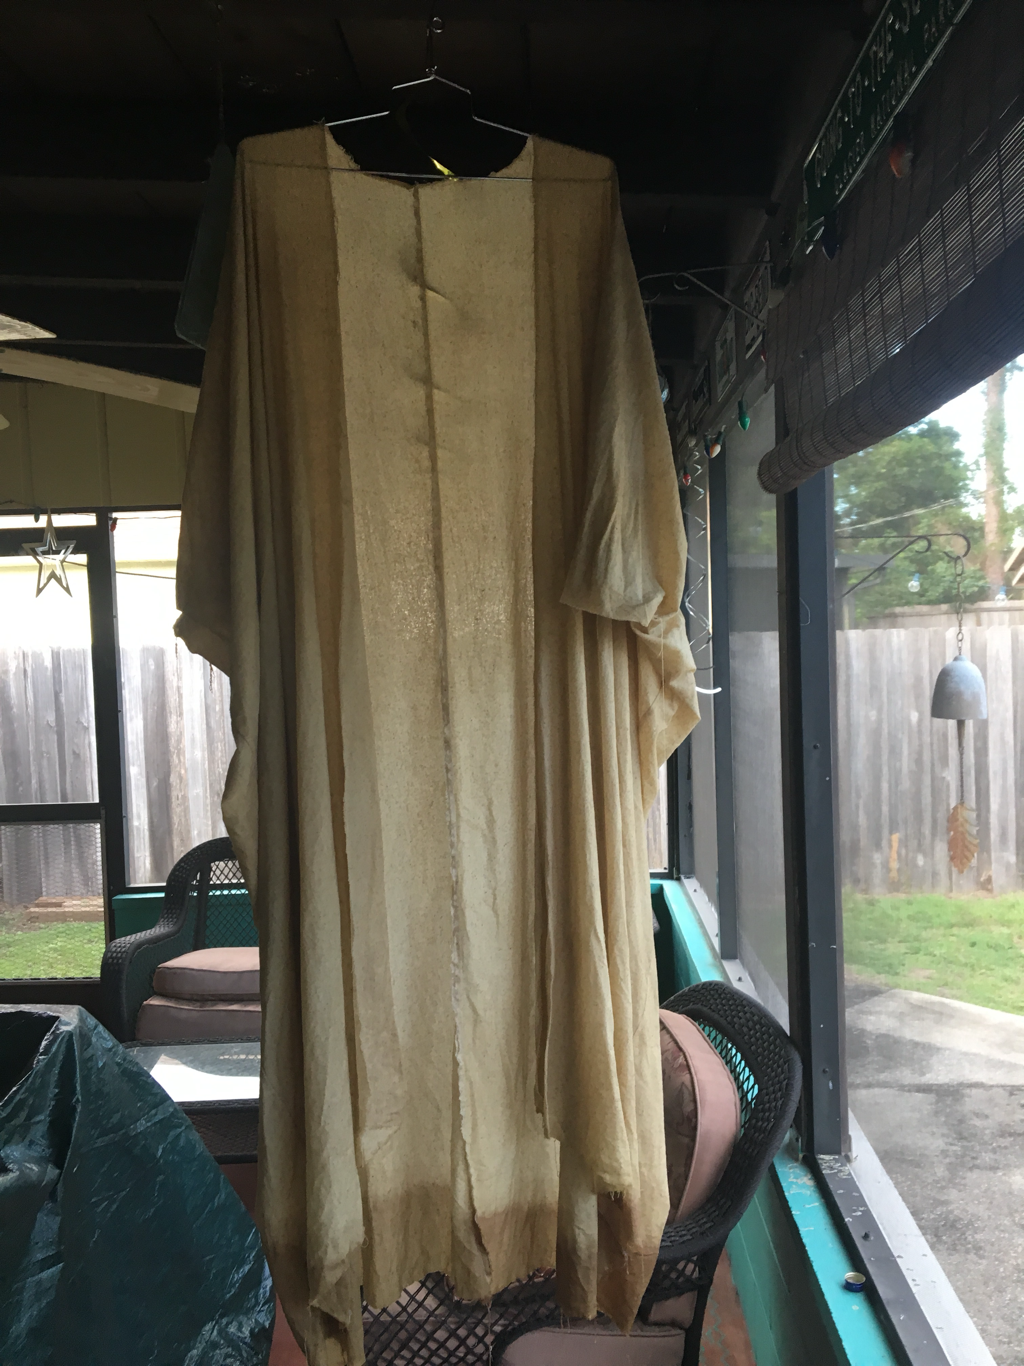
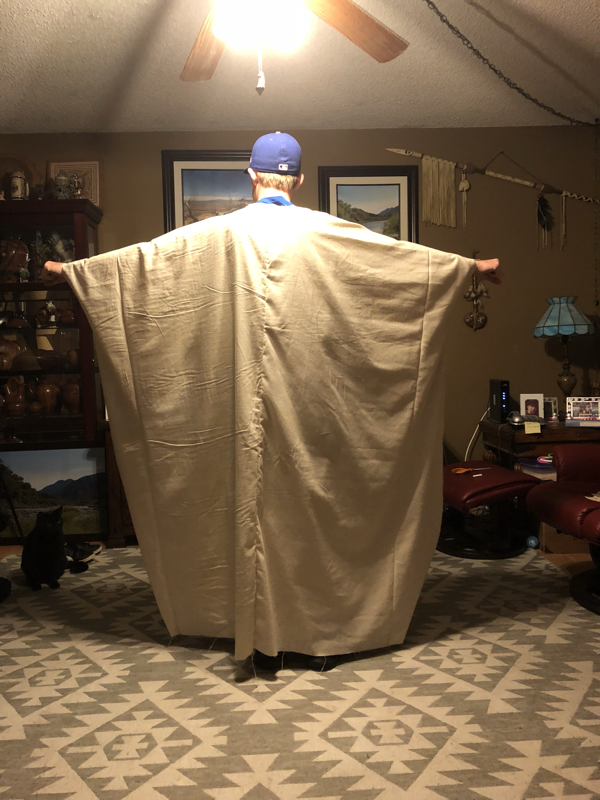
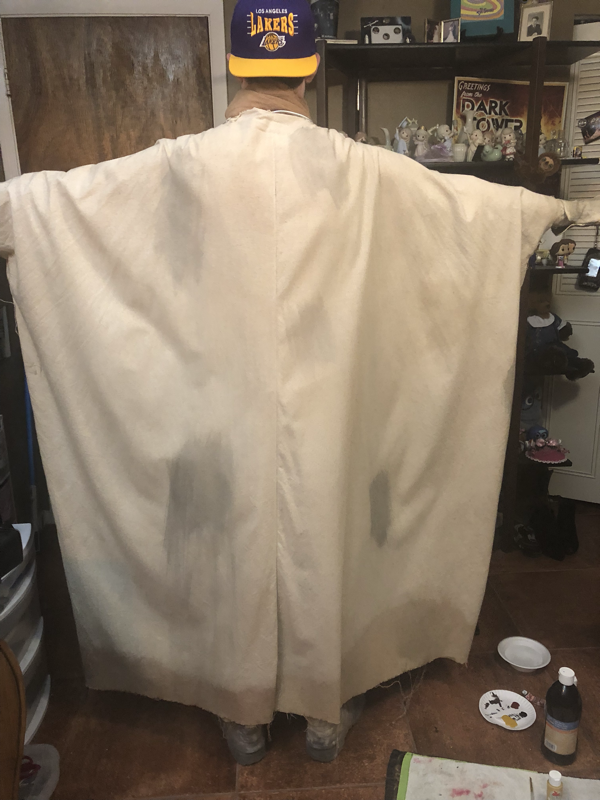
Your finished outer robe should look like this. Once again this is the practice material.
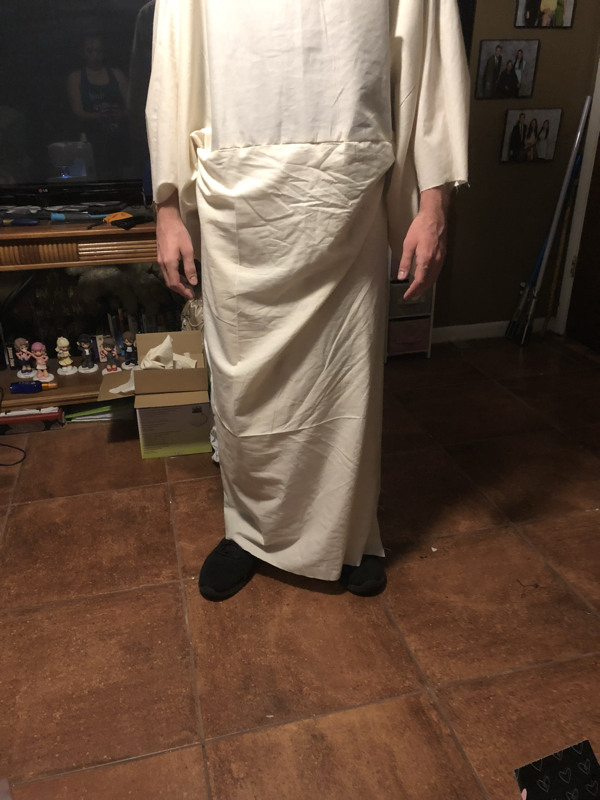
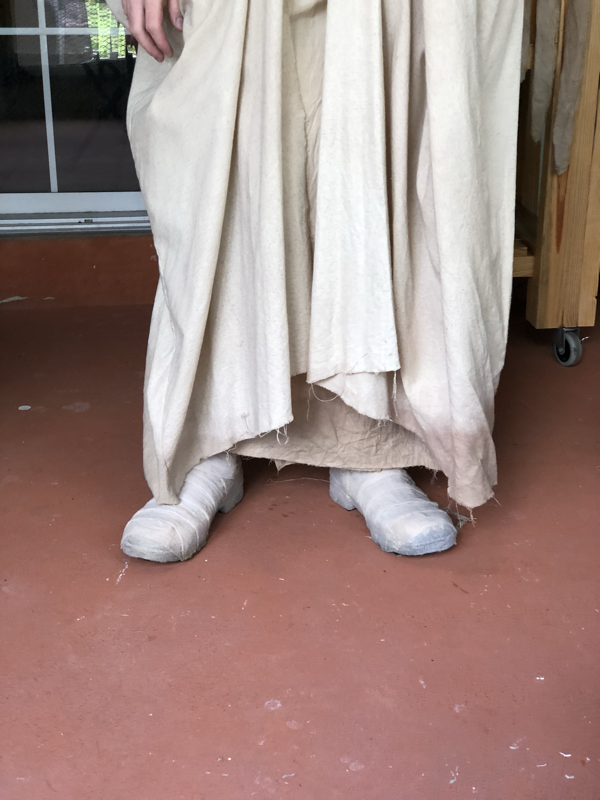
The finished inner robe should look like this.

Next, use the dye/water mixture in the spray bottle to spray the boots. Be aware that the medical gauze does not take the dye well. It will take several rounds of dying to get it right.

I also took the dye straight from the bottle on some scraps of fabric and put this directly on the bottom of the boots, concentrating on the toes. This made them very dark at the bottom.

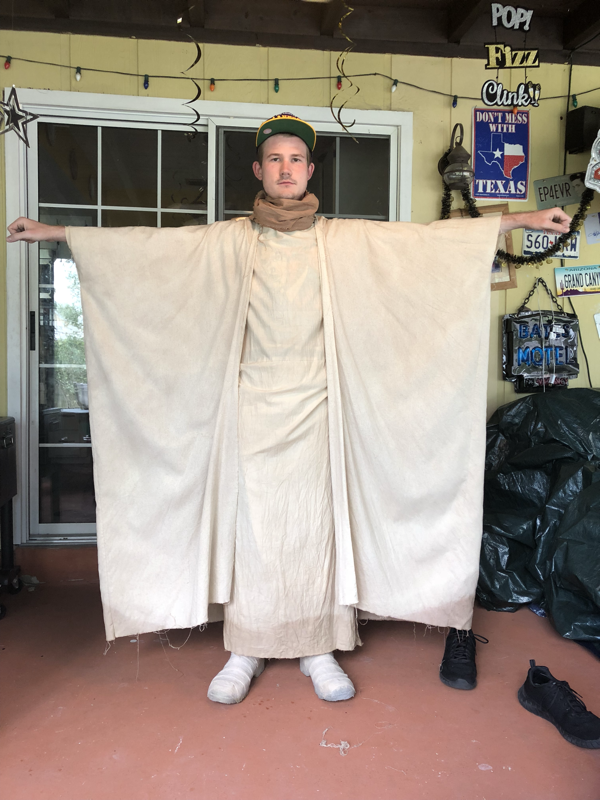
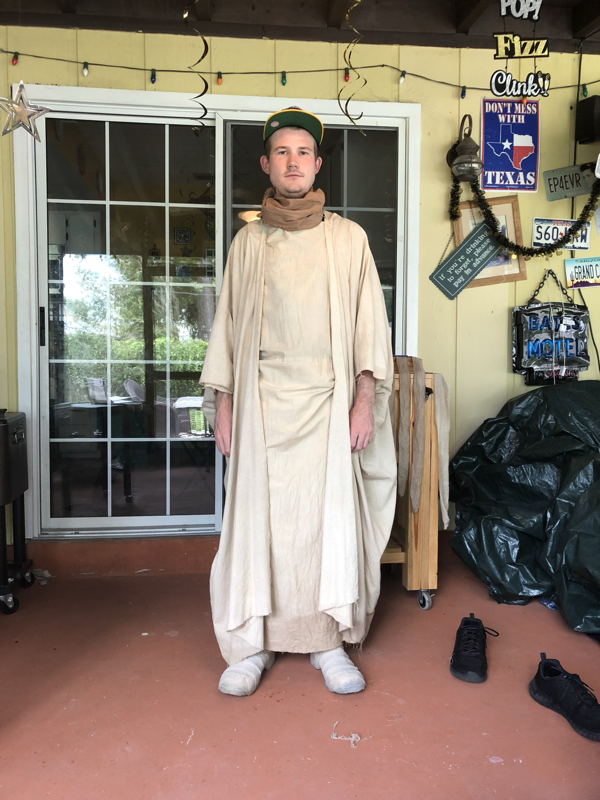
After dying everything, the costume should look like this.

Next, take black and brown paints and water them down. A lot. Lots of water. Using a sponge brush, pick spots on the outer and inner robe to weather. Think about what places would see the most wear and tear. The bottom, the sleeves by the hands, etc. Focus on these areas. (I weathered the inner and outer robes in the same places so that it looked like the same thing got both at the same time, but that’s a detail no one else will notice.)
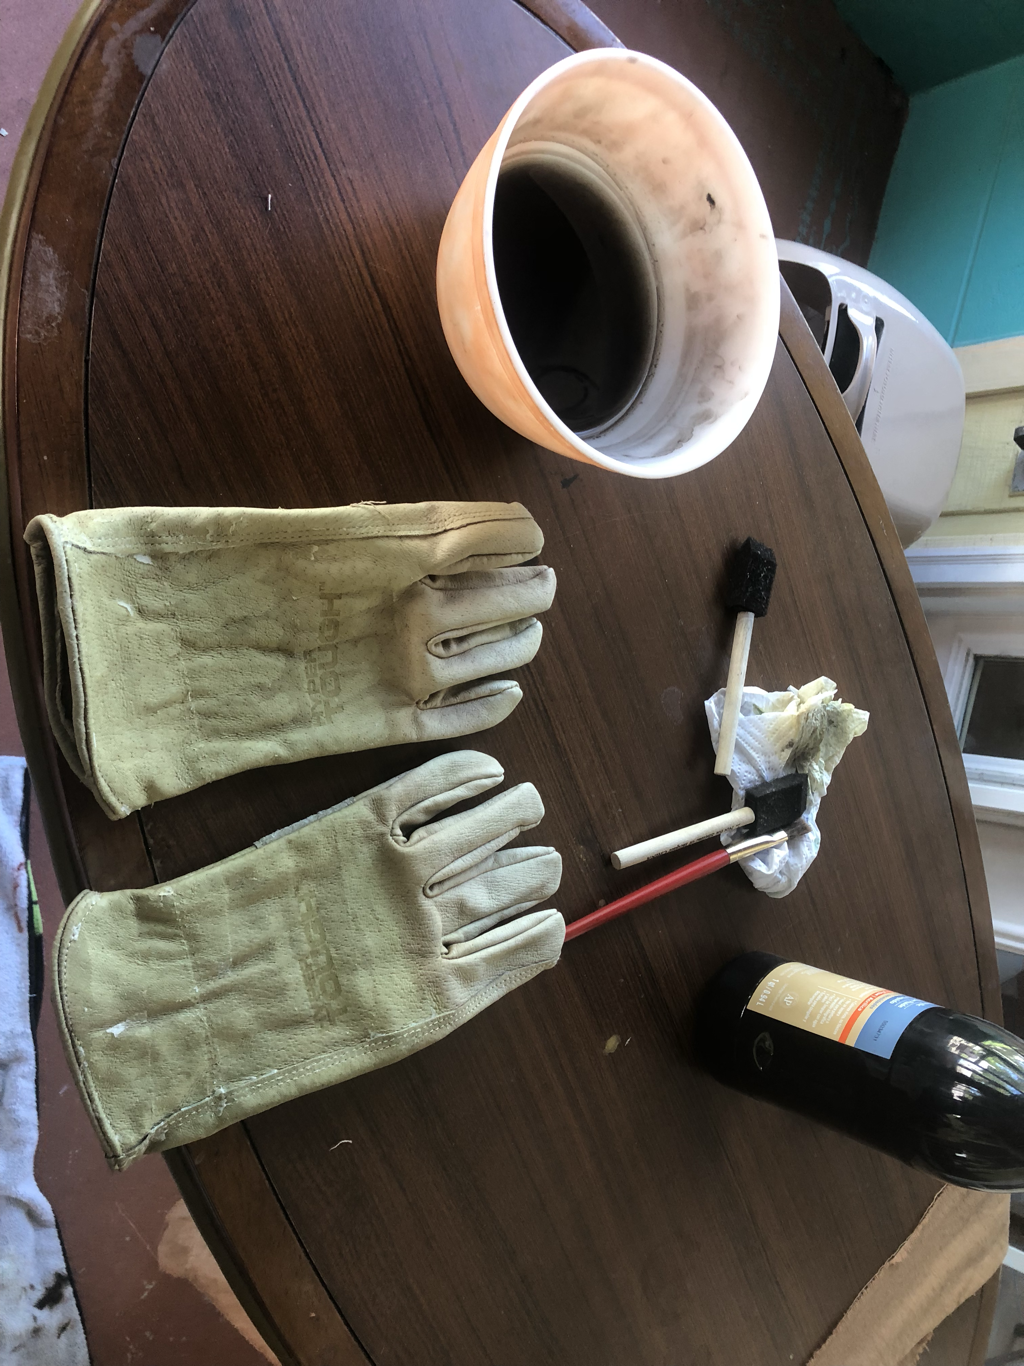
I used black paint and watered down black paint to weather the gloves.
breather
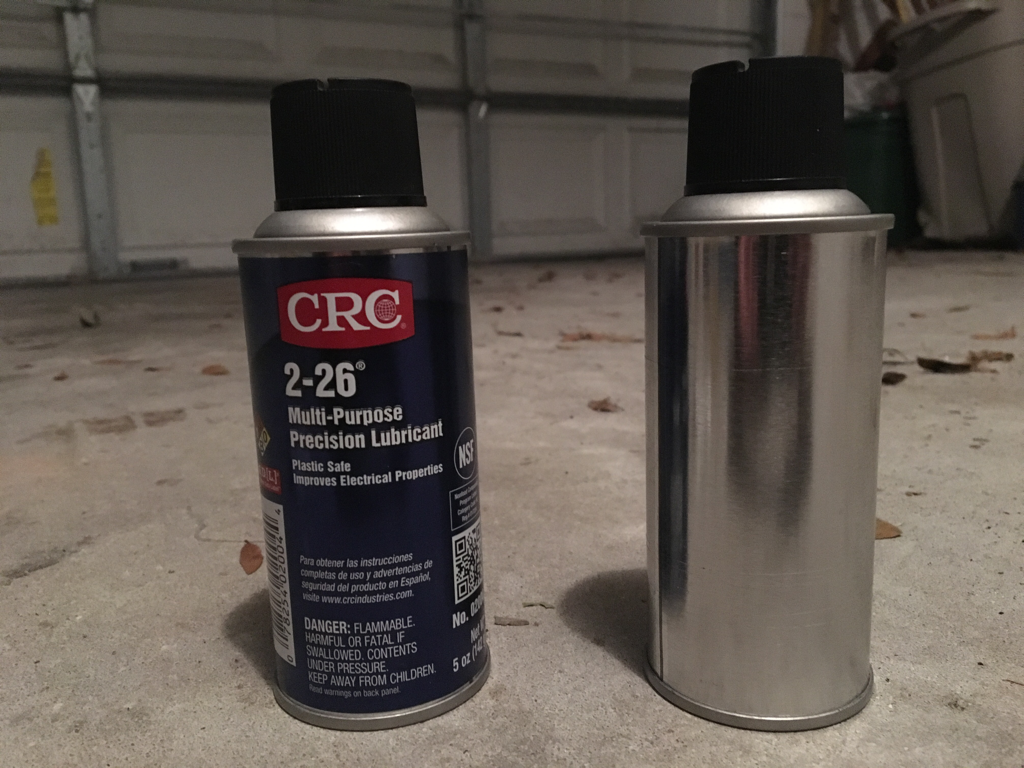
Start by buying two CRC electrical lubricant in a 5 oz can. Spray out and dispose of the contents properly.
Cut the bottom ends off of both of them. Cut strips up and down on one of the bottles. This one will go on the inside, and you cut slits so it can be bent easier. Shove this one inside of the other so that the two tops face out, and hammer it into place.
Prime it with a coat of black paint. Attach hollow 1/4 inch copper to the ends of the breather.
Using spray paint, paint the whole thing silver.


Wrap a strip of leather around the cylinder part and glue it down.

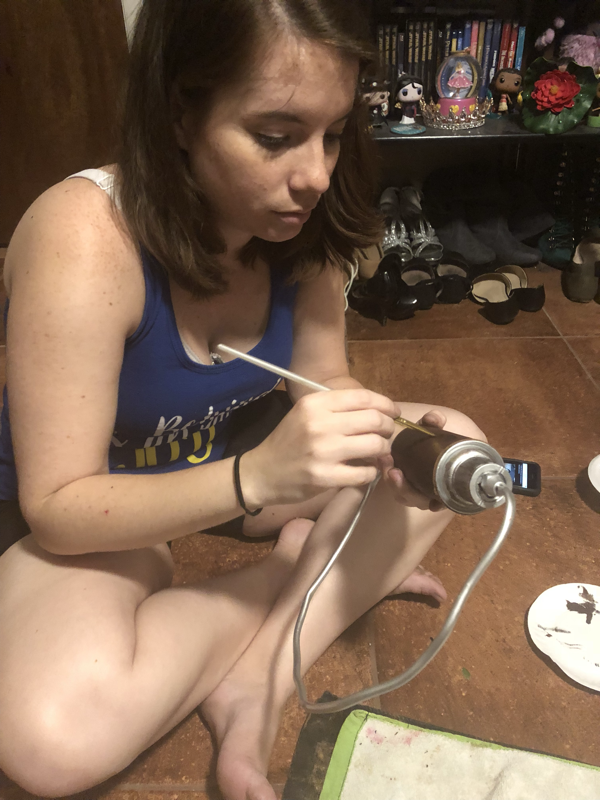
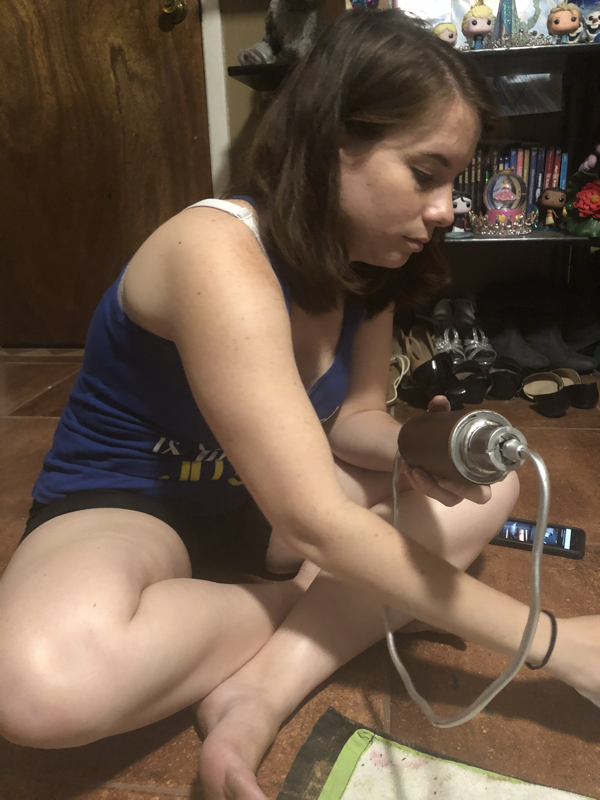
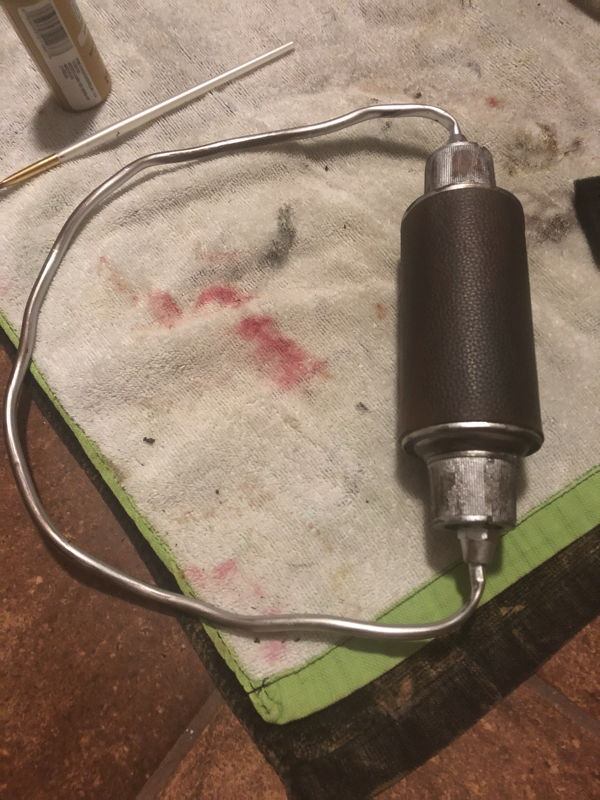
I weathered the breather with black, red, and yellow paint, and Rub ‘n Buff.
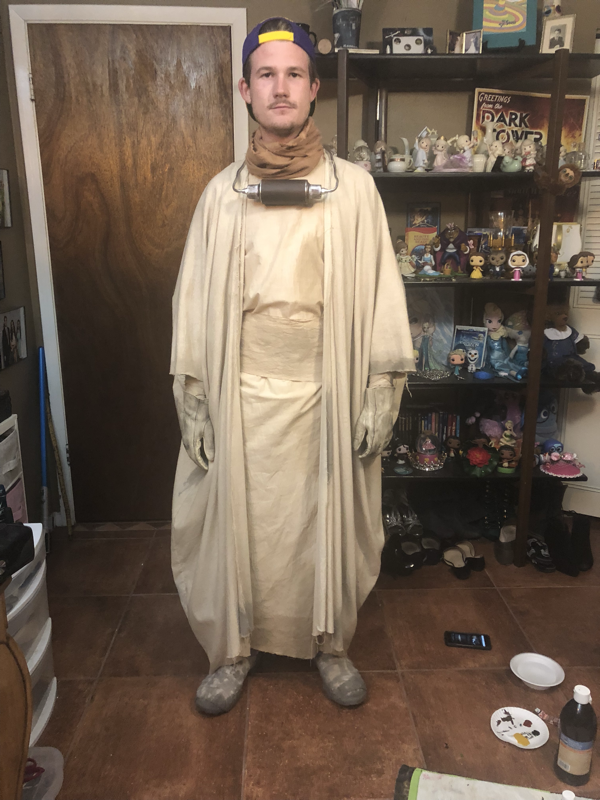
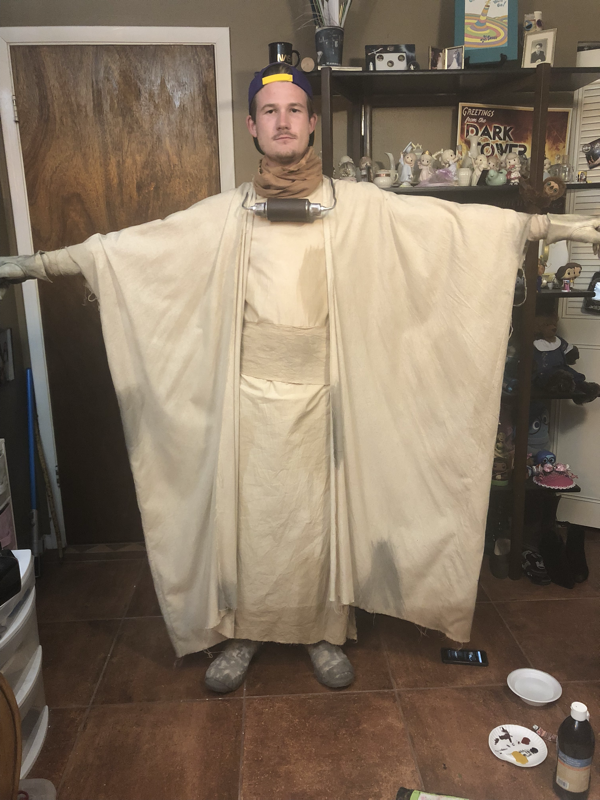

The costume so far should look like this when all together. All that’s left is the mask and bandolier and weapon if you choose to get one. The next step is to remake and weather the outer robe with the Monks Cloth. Follow the same steps as before.
Bandolier
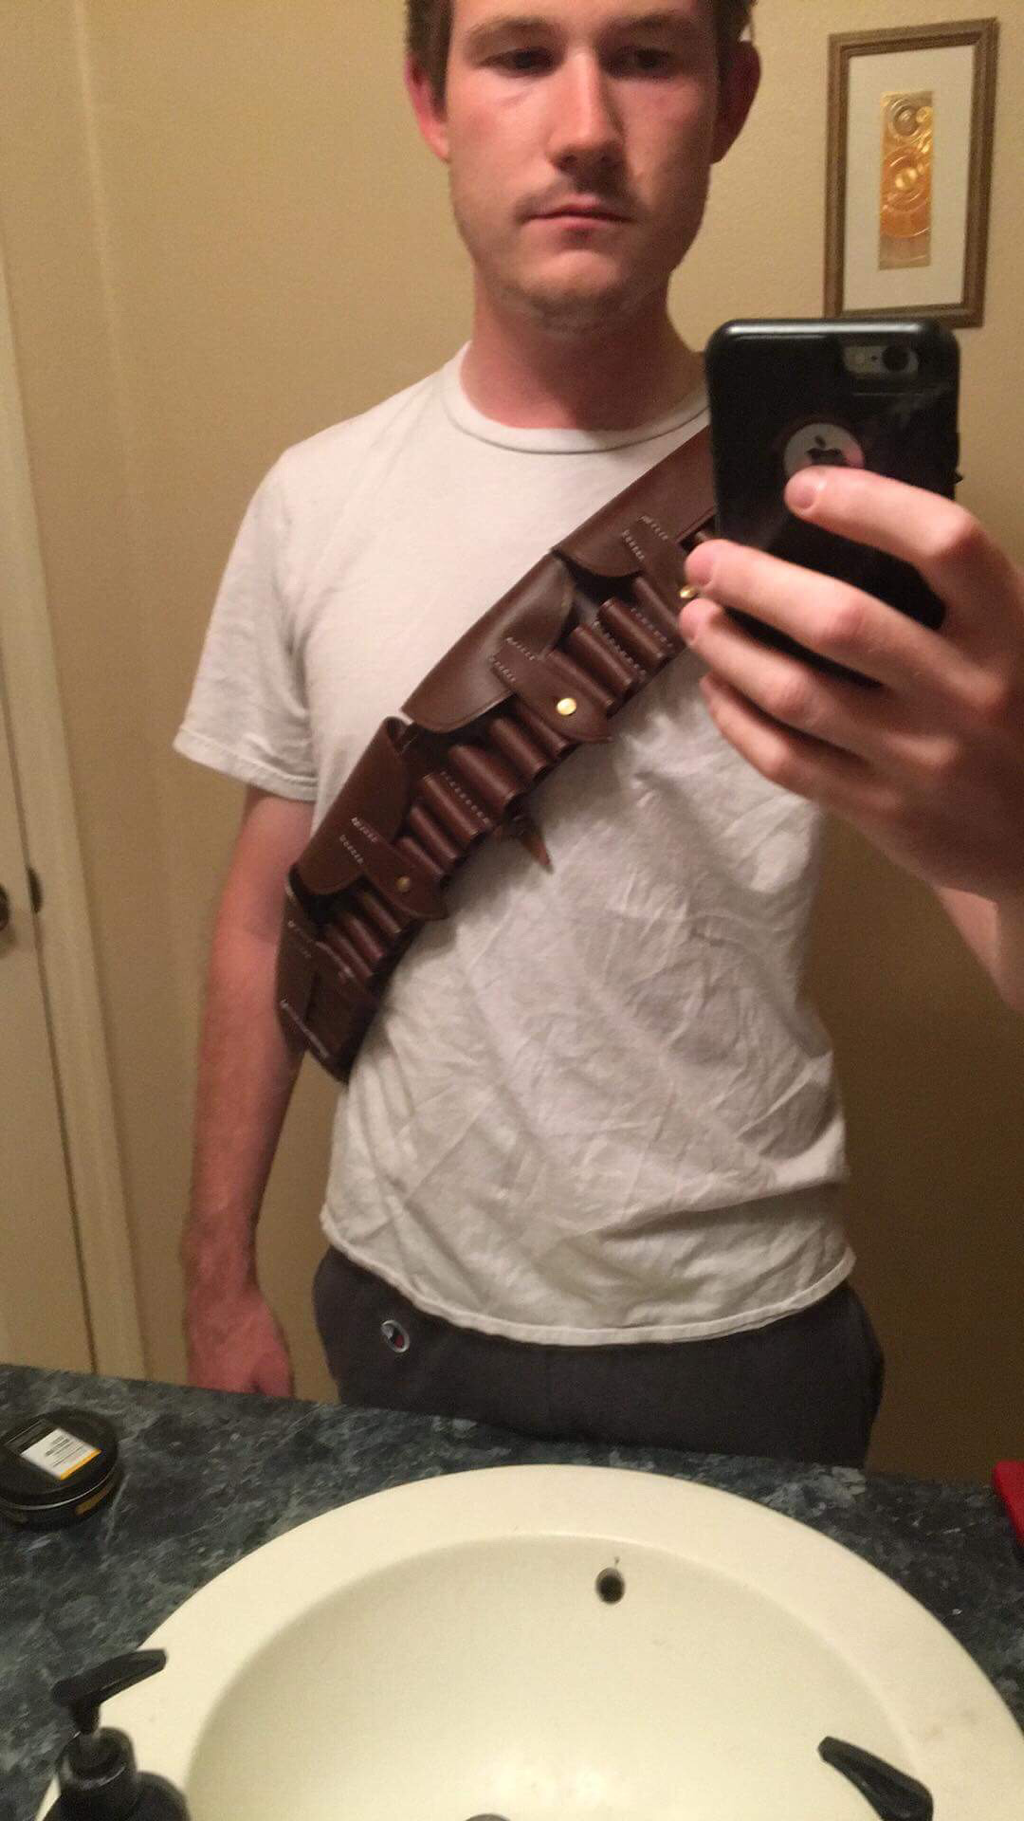
Sorry guys, but we bought the bandolier. It was bought on Etsy from Trooper Bay. Though I will say it is very high quality and I would highly recommend this shop!
MAsk
I bought the mask as a kit from Etsy seller DHPFX.
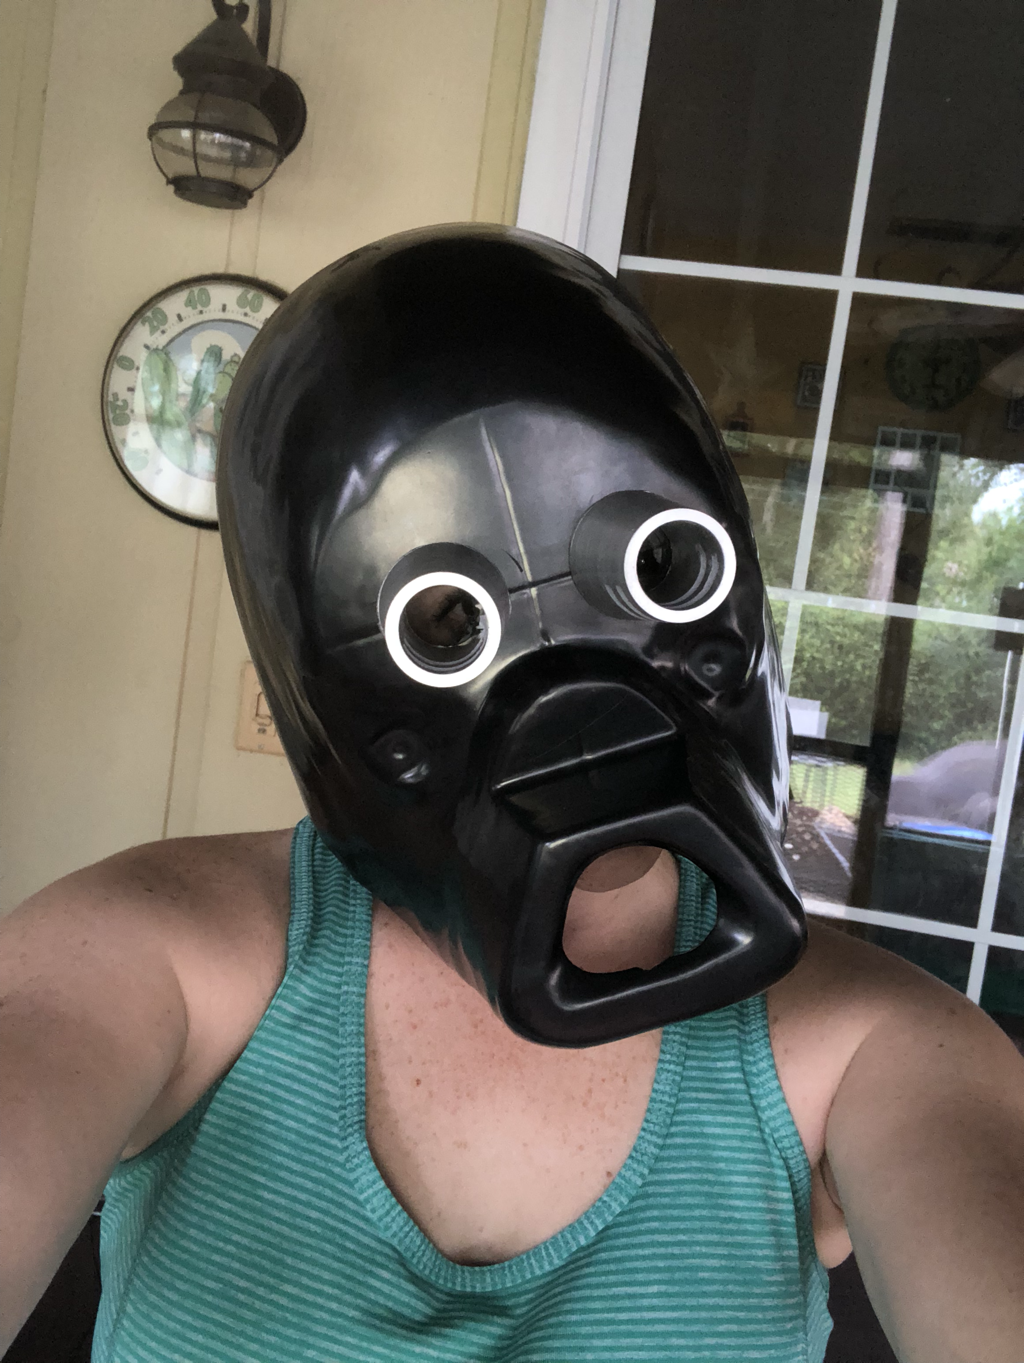
This is after connecting the two pieces and drilling the eye holes.

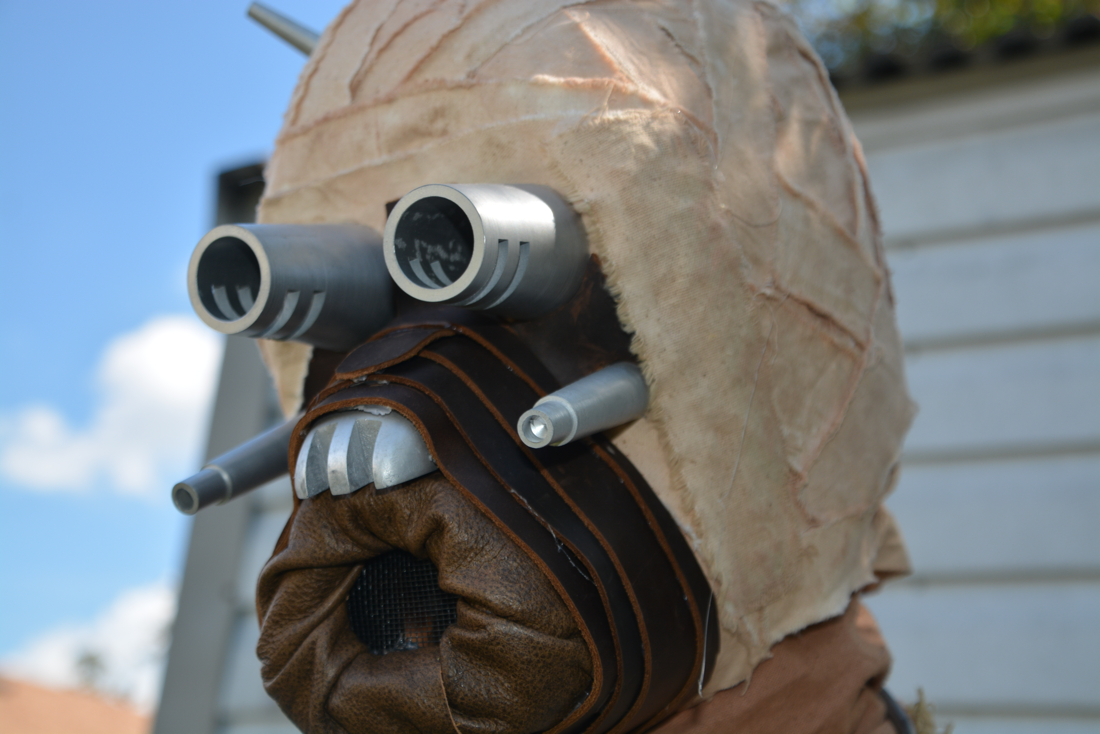
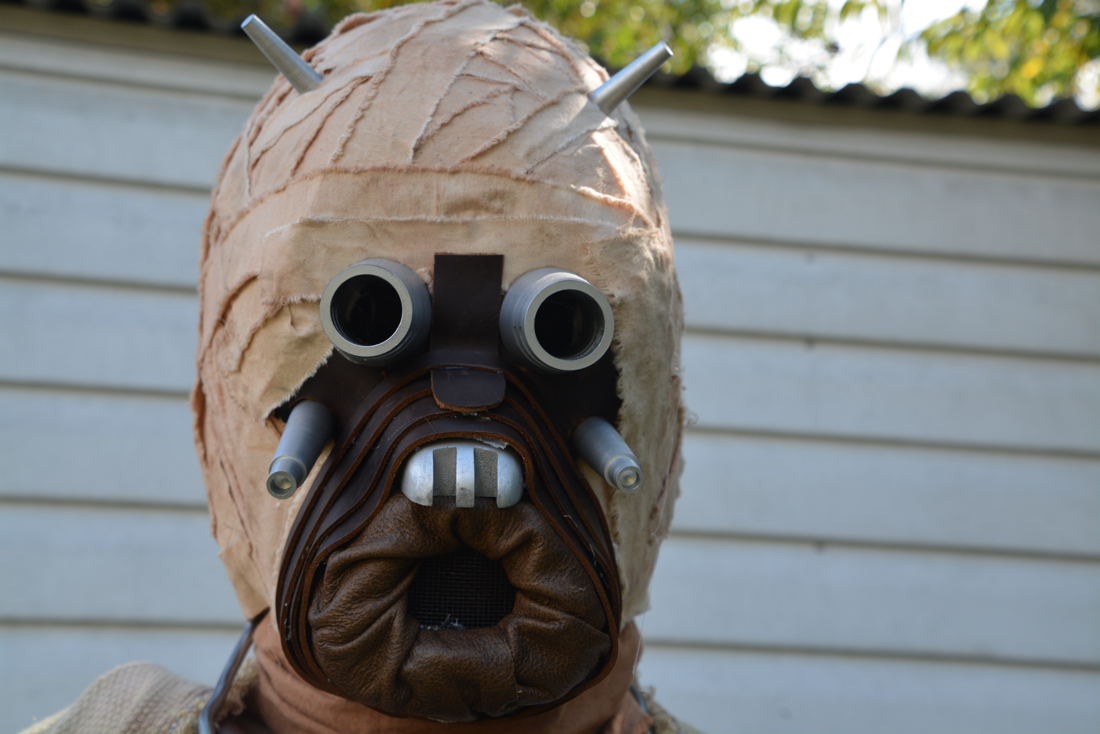
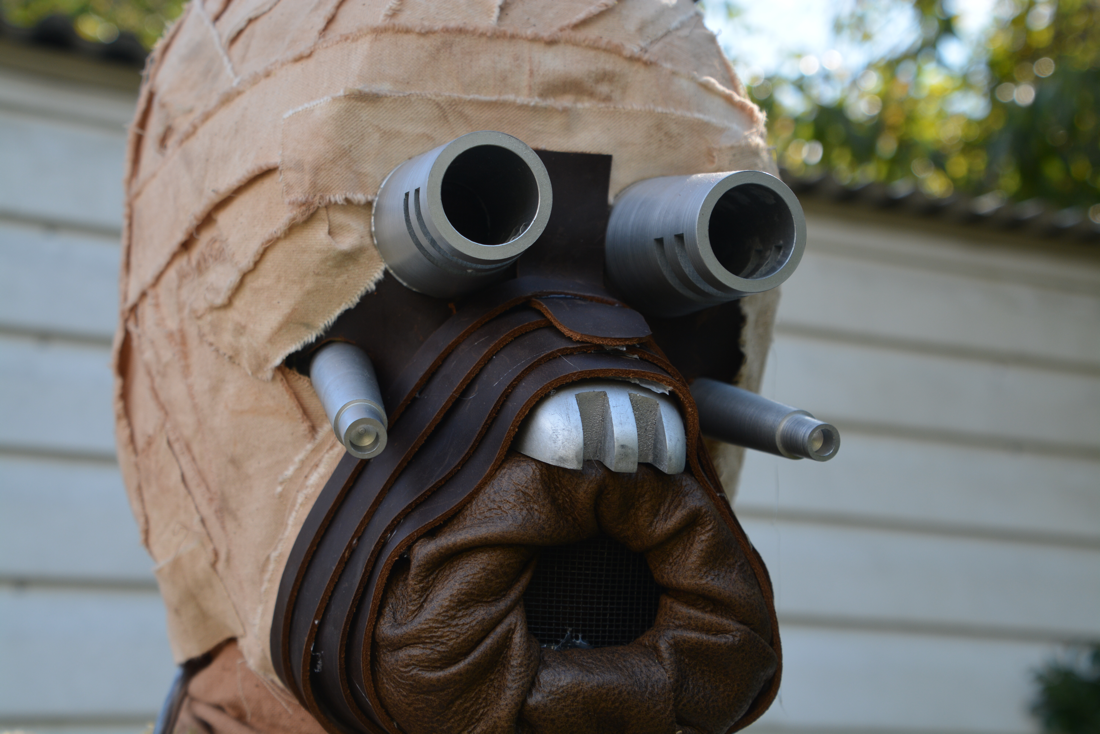
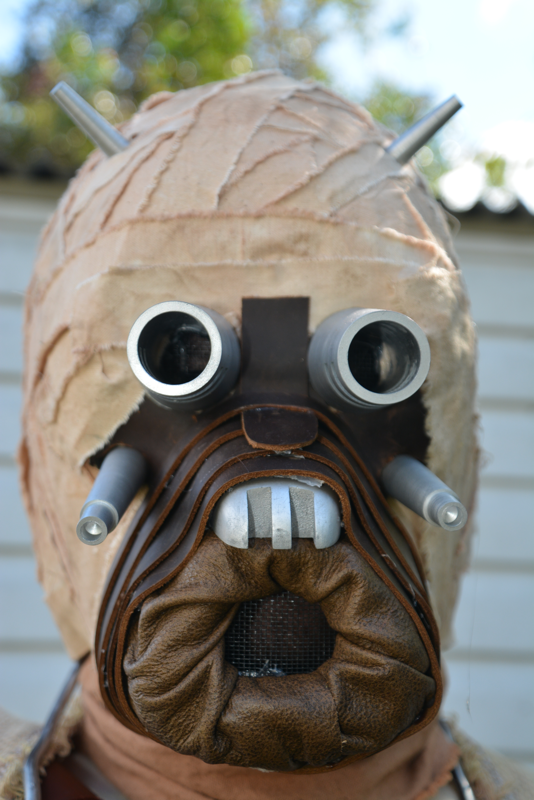
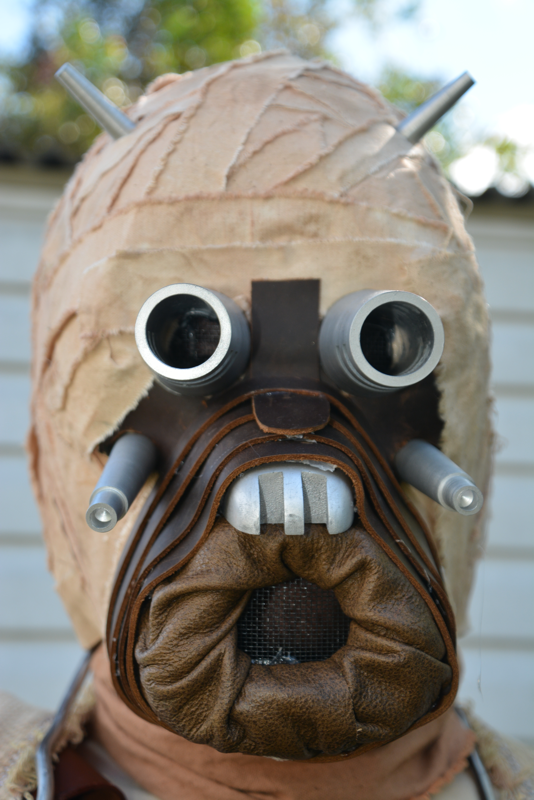
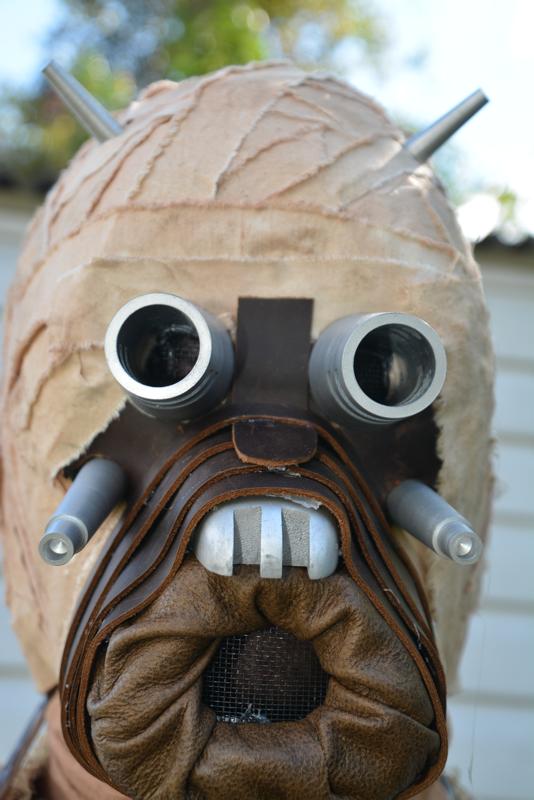
This is the finished mask.
